


Hey Rebels!
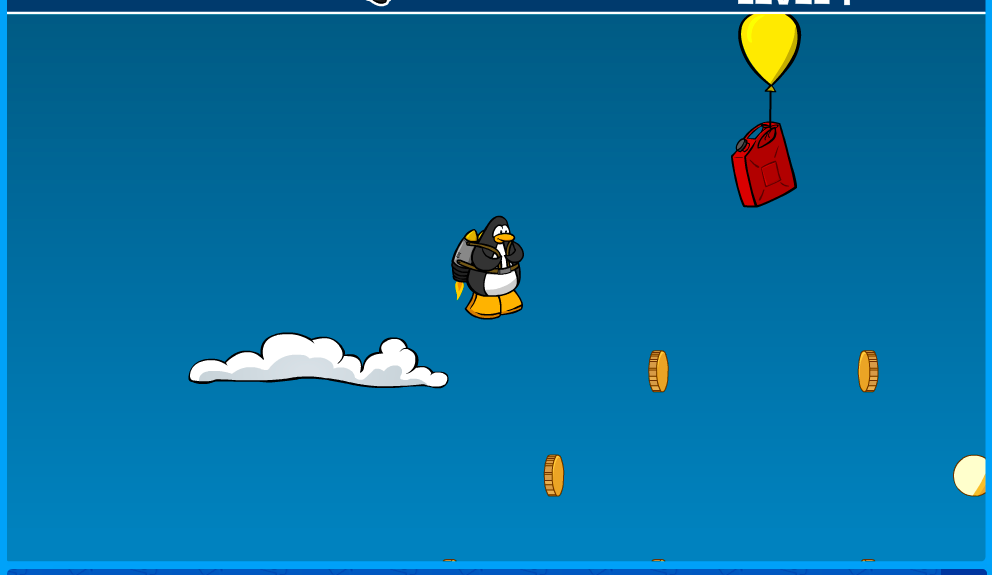
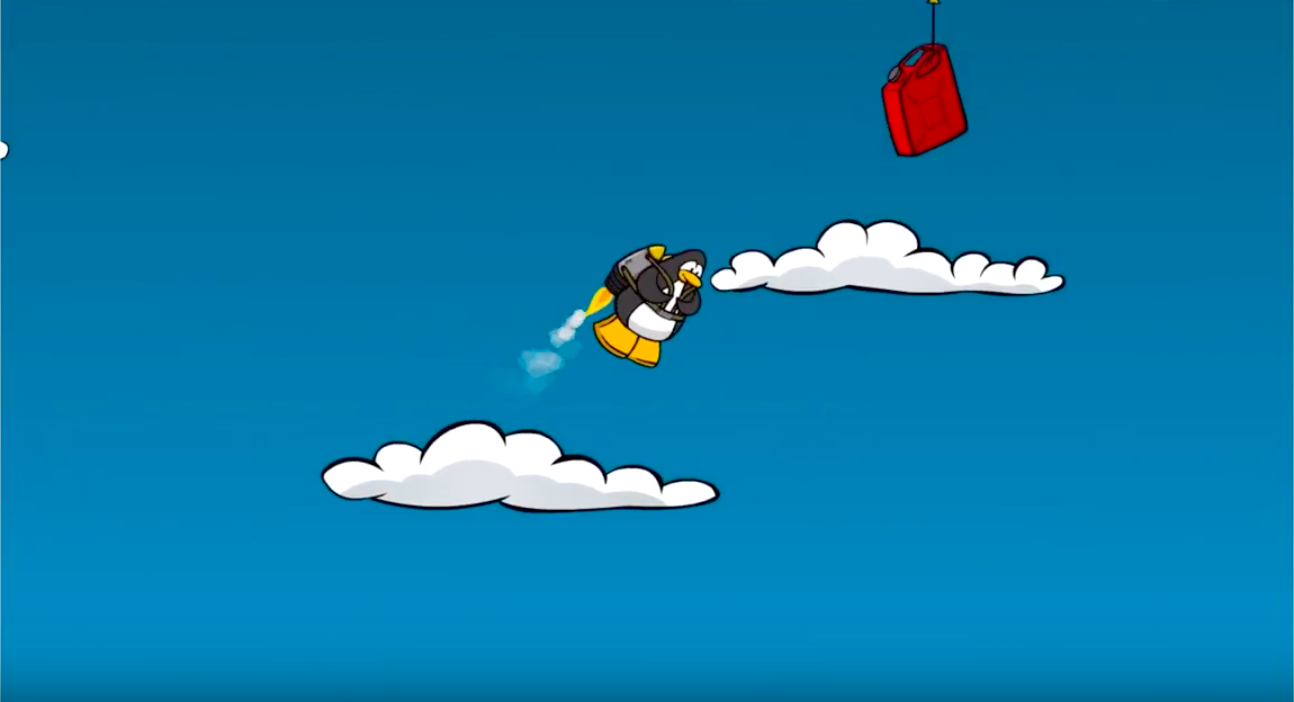
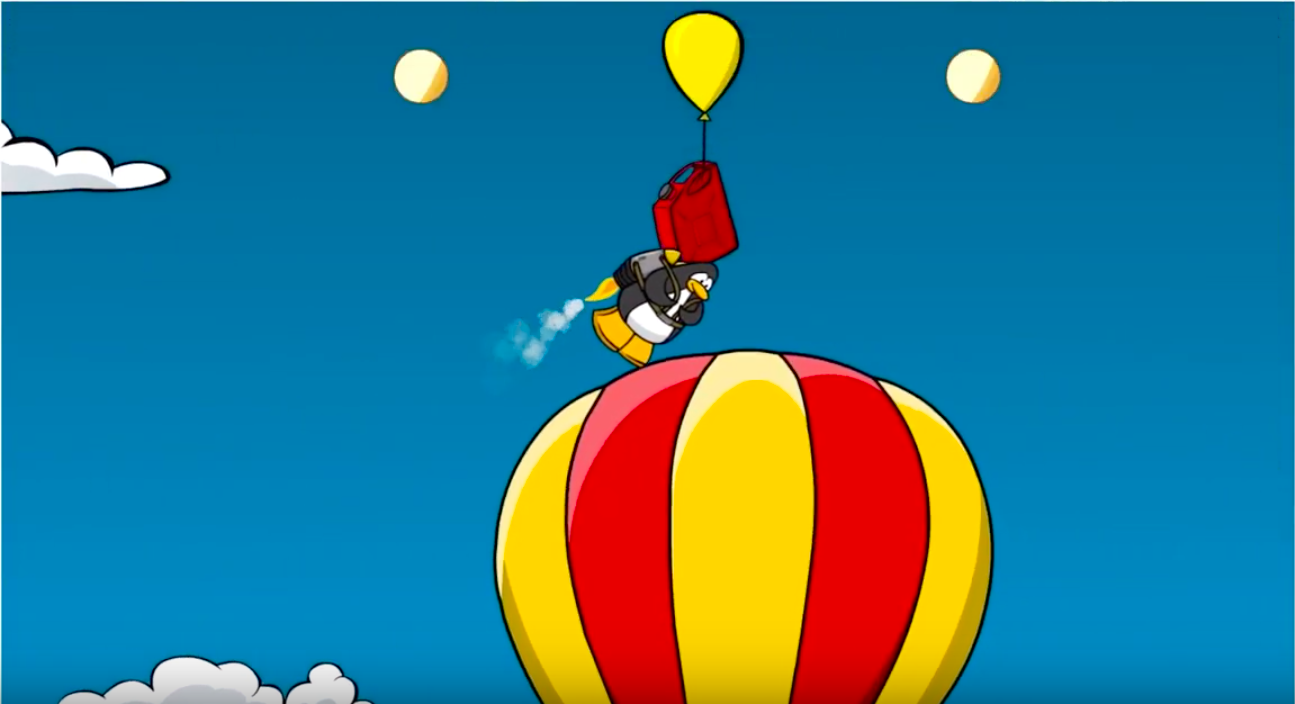
This stamp guide will help you get all the stamps for Jet Pack Adventure on Club Penguin Rewritten! To get to the game, go to the top of the Lighthouse located at the Beach and go to the launch pad on the far right.

In Jet Pack Adventure, there 18 stamps in total to collect: 3 Easy stamps, 8 Medium stamps, 5 Hard stamps, and 2 Extreme stamps!
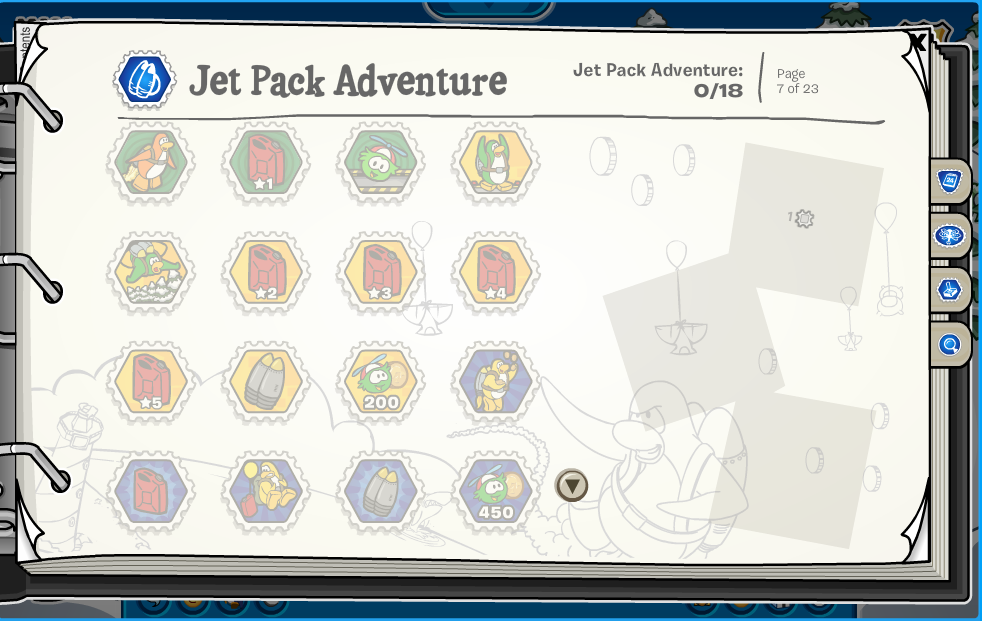
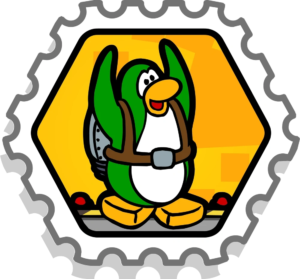
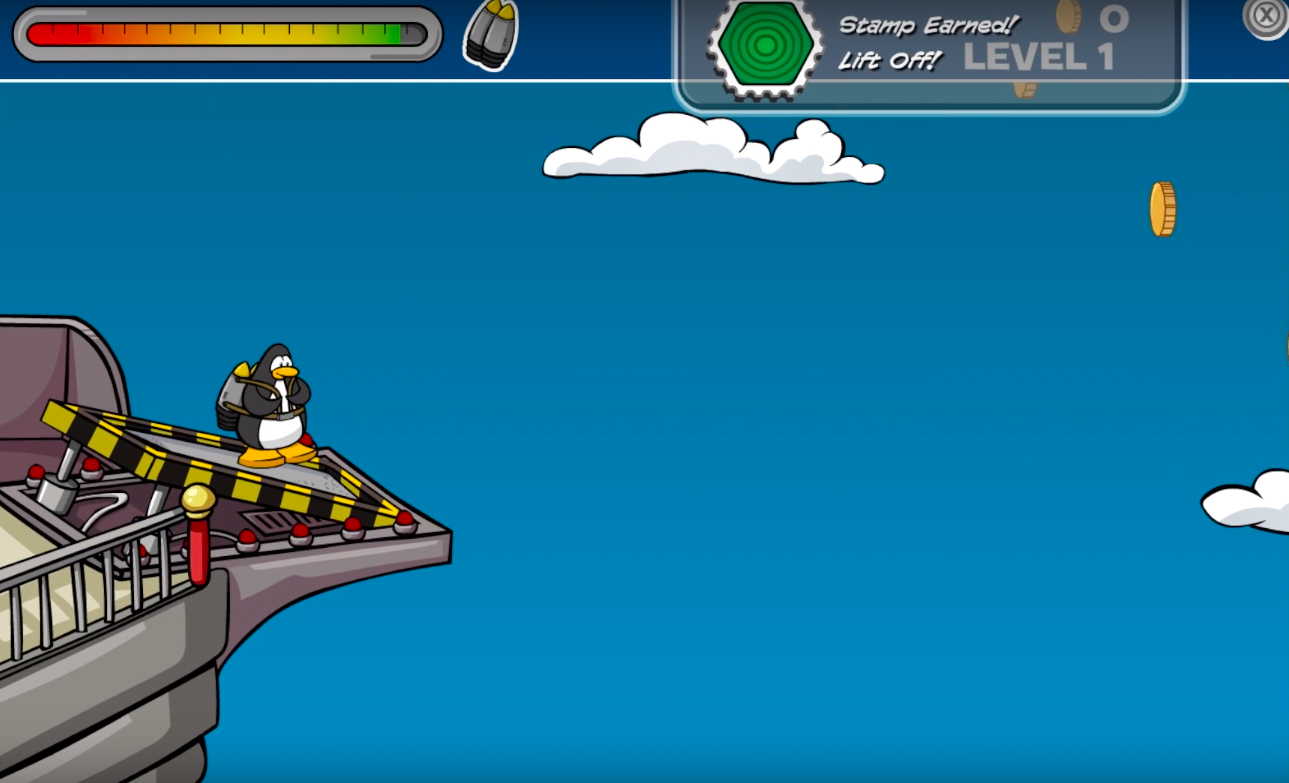
Lift Off! – Take off and return to the launch pad
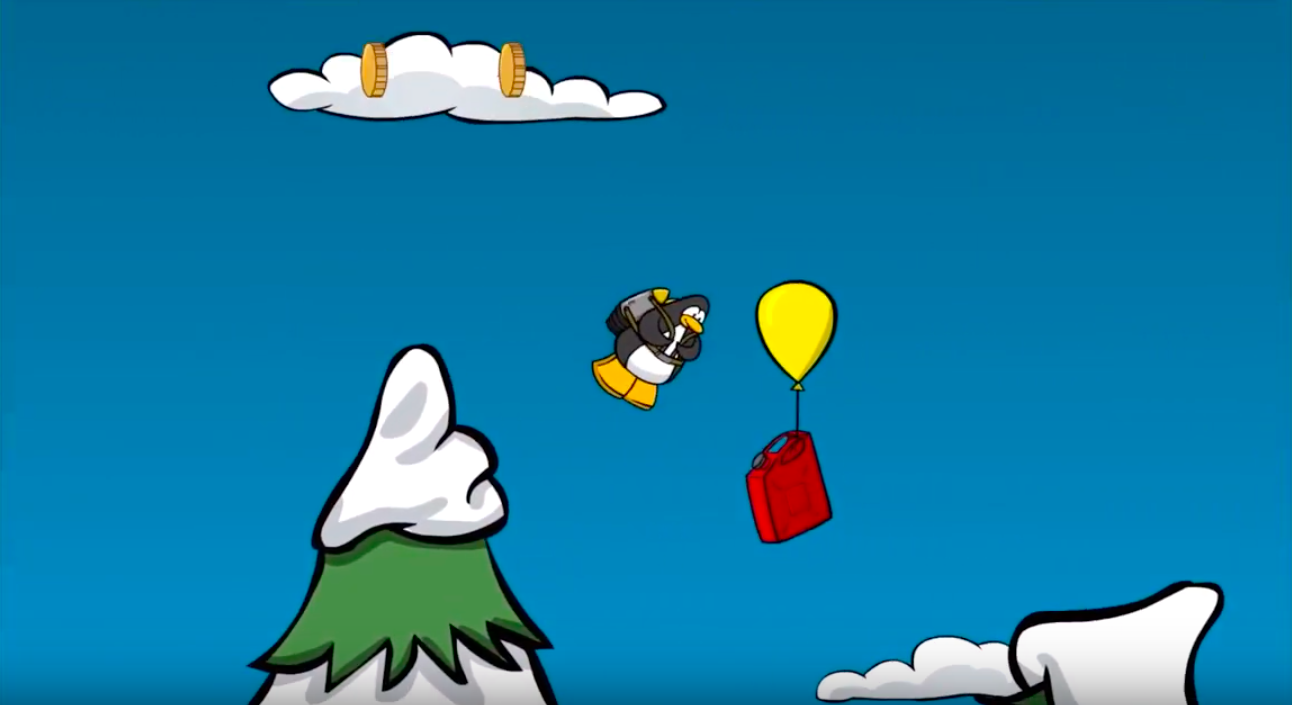
Fuel Rank 1 – Find all Fuel Cans in Level 1
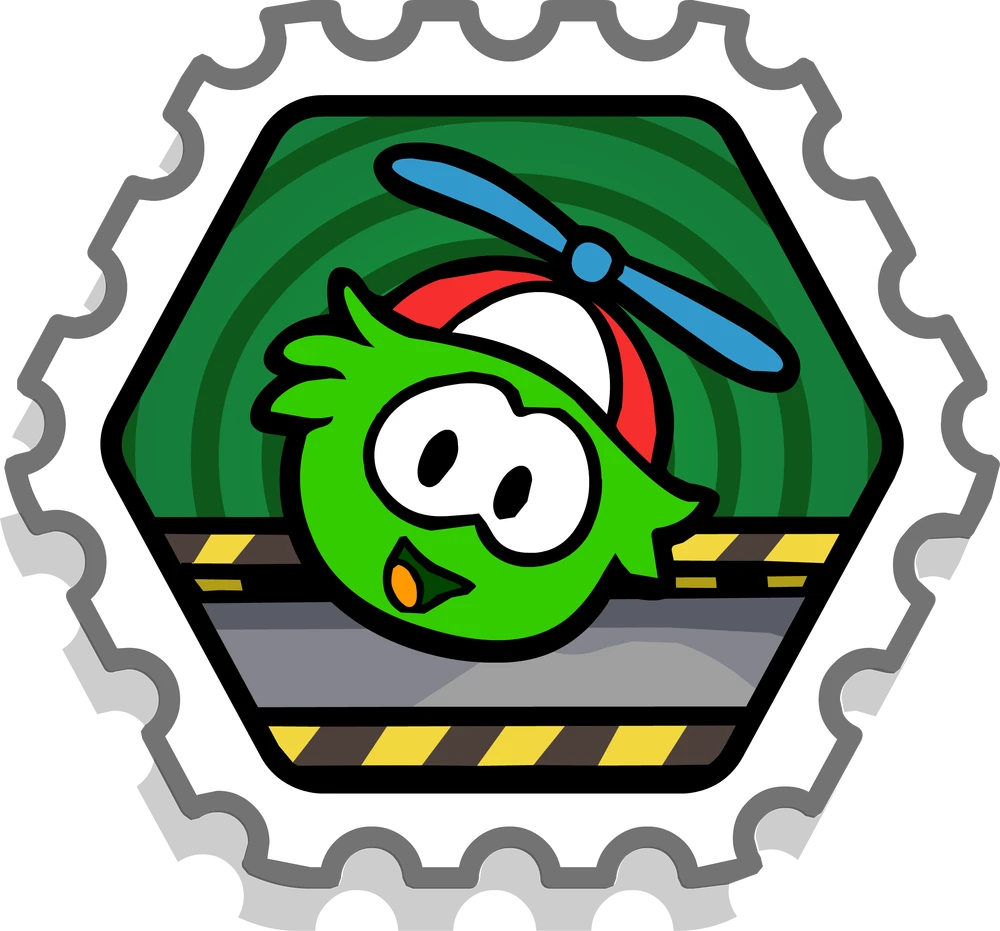
Puffle Pilot – Bring a green puffle in to the game
Jet Pack 5 – Complete 5 levels
Crash! – Crash land your jetpack at the forest
Fuel Rank 2 – Find all Fuel Cans in Level 2
Fuel Rank 3 – Find all Fuel Cans in Level 3
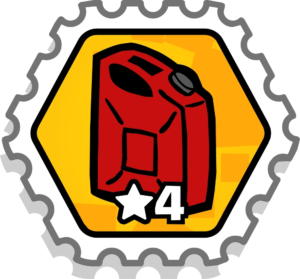
Fuel Rank 4 – Find all Fuel Cans in Level 4
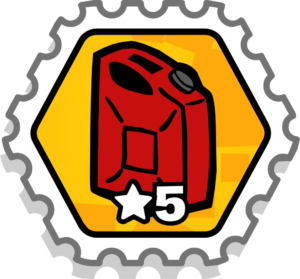
Fuel Rank 5 – Find all Fuel Cans in Level 5
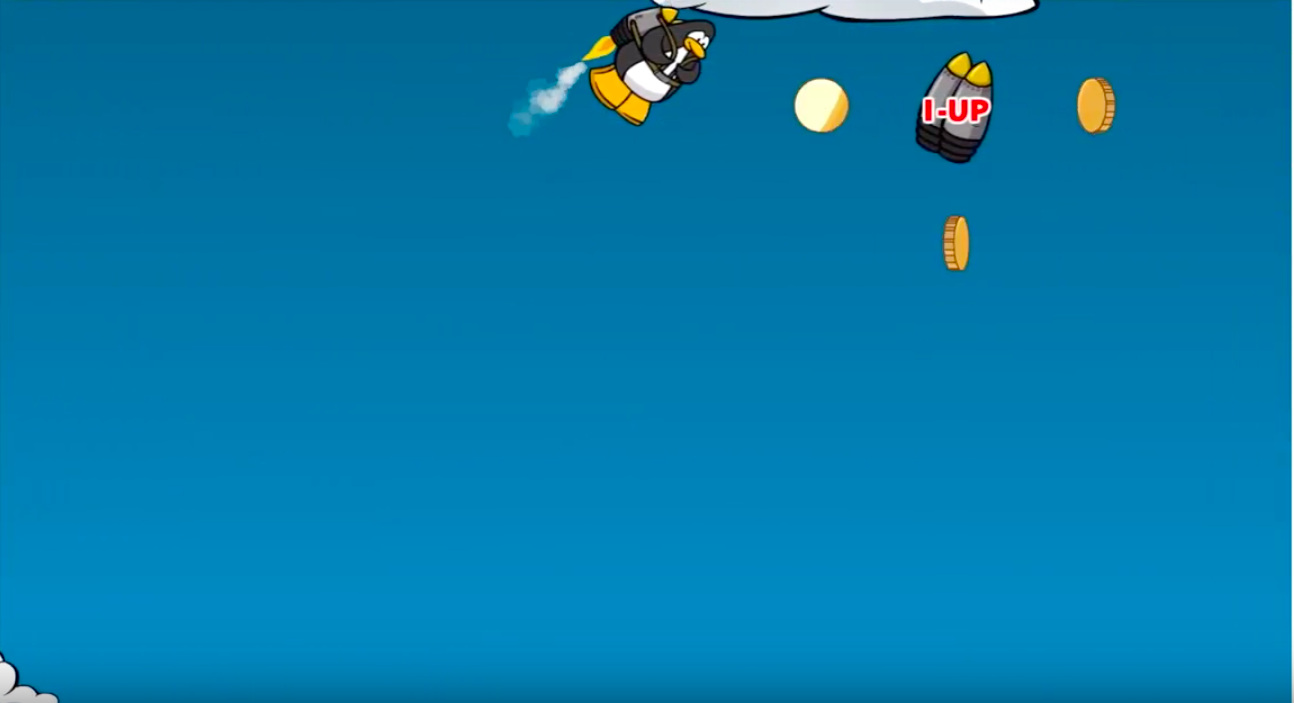
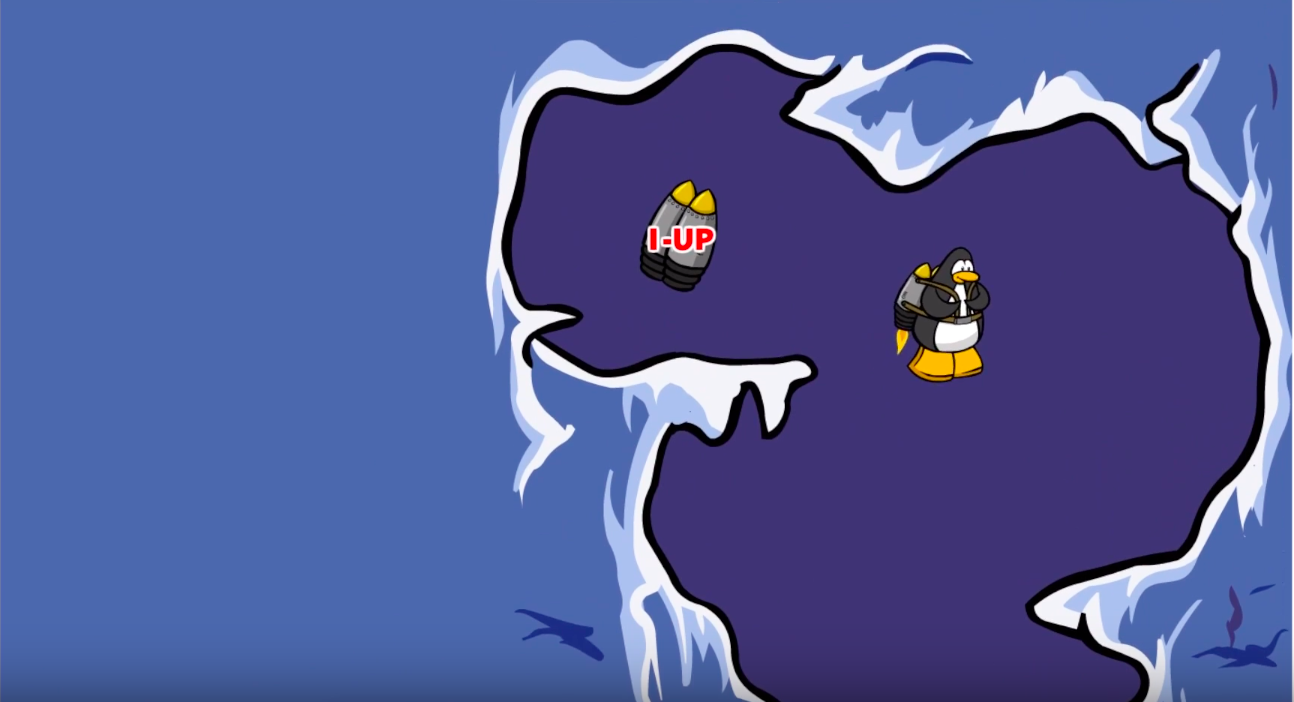
1-up Leader – Find 2 1-ups
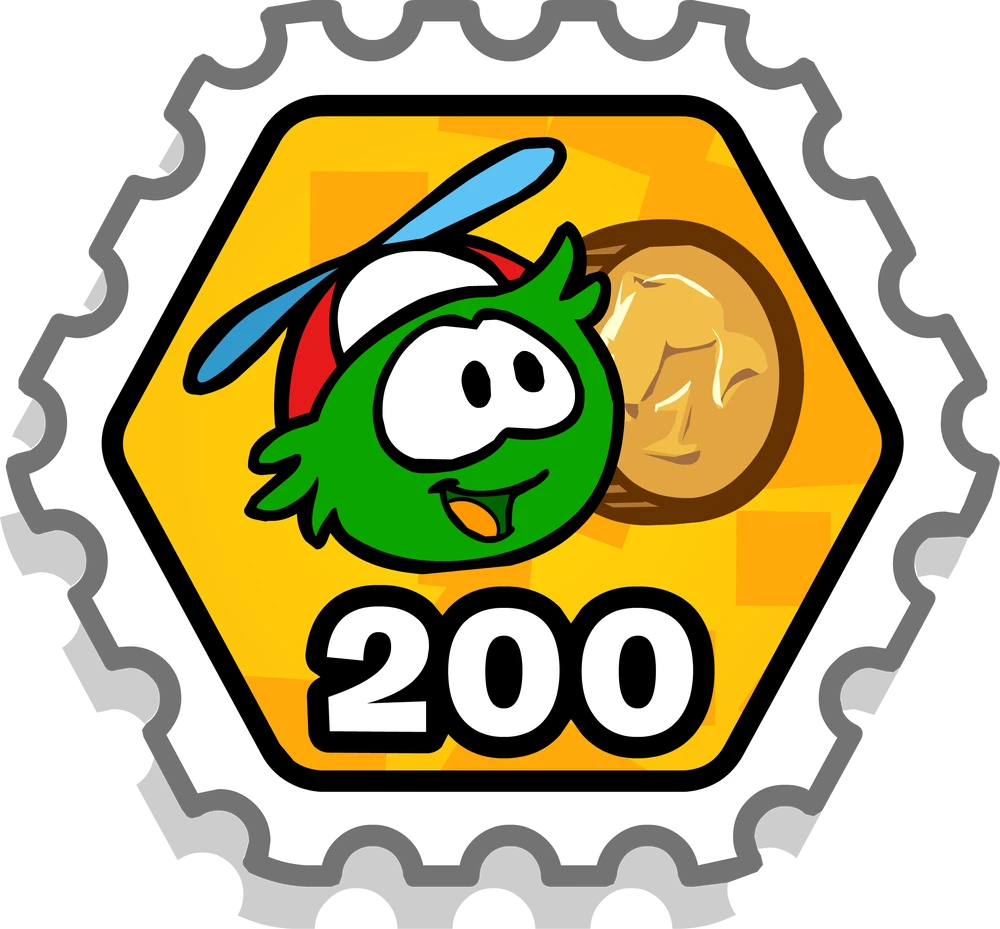
Puffle Bonus – Your green puffle collects 200 coins
Kerching! – Collect 650 Coins
Fuel Command – Collect all fuel cans in 1 game
Fuel Wings – Collect a fuel can while failing
1-up Captain – Find all 1-ups in 1 game
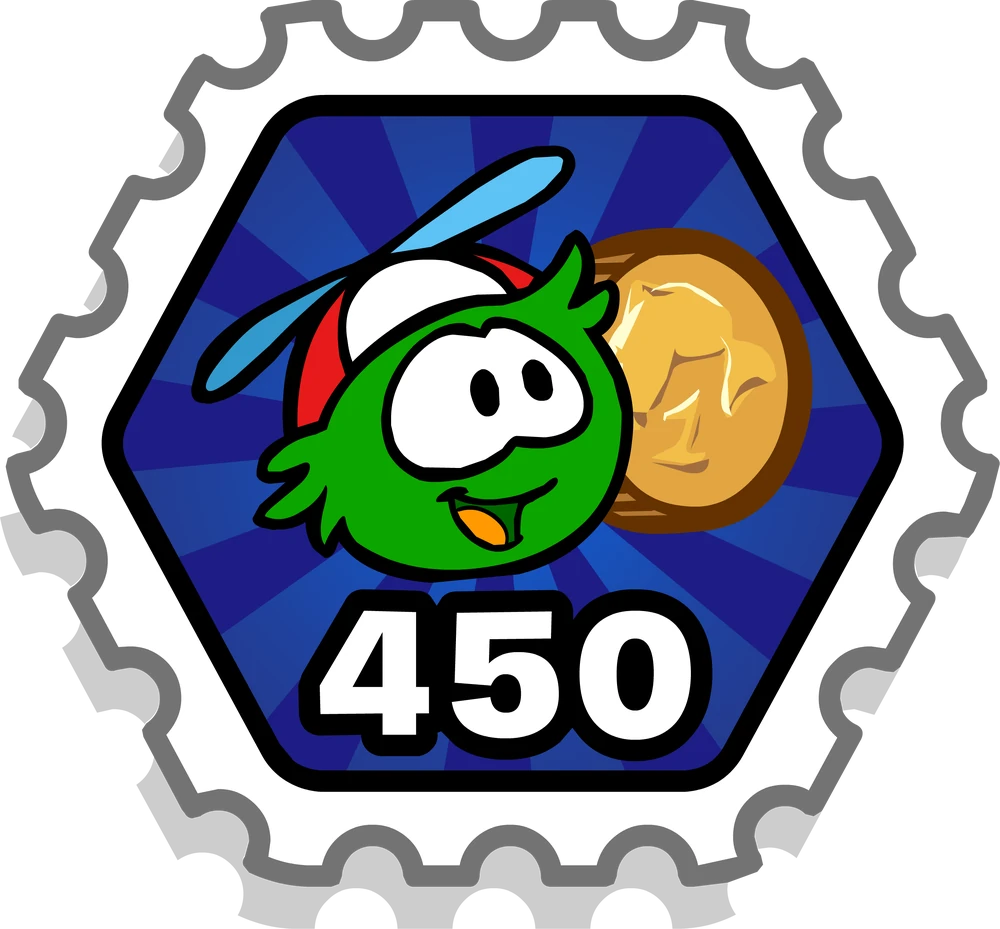
Puffle Plus – Your green puffle collects 450 coins
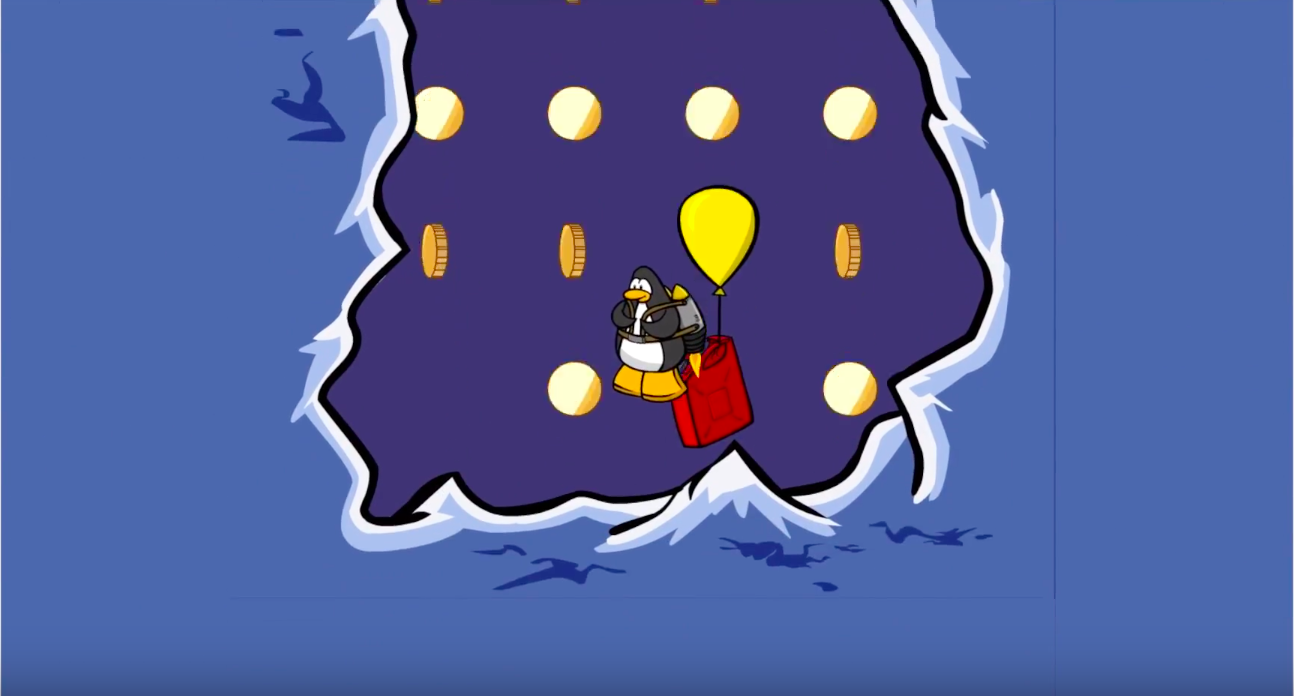
Ace Pilot – Complete the game without collecting coins
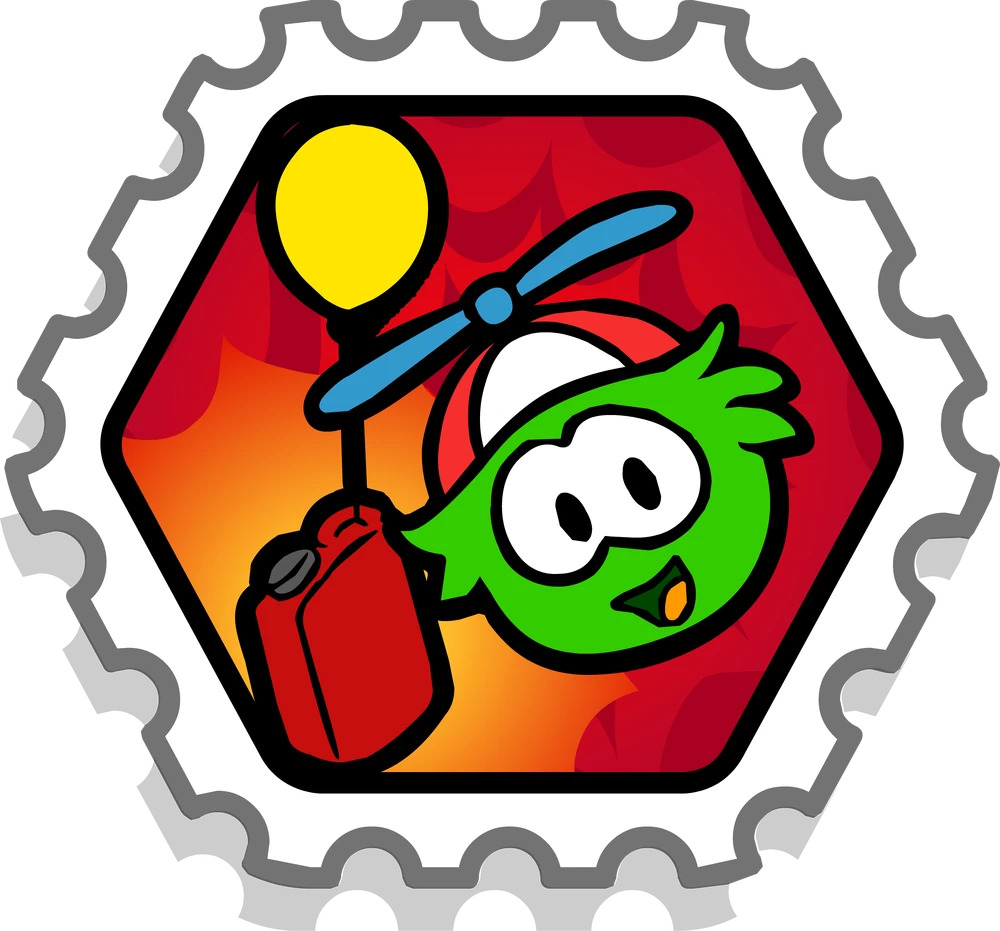
Puffle Boost – Your Green Puffle gets you a gas can when you run out of fuel
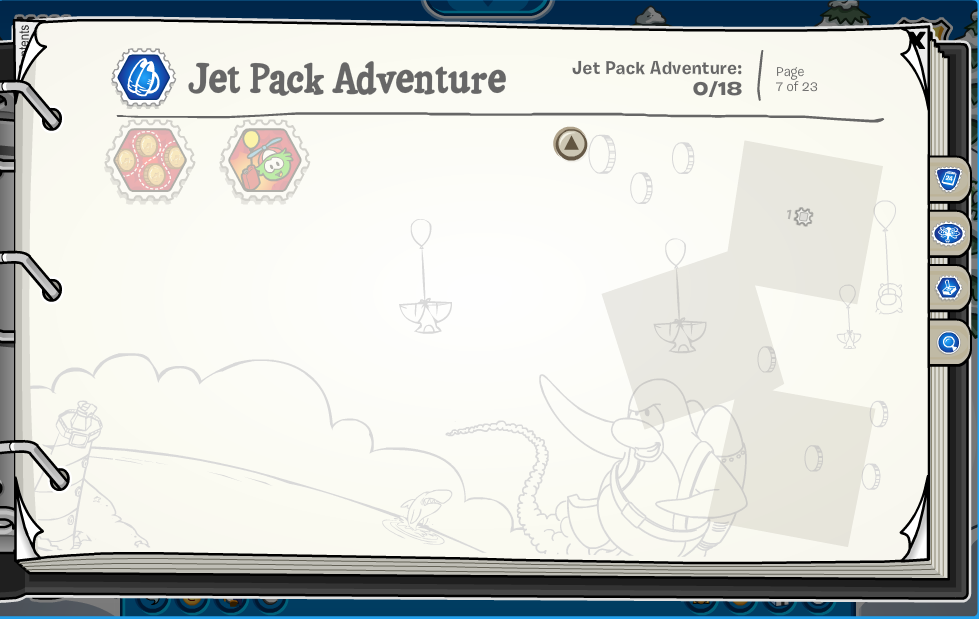
This guide is going to be broken up into 3 categories: Fuel and 1-Ups, Puffle stamps, and Level stamps.
These 4 stamps involve using the Green puffle, which can be bought for 800 coins in the Pet Shop.
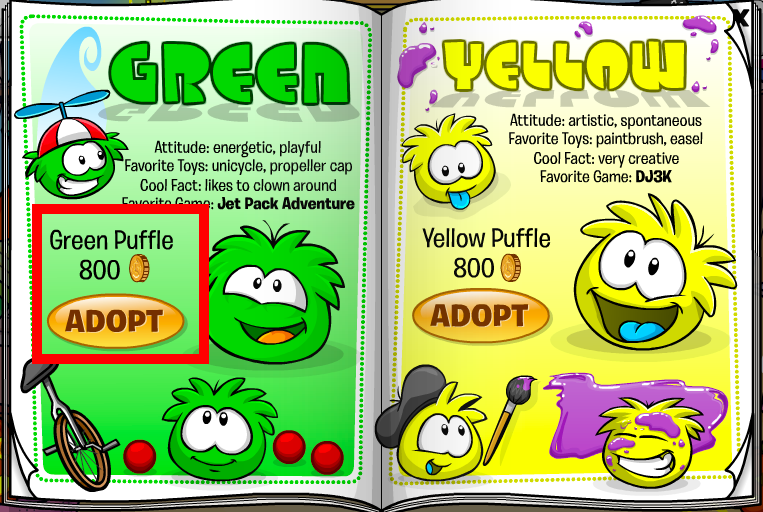
To get Puffle Pilot, simply bring your puffle into the game!
For Puffle Bonus and Puffle Plus, hover around coins and your puffle will grab them; try and get 450 coins!
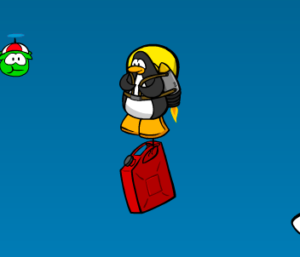
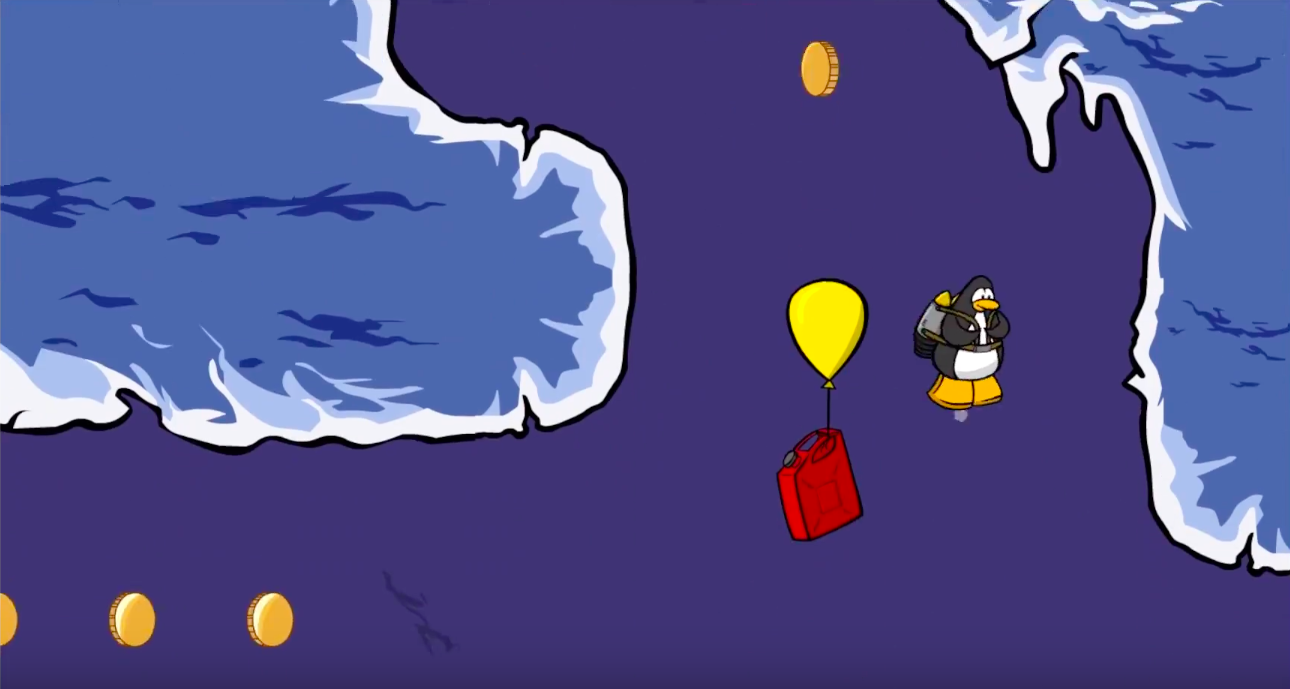
Lastly, for Puffle Boost, hover over a fuel can and run out of fuel – then your puffle will grab it for you, like this:
The next 7 stamps are for the Fuel stamps and 1-Up Stamps: Fuel Ranks 1-5, 1-Up Leader and 1-Up Captain!
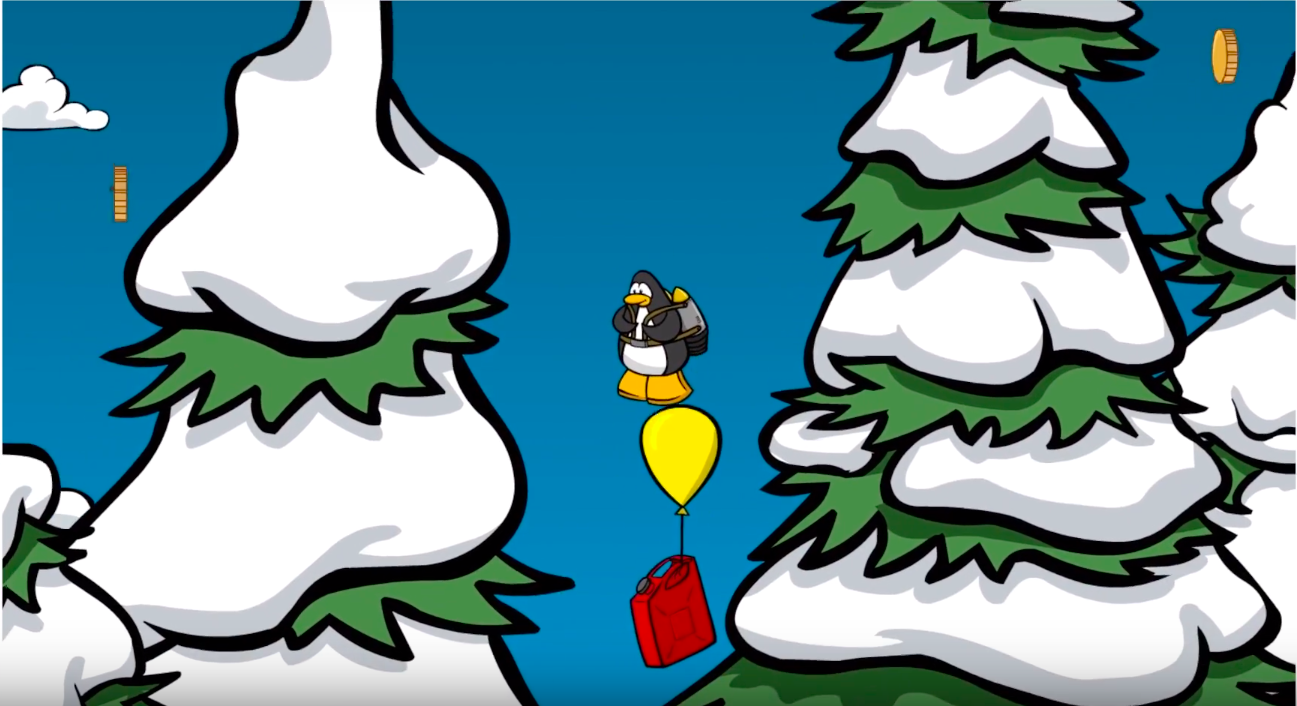
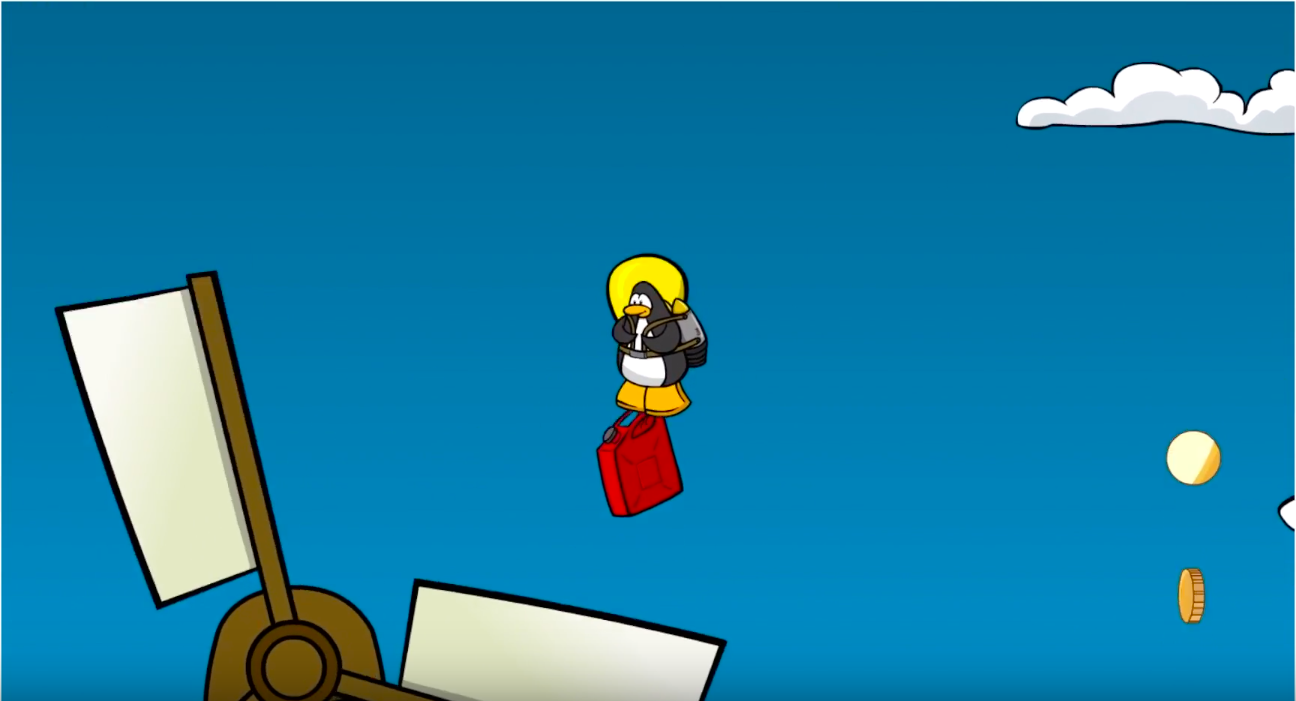
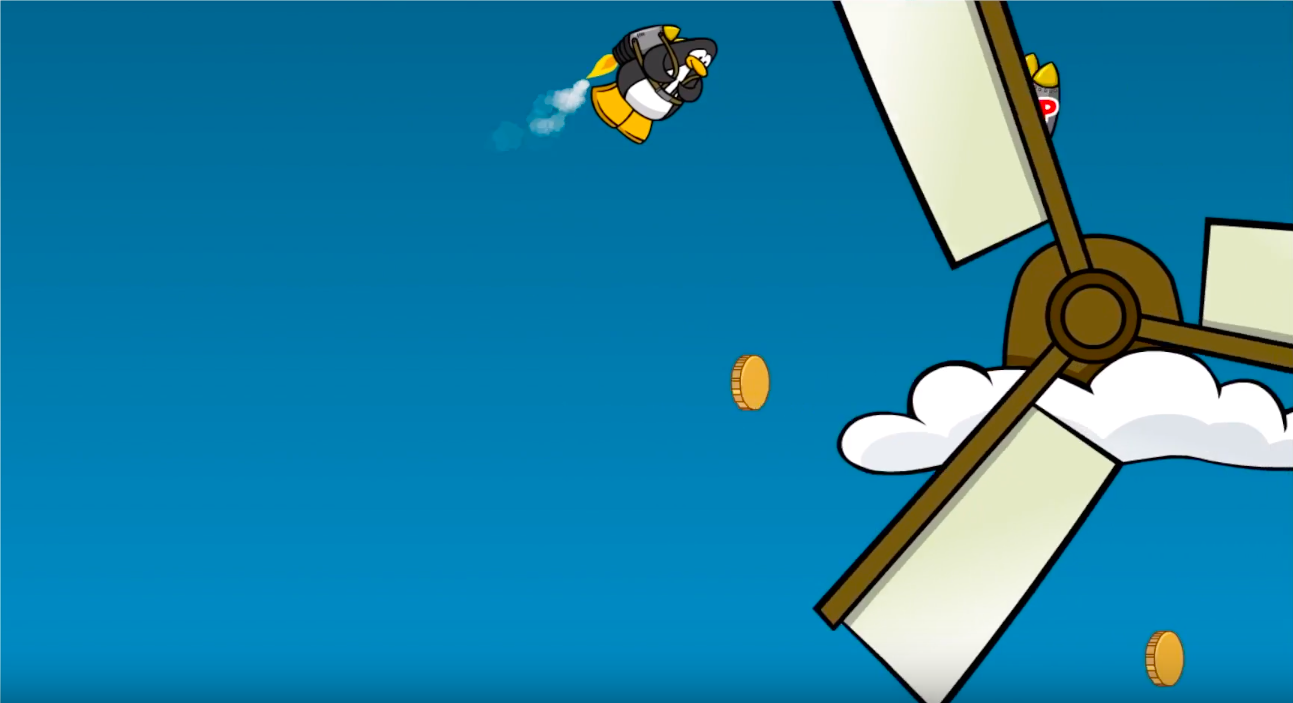
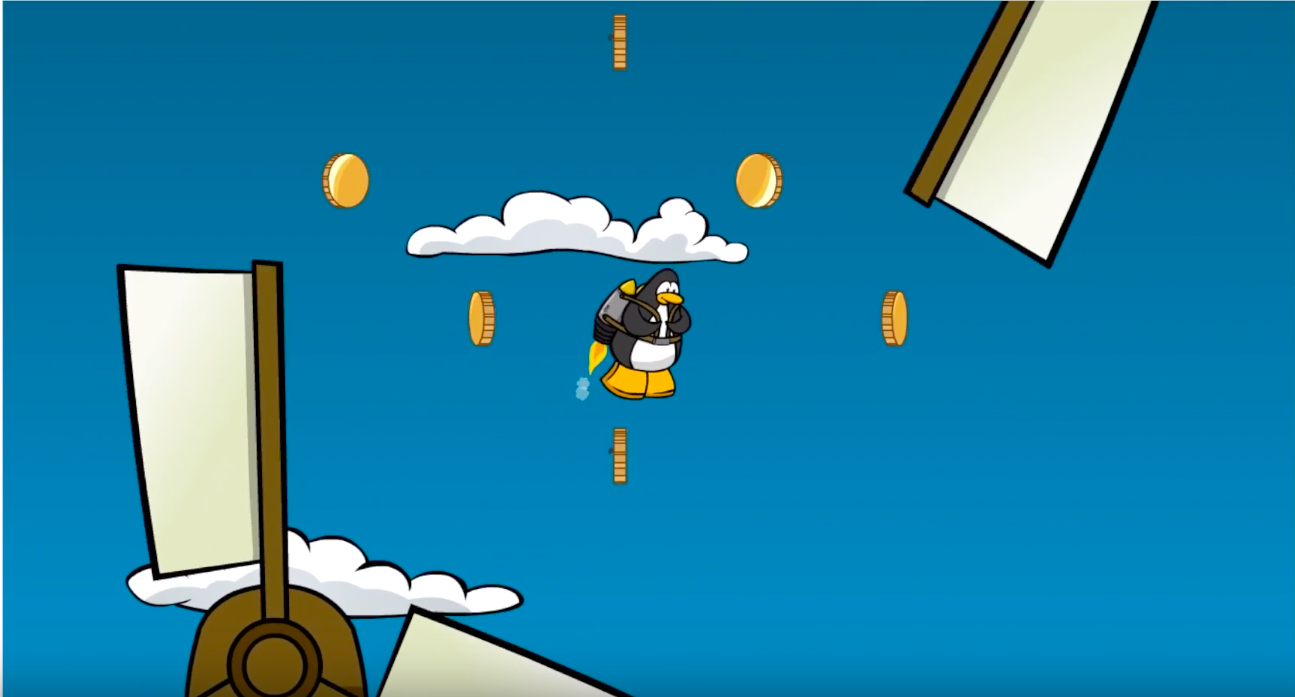
Level One:
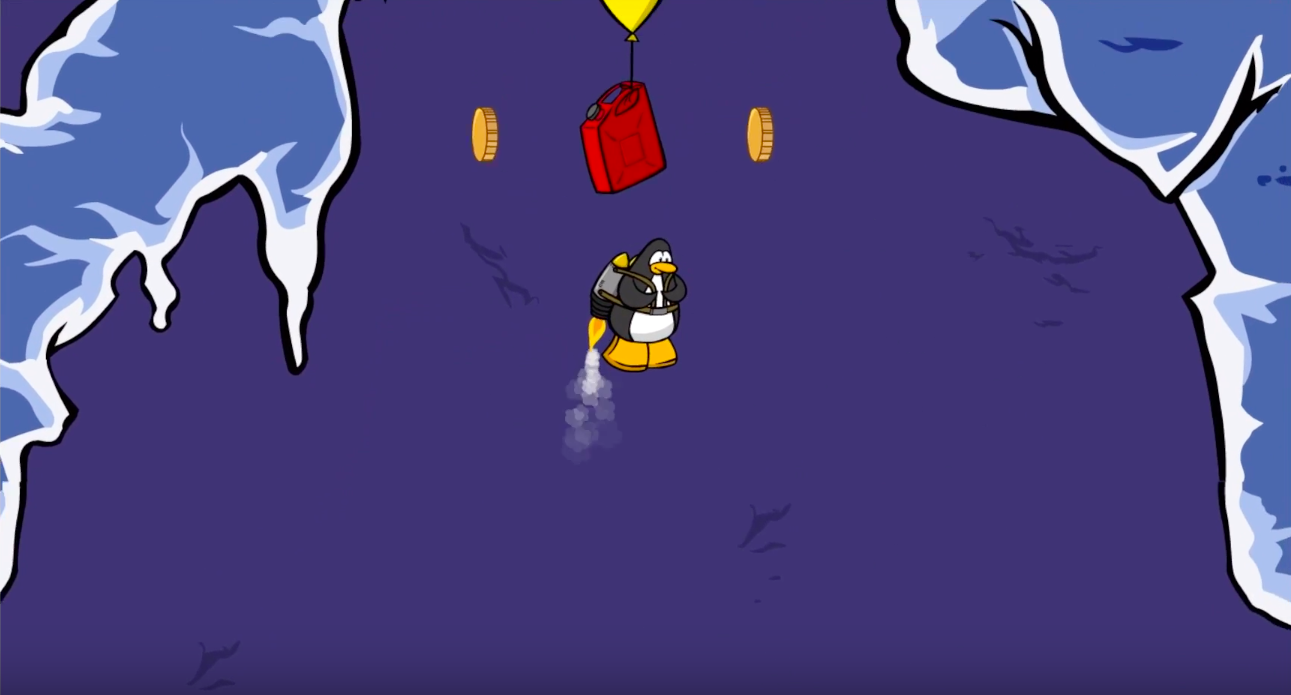
There are 5 Fuel Cans and no 1-Ups in this level.
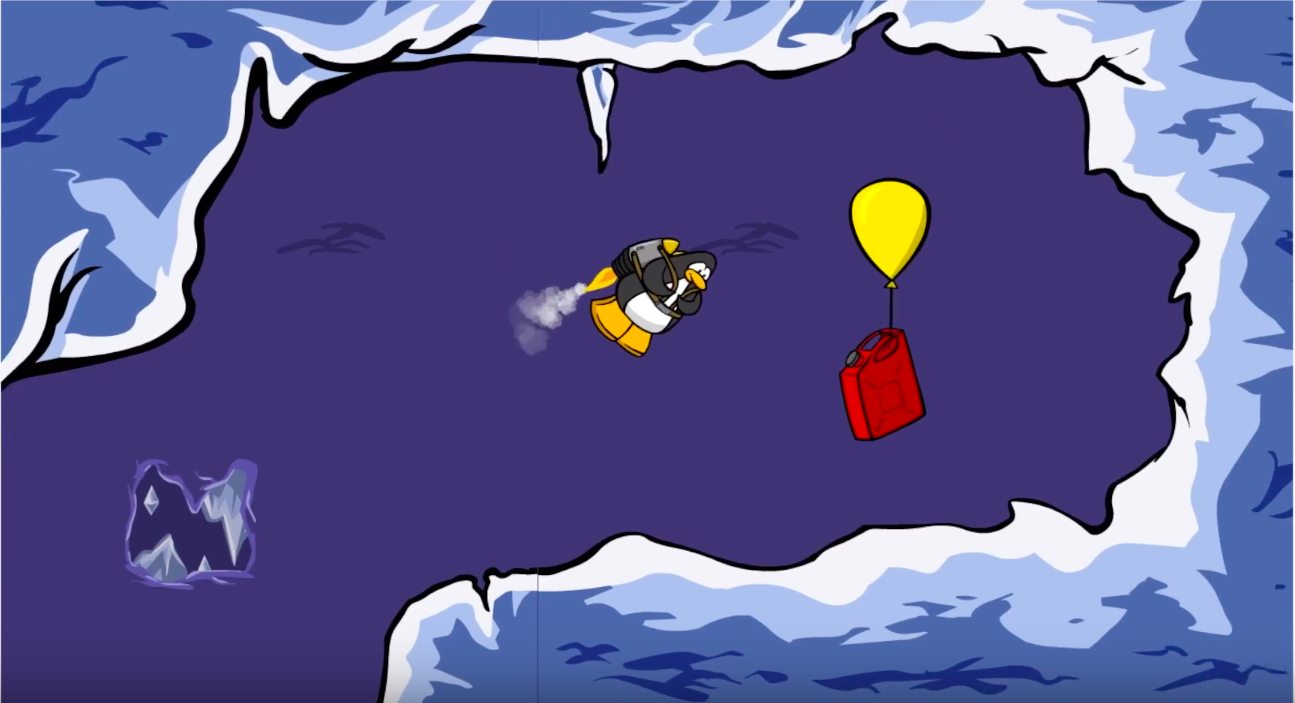
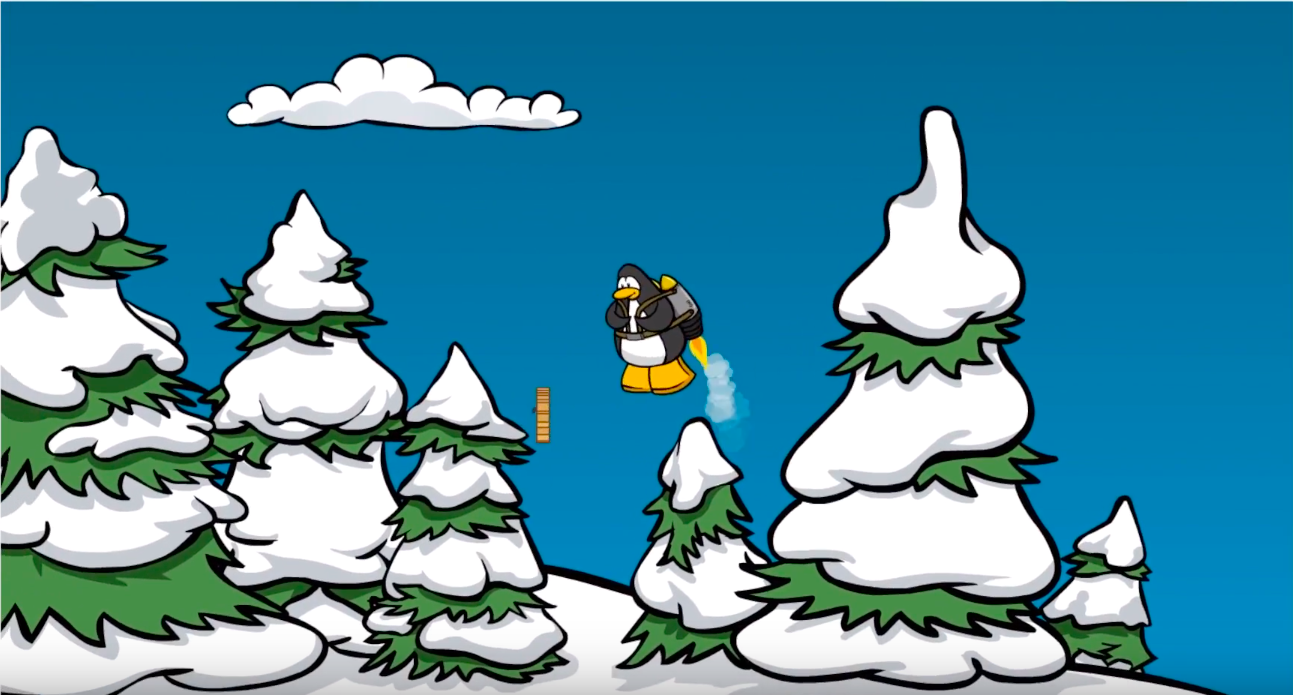
The first Fuel Can is up and to the right off the Landing Pad!
The second Fuel Can is behind the first large tree on the bottom of the level.
A bit later in the level, under the first 2 windmills, there is another fuel can between two trees!
Above the two windmills with a coin tunnel, the fourth fuel can is next to it on the top!
The final fuel can is at the end of the level behind the gift shop in the bottom right corner!

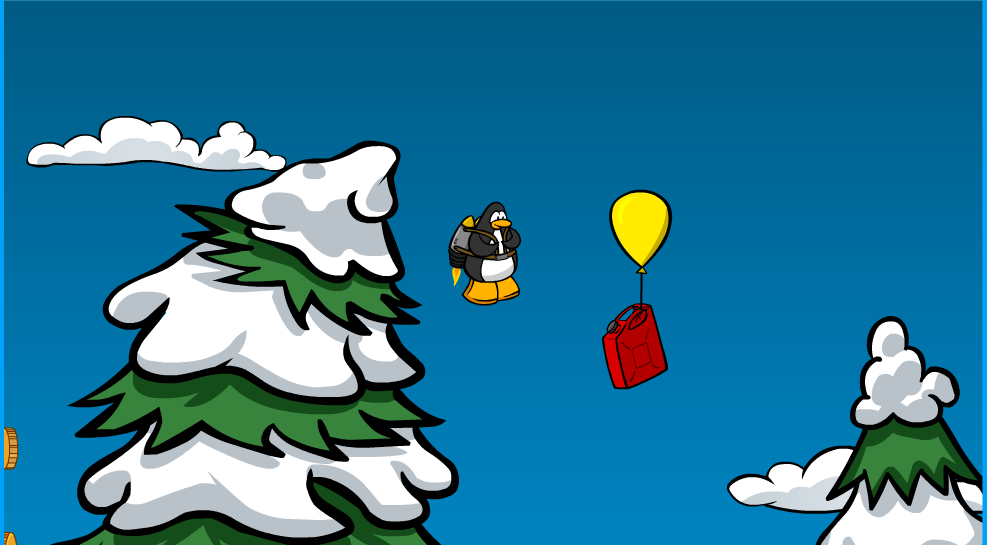
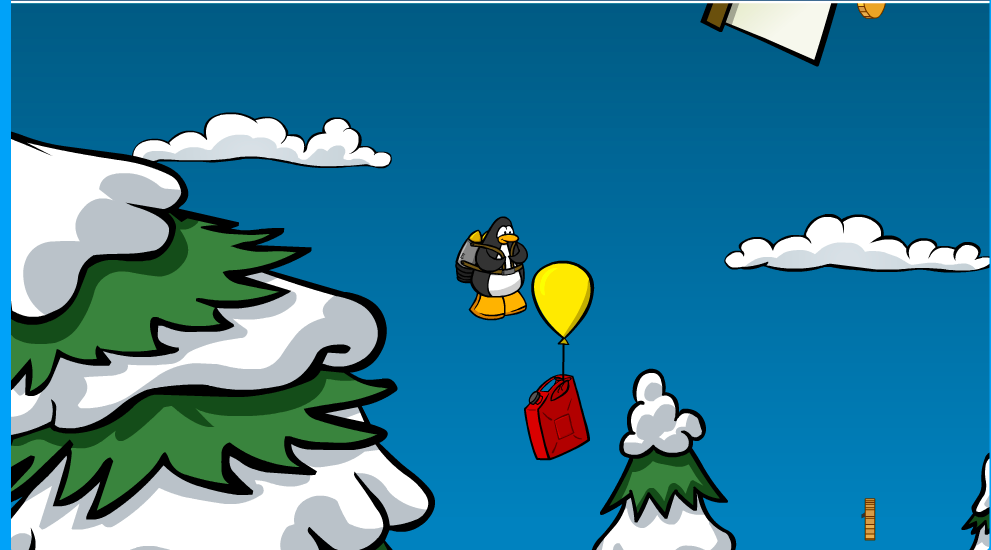
Level 2:
There are 4 Fuel Cans and one 1-Up in this level.
The first fuel can is way up at the top of the level at the start!
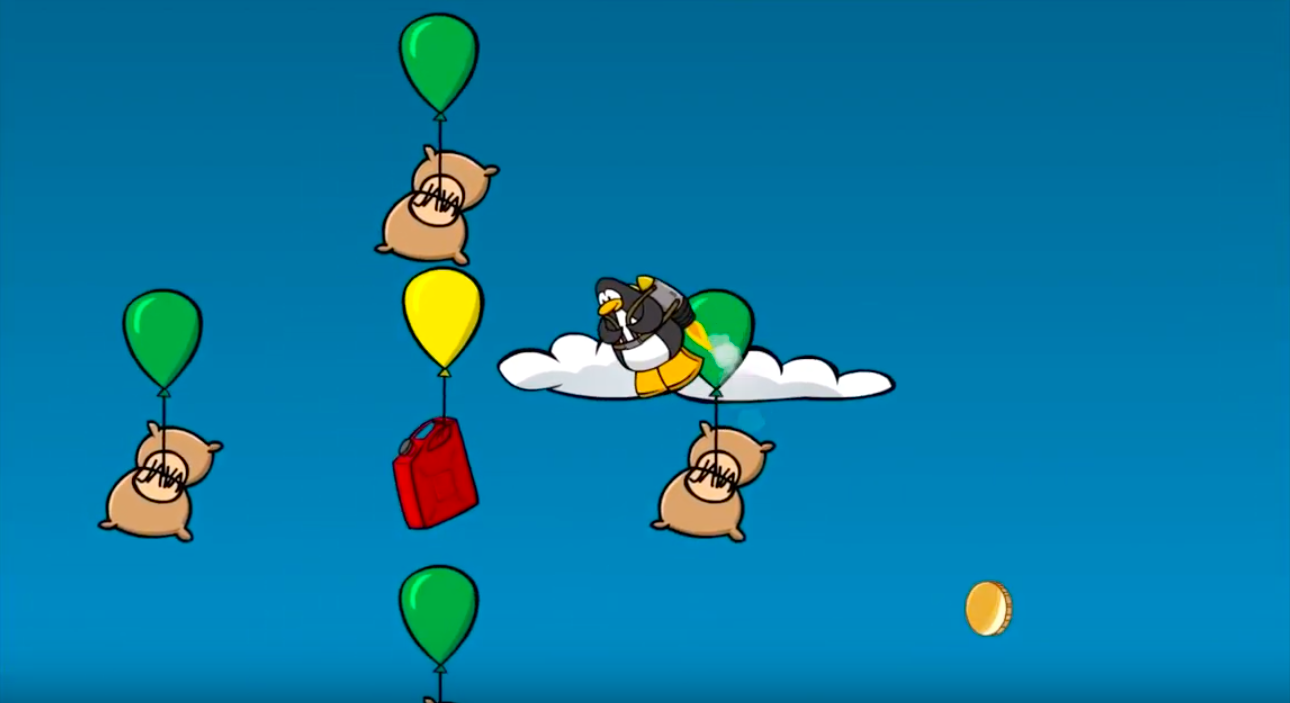
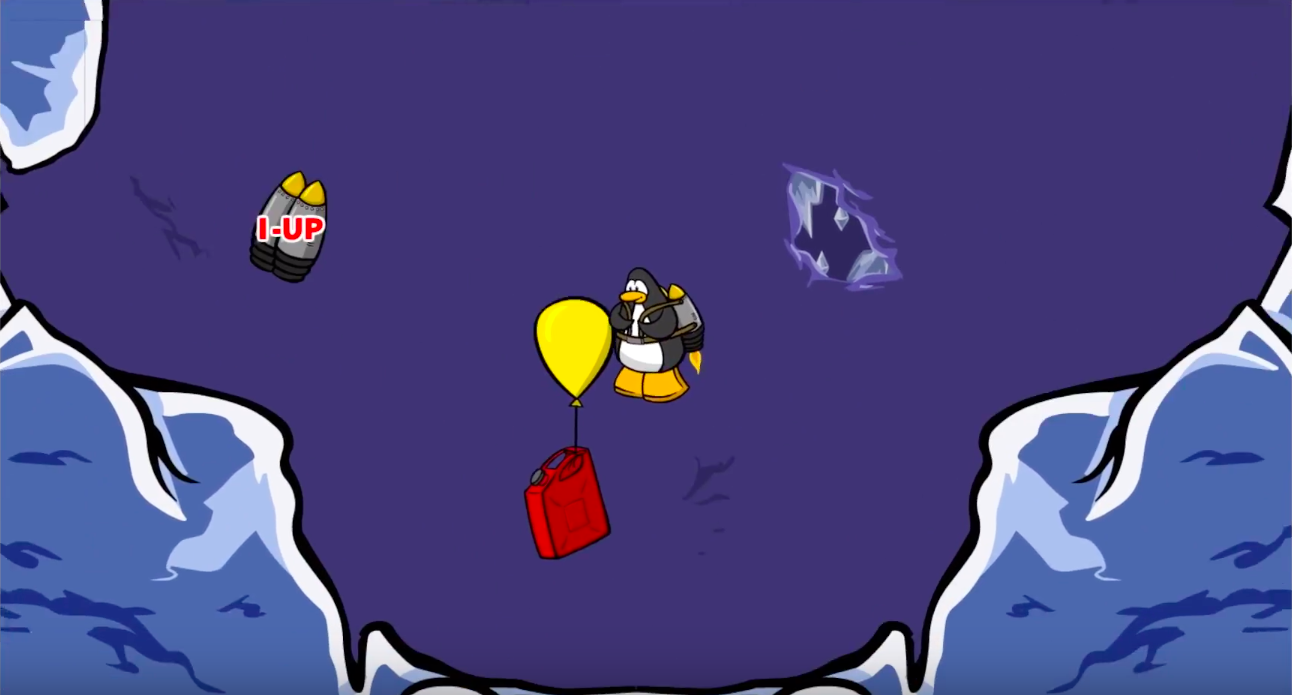
To the right of some anvils and java bags at the top of the level is the 1-Up!
Right below the 1-Up is another Fuel Can surrounded by java bags: watch out!
A bit past there, you will come across some trees. At the tallest tree there will be another fuel can behind it!
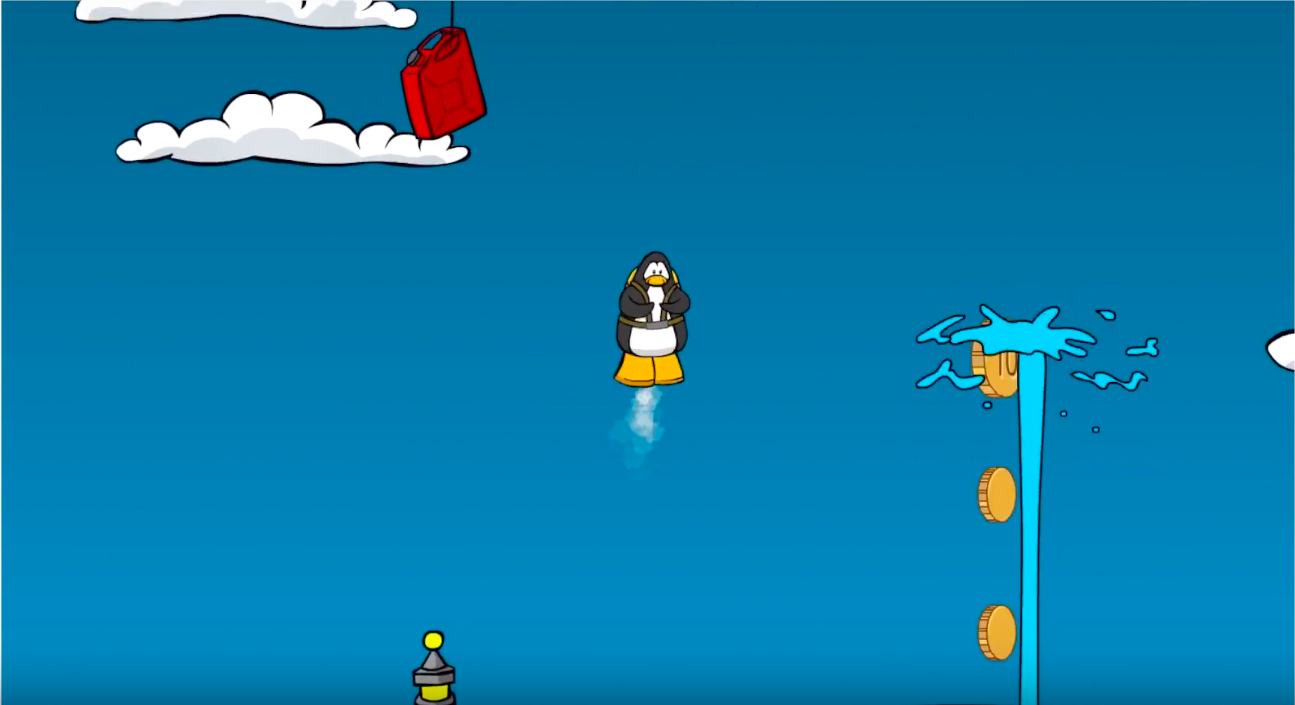
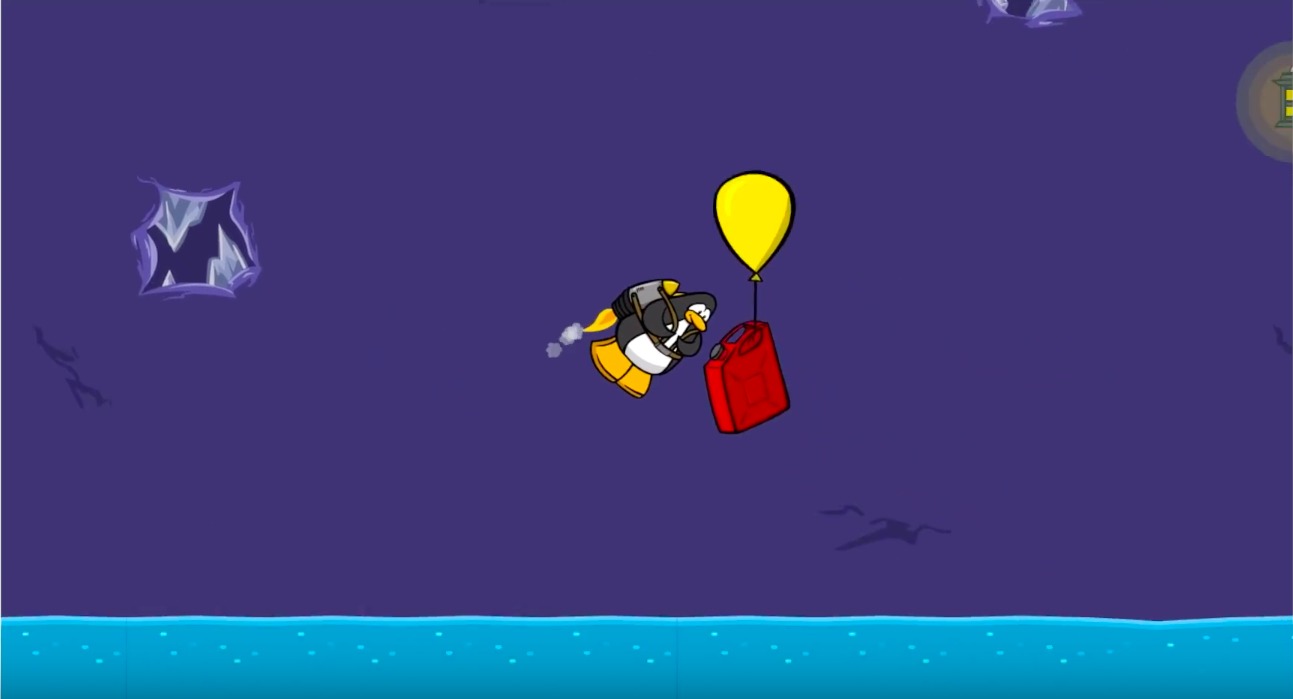
After that, there is a hot air balloon near the end of the level. When it bobs down, it reveals the final fuel can, snatch it quickly and end Level 2.
Level 3:
In Level 3, there are 5 fuel cans and one 1-Up.
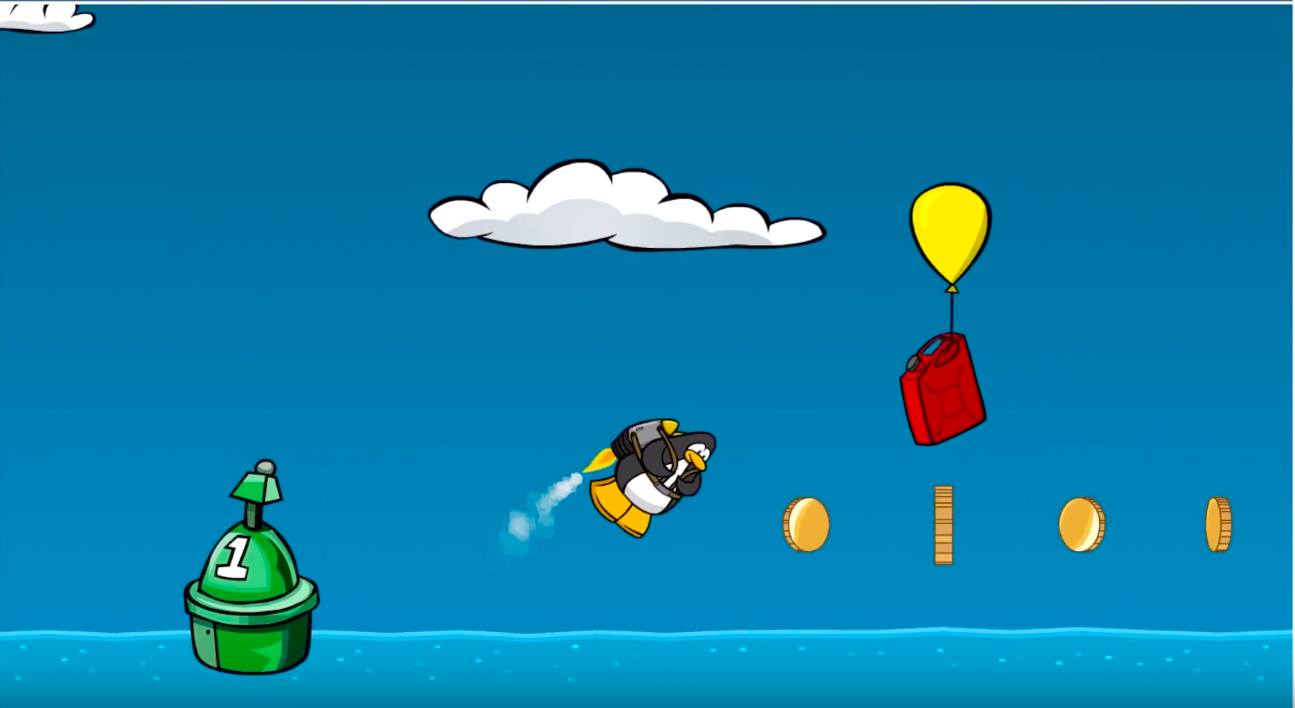
Once you enter the ocean part of the level, the first fuel can is right next to the first whale you see.
After that, the next fuel can is next to a jumping shark and a buoy.
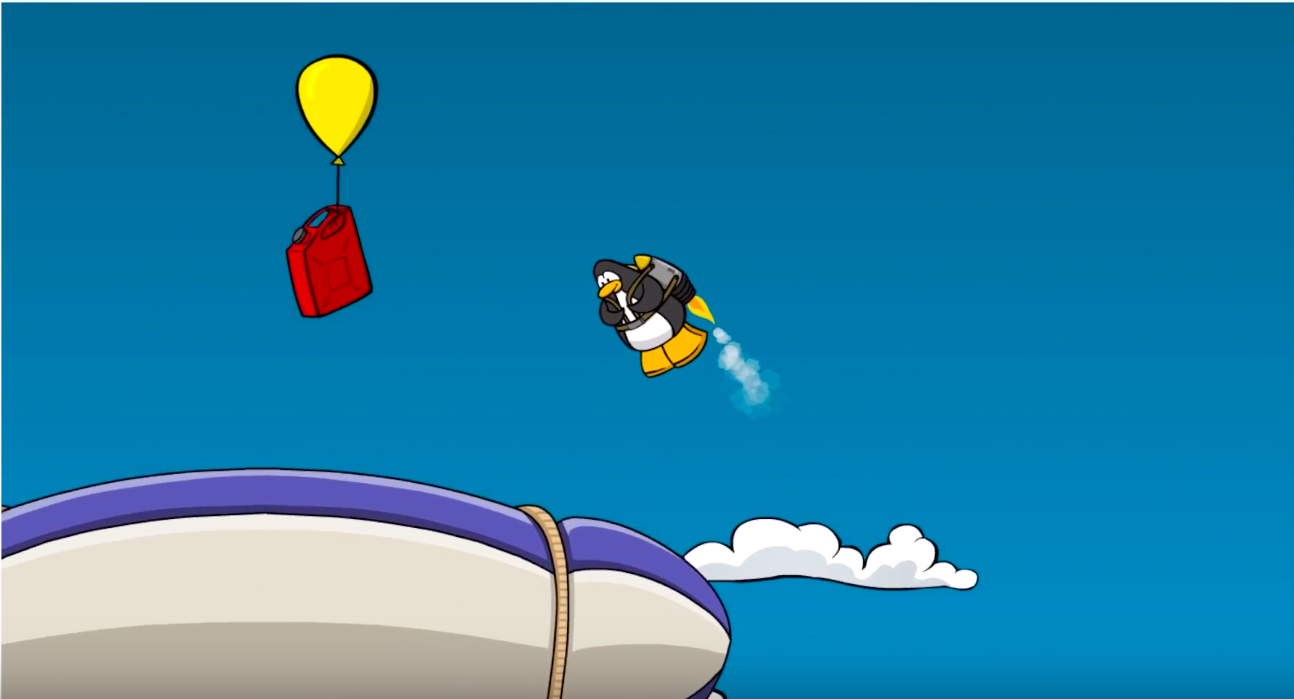
A bit higher in the air, the third fuel can in above a blimp.
When you reach land again, there is a cluster of trees. Between the first few trees at the bottom is the fourth fuel can.
The fifth and final fuel can is in the air towards the end of the level before the mountain in a windmill.
Above that windmill at the top of the level is another windmill containing the 1-Up for the level.
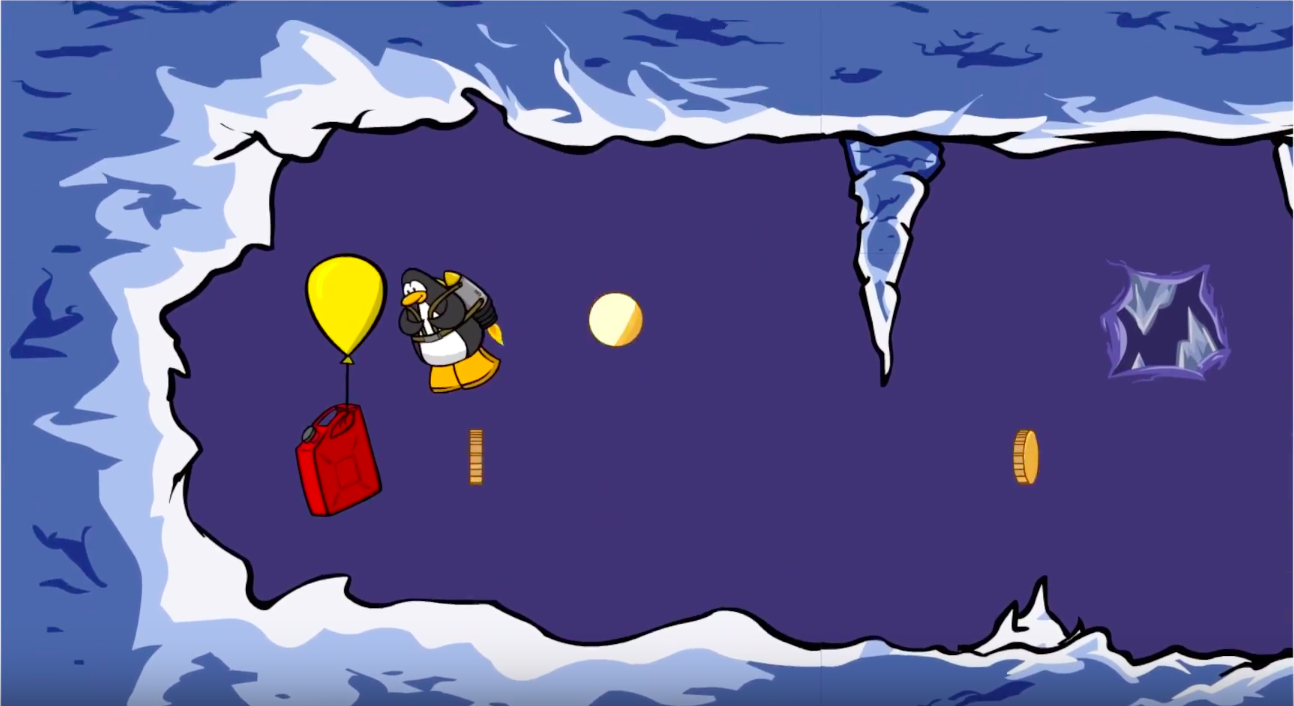
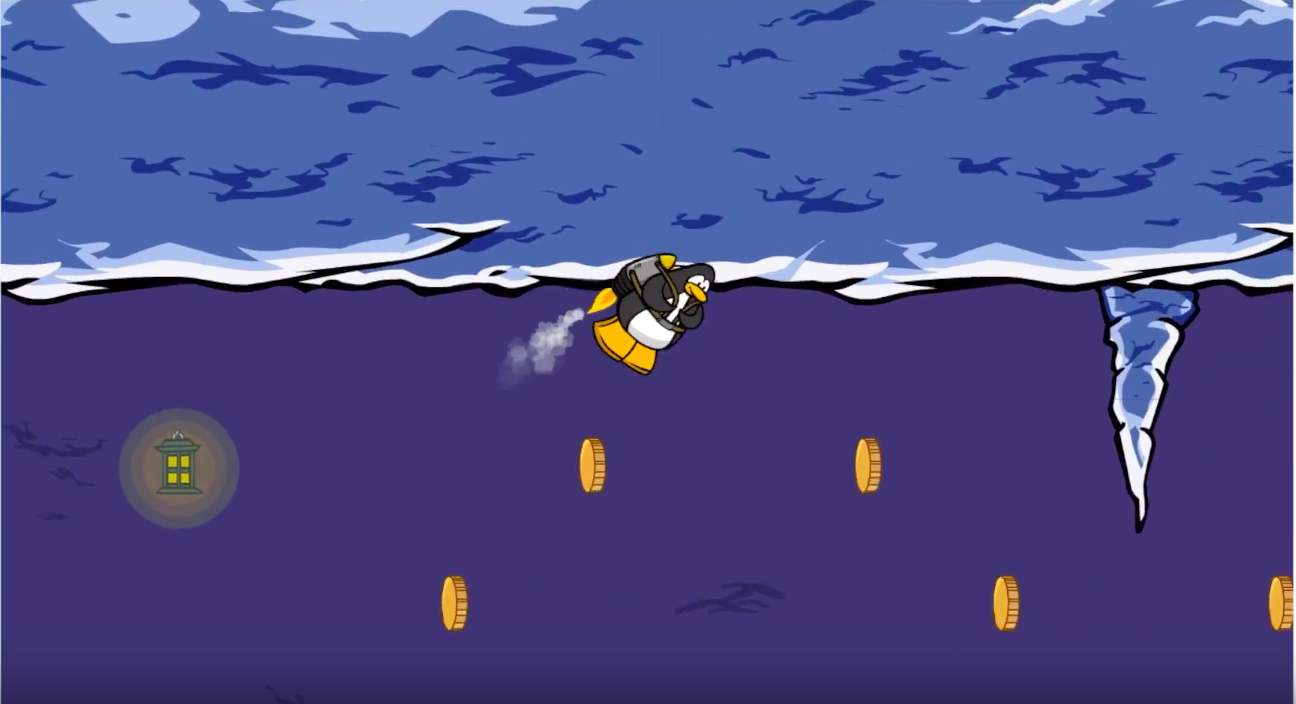
Level 4:
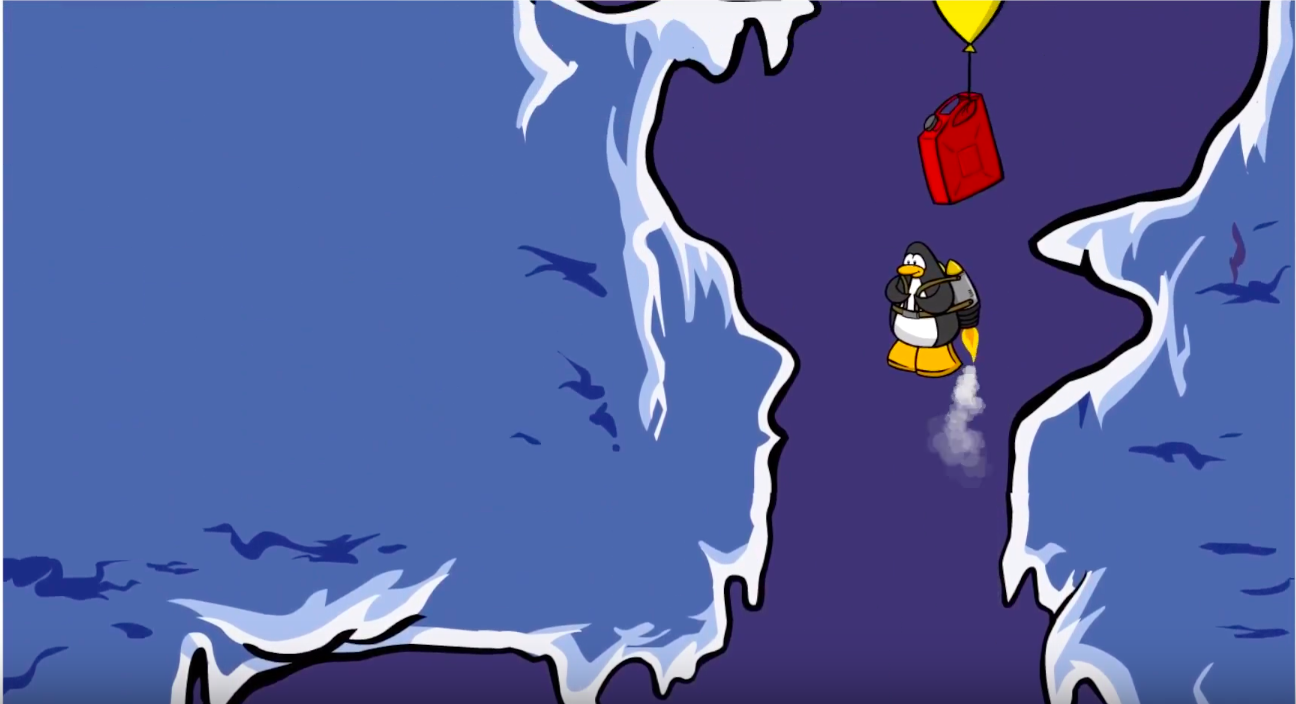
While levels 4 and 5 are in a cave and more closed off, they are much more narrow and harder to navigate.
There are an astounding 8 fuel cans and one 1-Up in this level!
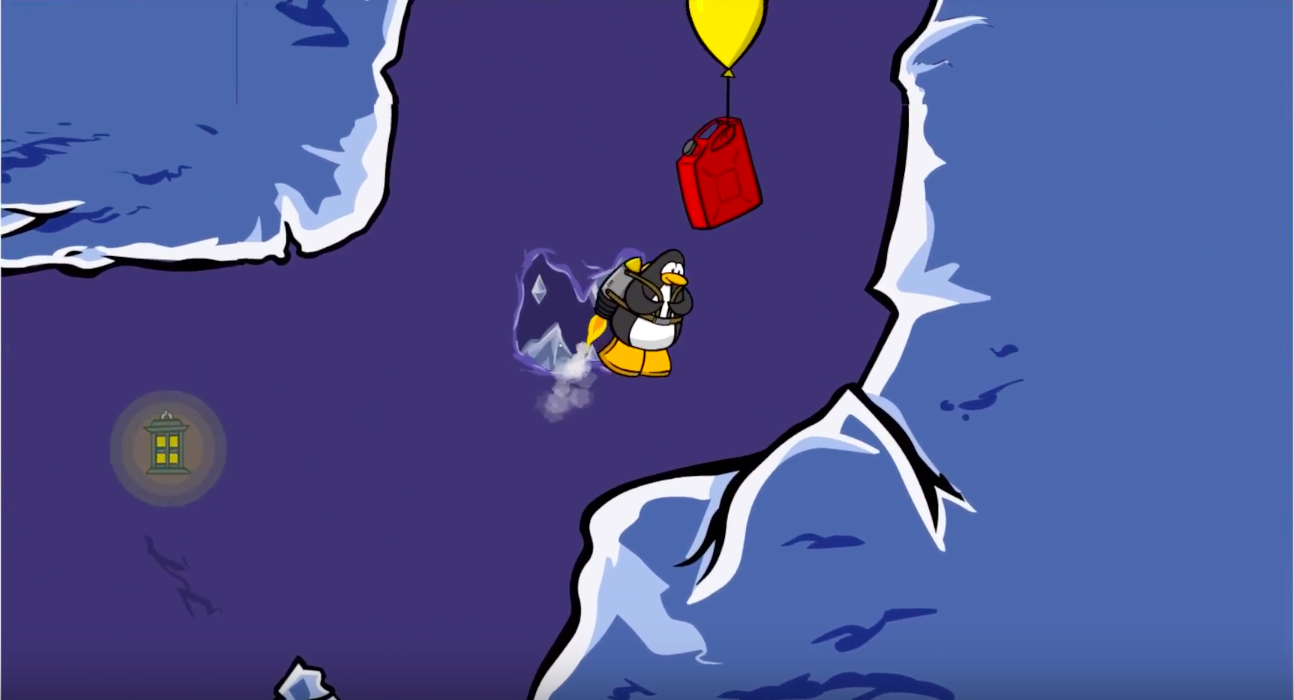
First, right above the starting point of the fourth level past the coins is a small cavern with the first fuel can.
Next, follow the main path-way to find the second fuel can just past this first one.

Continuing on the main pathway, keep following it downward until you find the third fuel can in a tight spot.

In the next section, there is a large pool of water in the cave with 3 fuel cans in it. The first is on the bottom left of the water; the second is on the top right of the cavern, and the third fuel can is right below the second.

As you continue on the main tunnel, the seventh fuel can is on an upward slope.
In a valley next to the end of the level, there is the eighth and final fuel can next to the 1-Up for the level.
Level 5:
This is the final level, and there is a lot of downward movement, so stay sharp!
There are 4 fuel cans and one 1-Up in this level.
The first fuel can is in a cavern right across from the starting platform of the level.
Keep following the main drop downward, sticking to the right, until you see a pathway branching upward on the right. There you will find the second fuel can and the final 1-Up right above it.
As you continue to drop down the main level path, watch for another divide in the pathway and stick to the left. There should be a wide pathway with lots of coins in it, and the third fuel can.
The final fuel can is right above the end of the level!
By the end of this, you will have earned the following stamps:
Fuel Rank 1 – Find all Fuel Cans in Level 1
Fuel Rank 2 – Find all Fuel Cans in Level 2
Fuel Rank 3 – Find all Fuel Cans in Level 3
Fuel Rank 4 – Find all Fuel Cans in Level 4
Fuel Rank 5 – Find all Fuel Cans in Level 5
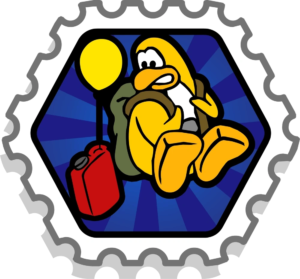
1-up Leader – Find 2 1-ups
Jet Pack 5 – Complete 5 levels
Fuel Command – Collect all fuel cans in 1 game
1-up Captain – Find all 1-ups in 1 game

Other Stamps:
These last 5 stamps are based on tasks done in the levels; some are easy and some are extremely difficult.
By far the easiest stamp in the game, Lift Off, all you have to do is land back on the starting pad of Level 1.

For the Crash! stamp, you need to lose all lives in a specific spot in Level 3, before the water.
For the Fuel Wings stamp, just hover over a fuel can you find and run out your fuel so that you catch it.
Kerching! and Ace Pilot:
These last two stamps are connected, and it is often easier to complete the game for Ace Pilot than Kerching! because the prize at the end for collecting no coins… is 1000 coins, completing the Kerching! stamp.
For the first 3 levels, you should be relatively safe hovering at the top of the level. For Level 1, you will need to hover slowly through the coin tunnel between the two windmills.
Level 4, however, is extremely difficult and you will need to be precise, and also not afraid to bump into the walls to get past some coins. At the start of the level, bump into the top of the cave.
Next, in the water cavern, you will need to bump on the top of the cavern to get around the arrow of coins in the center.

The final level is mostly downward, so be careful as you descend, but you should be relatively unobstructed.
Most importantly, remember that any extra fuel before landing results in a Coin Bonus, so you must finish the level with no fuel remaining.
That’s all the stamps for Jet Pack Adventure!
-Rocket
The Rocket Guy