
*kzzt!* Agent? Come in, agents! After more than a year, EPF Missions have made their return to Club Penguin Journey with Operation: Out of Bounds. This mission is filled to the brim with secrets, action, familiar faces, and a ton of water! Are you ready to answer the call? Alright, agents! Let’s move out!
ATTENTION: THIS POST CONTAINS SPOILERS.
Join our Discord server for more helpful guides, mascot tracking, and a fun community!
In order to complete this mission, you must be a Secret Agent and have completed all 11 PSA Missions as well as Operation: Mayday.
If you aren’t sure how to become a Secret Agent, click here!
Need some help with the missions? Click here to access all of our PSA mission guides!
Debriefing
When you log on, you’ll get a call from Gary on your spy phone and he will inform you of the new mission. Head to the HQ via your spy phone or walk there manually. Then, enter the EPF Command Room located inside the cupboard.
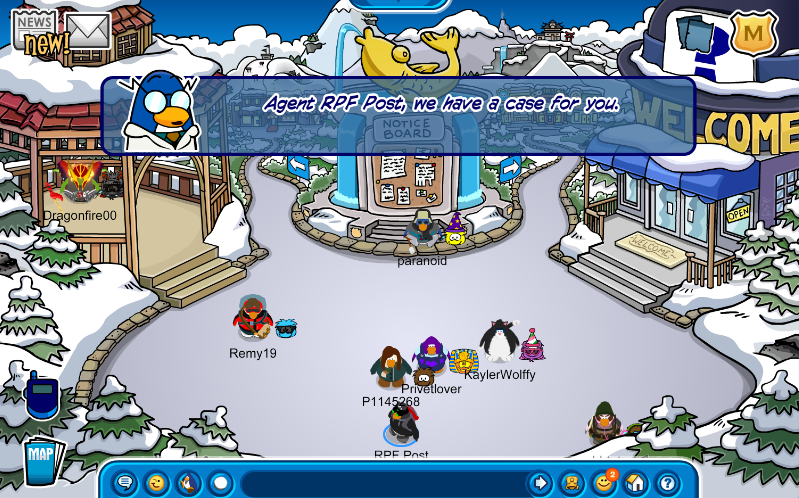
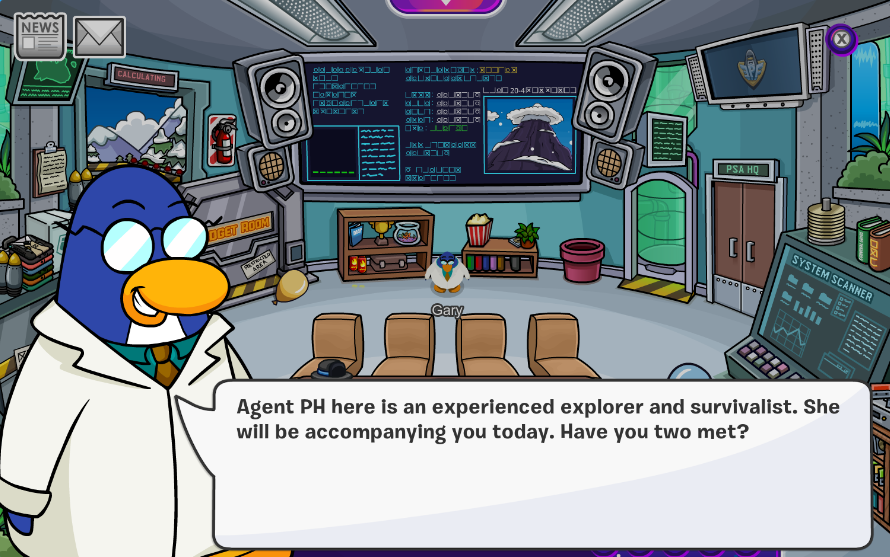
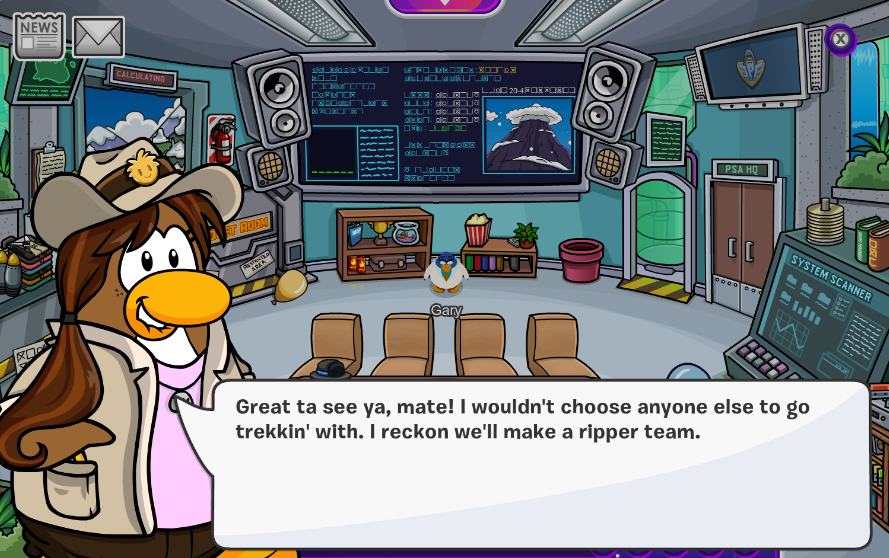
Both Gary and PH will be in the meeting room waiting for you. Click on Gary to begin the mission.
Gary mentions that the TourBots have been on the fritz for awhile and he couldn’t figure out why…until today.
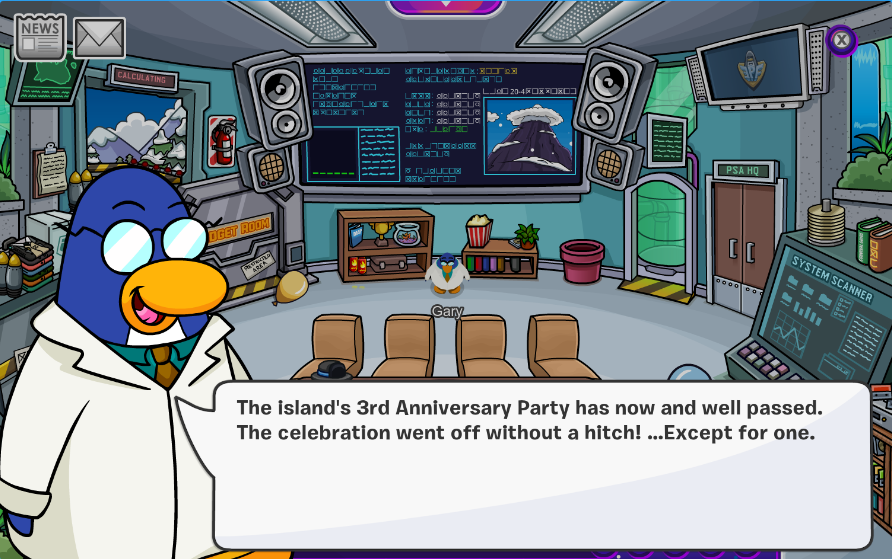
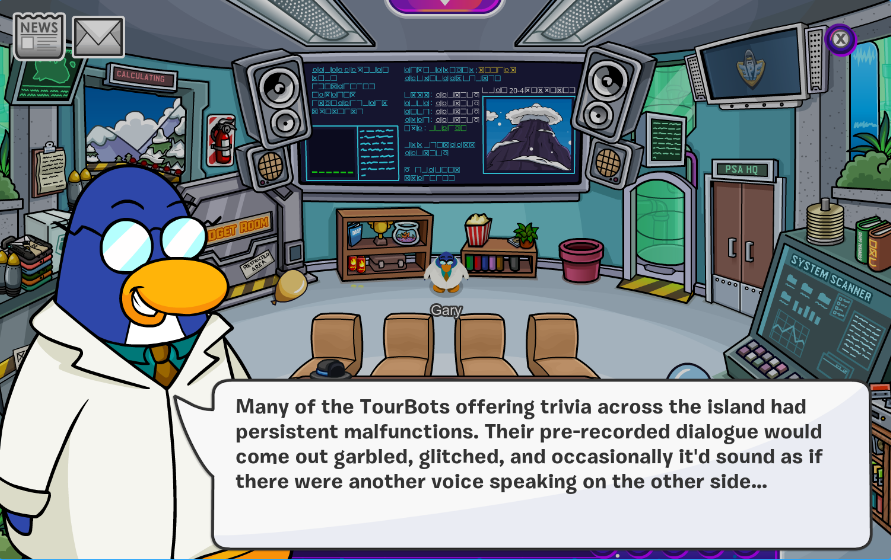
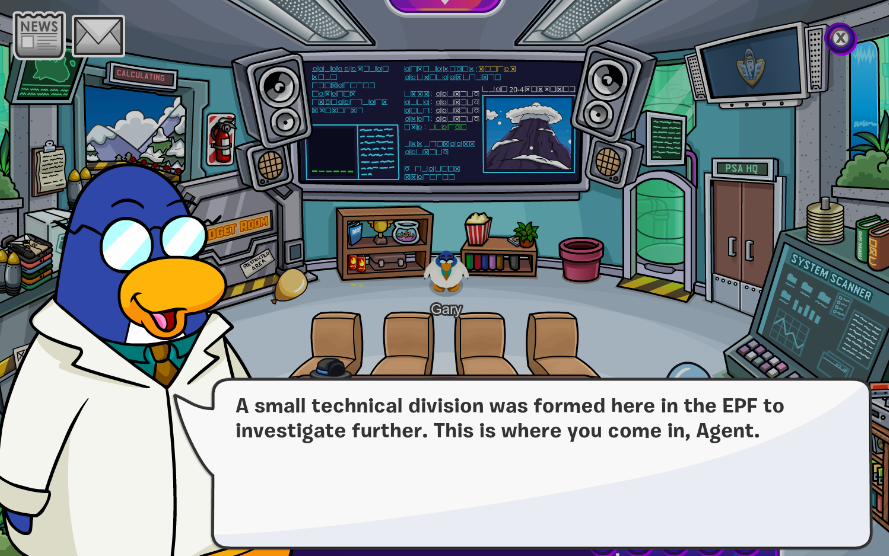
He reveals that the EPF had asked a Tour Guide to investigate The Wilderness in its entirety, however, they had mysteriously vanished and have been missing in action ever since. Gary explains that he believes that the malfunctions with the TourBots has to do with the missing Tour Guide.
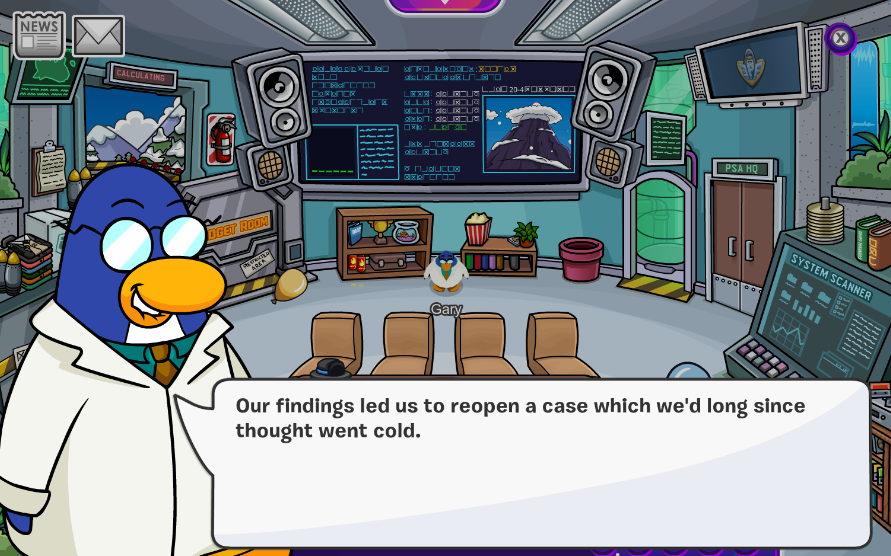
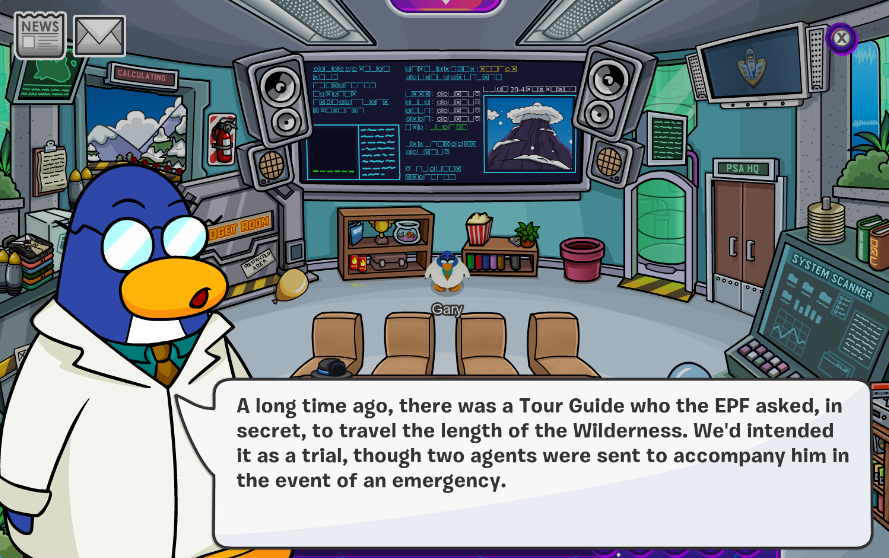
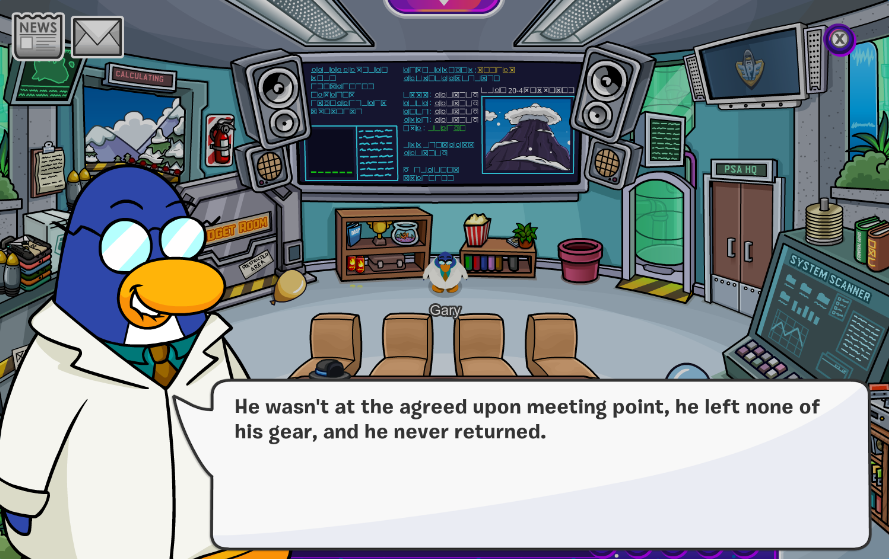
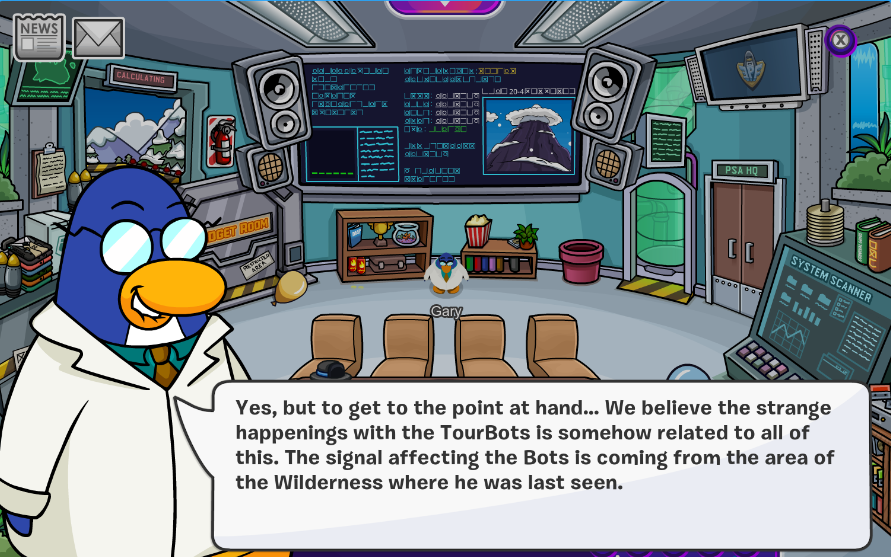
He gives us our assignment: track down the missing Tour Guide in The Wilderness and bring them back safely. However, Gary warns us that it’s too dangerous to travel out there by ourselves. So, he assigns us with PH to ensure we come back in one piece.
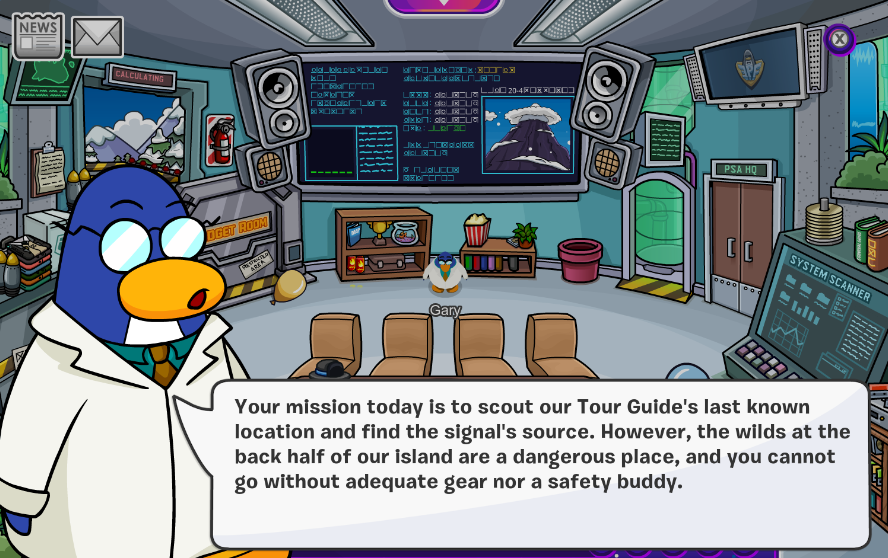
Gary tells us that we can track the signal using the TourBot Tracker 3000. It’s not quite finished yet though, so we will need to help him out.
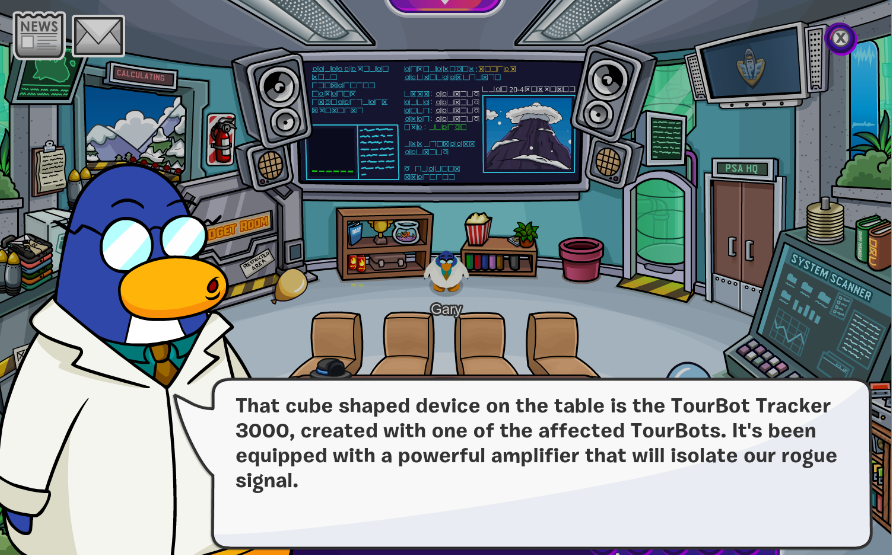
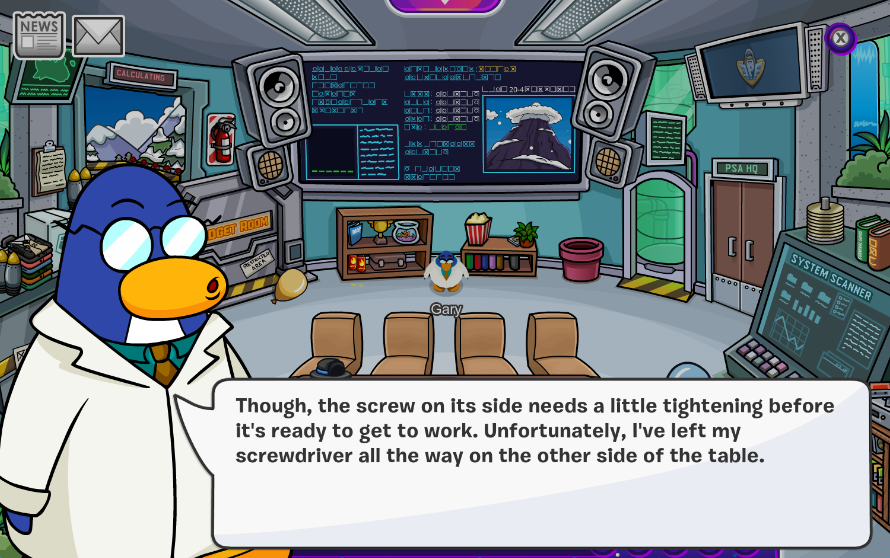
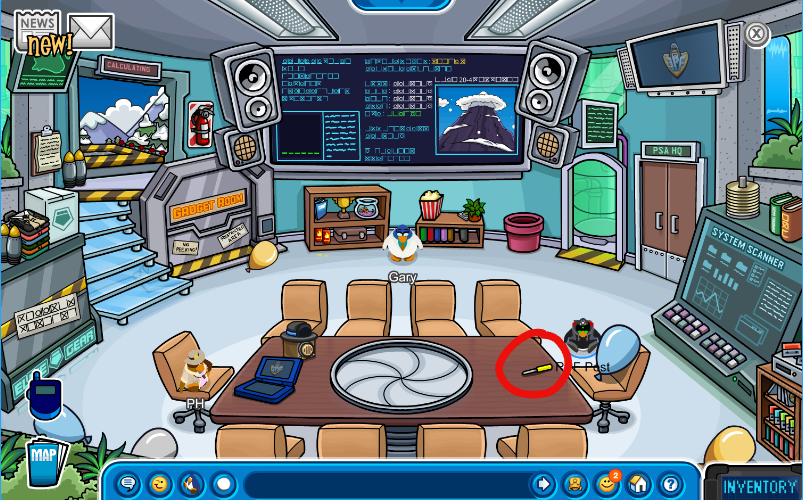
To fix the device, click on the screwdriver that’s on the table and then click on TourBot Tracker 3000.
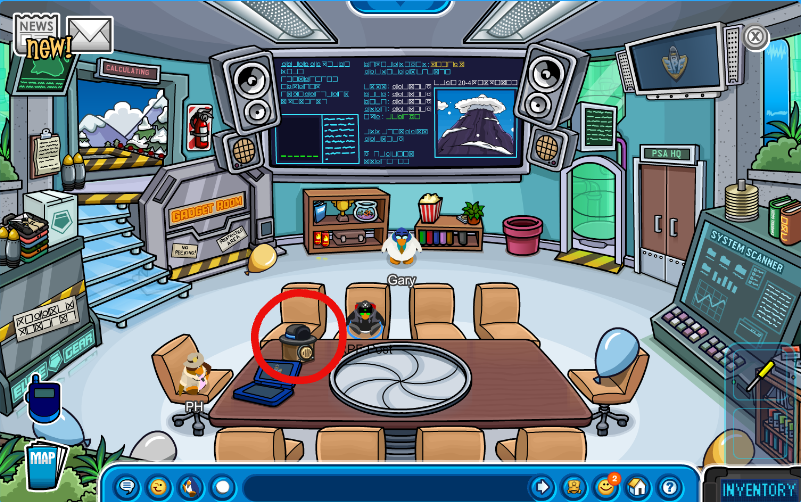
Great work! Now that the device is read to go, Gary introduces another nifty tool that’ll help us on our journey: The Spy Gadget. You can pick it up from the meeting table once he prompts you.
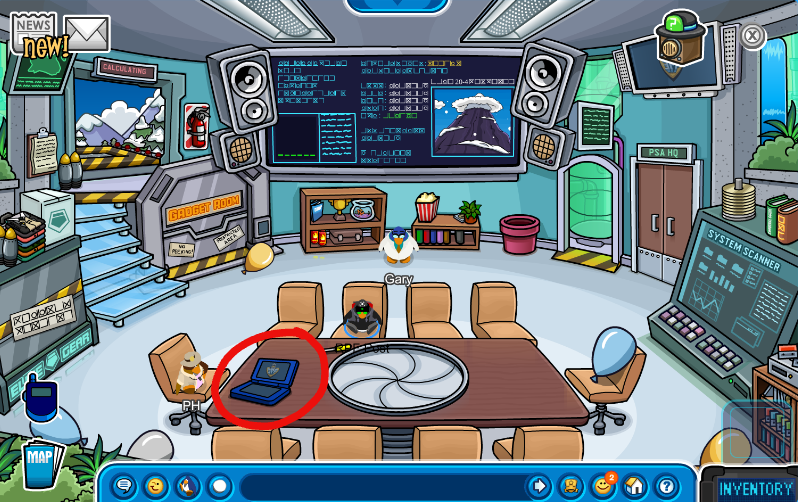
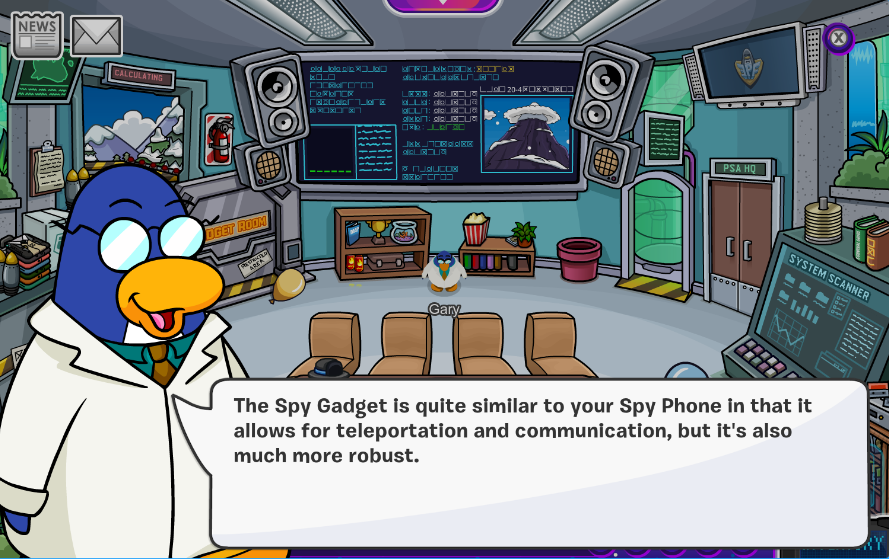
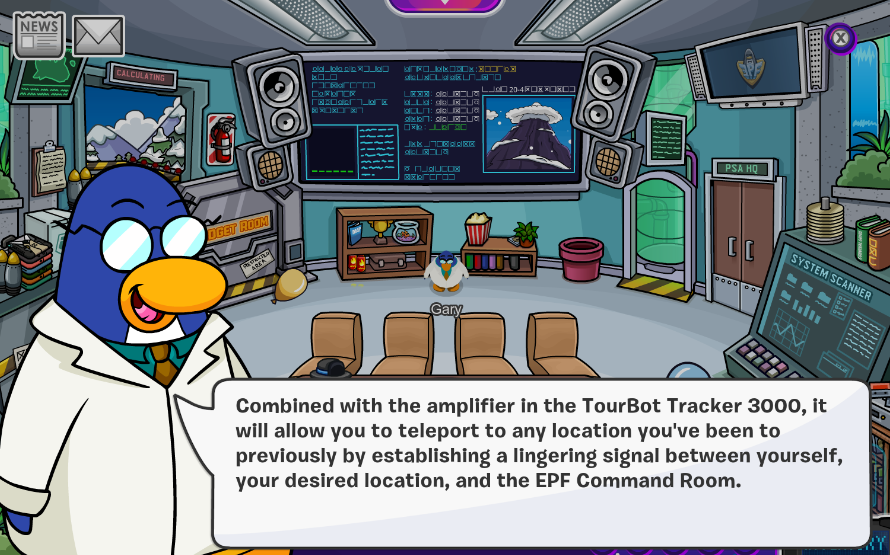
Throughout this mission, if we need to teleport somewhere we will have to use the Spy Gadget. Our Spy Phones won’t work here.
Once you’re ready, walk up to the launchpad and start the mission.
The Wilderness
Welcome to The Wilderness everyone! As soon as we touch down, PH will remind us to be careful out here. We’re gonna be just fine-
Oh? We have company?
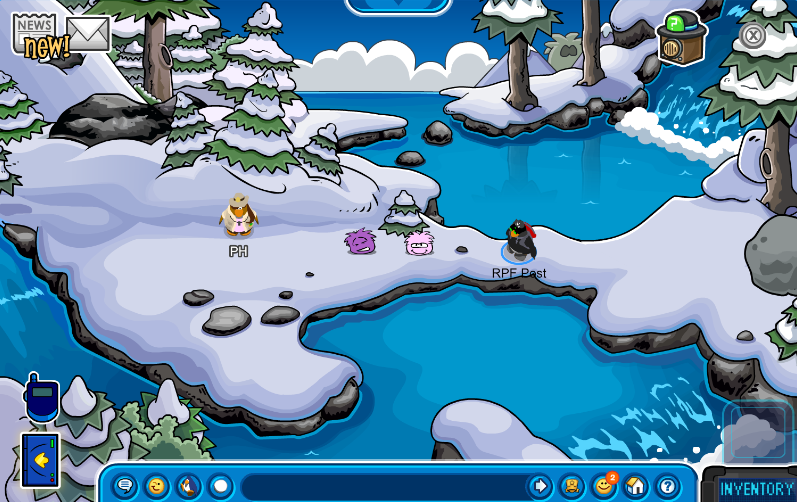
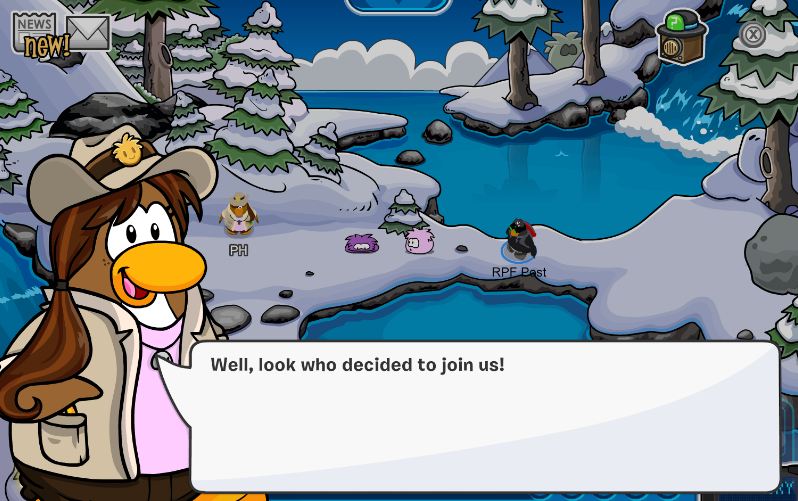
Your eyes are not deceiving you! The Elite Puffles are finally back! Loop and Pop are ready to help, well…Loop is ready. Pop needs some redirecting.
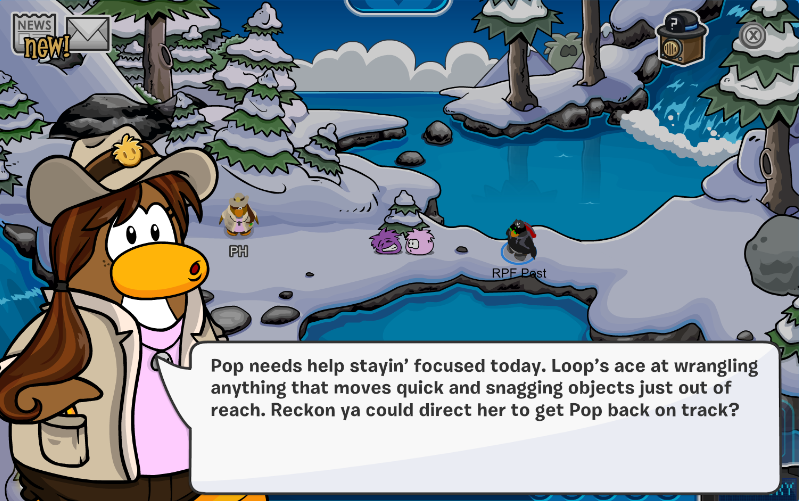
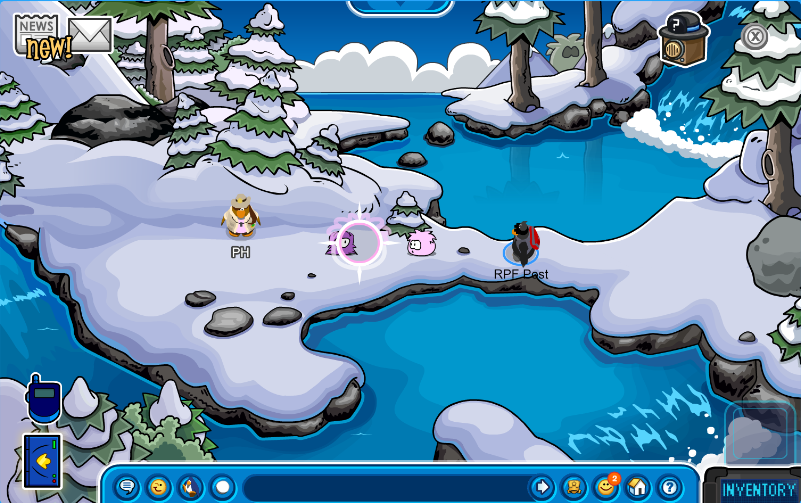
Let’s help Pop refocus. Click on Loop to activate her and then click on Pop to get them under control.
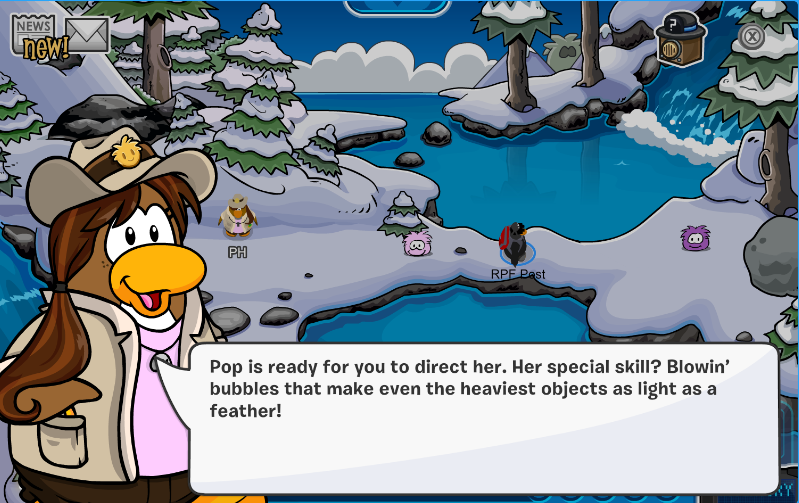
Now that Pop’s got it together, we can move on. You’ll notice that there’s a large boulder blocking our path. Click on Pop just like we did with Loop to activate her and click on the boulder to make her wrap it in a bubble.
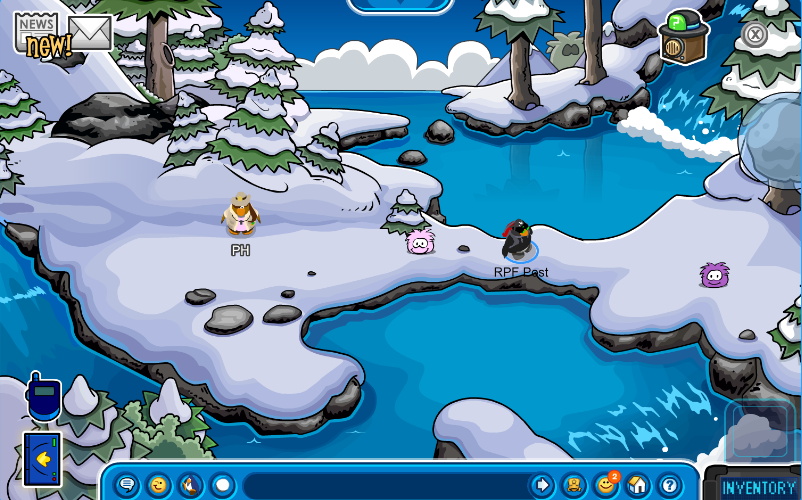
With no more obstacles in our way, we can finally move along.
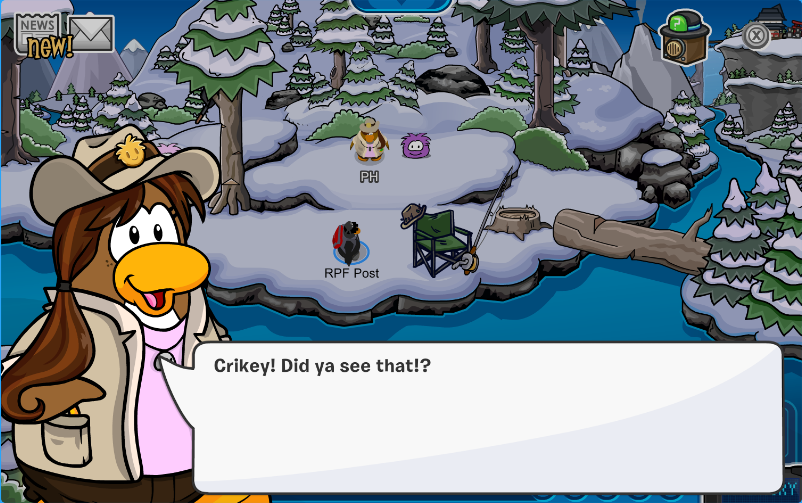
Or maybe not.
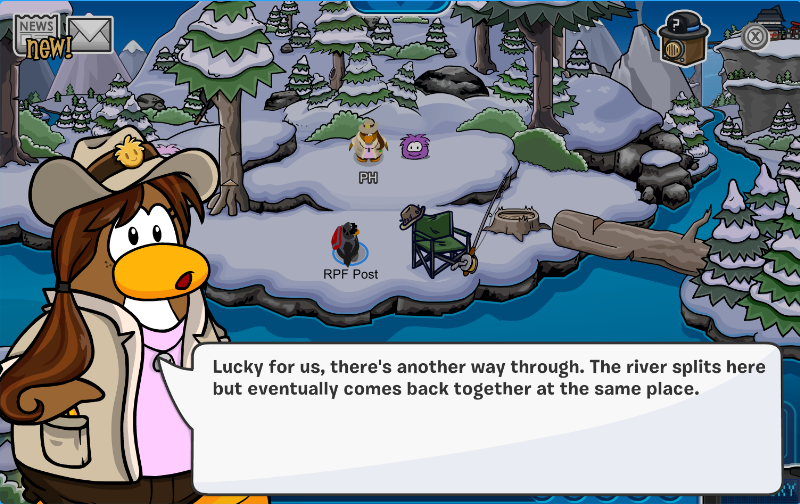
Thankfully we’re not completely stranded. As PH points out, there’s another way to get across. It will require a bit of legwork though. First, you’ll want to pick up the fishing rod in front of the green chair.
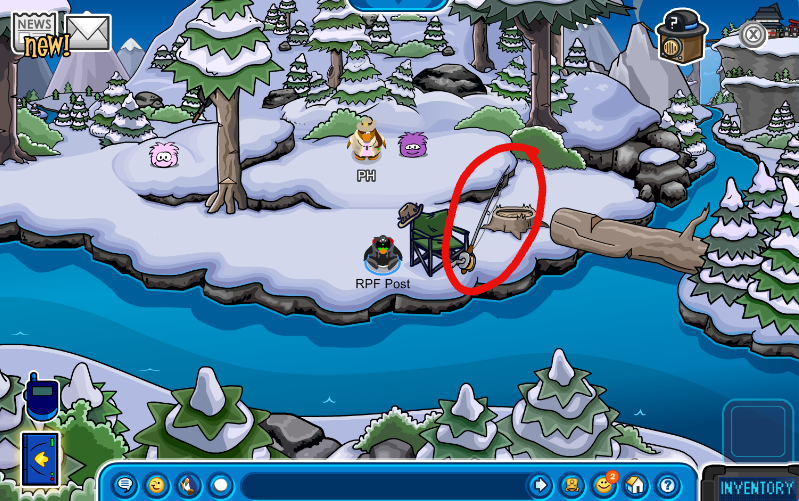
Next click on Loop and then the tree next to her. We’ll use this tree as a bridge to cross to the other side. Her lasso won’t be enough to bring it down. Grab the fishing rod and give her a hand.
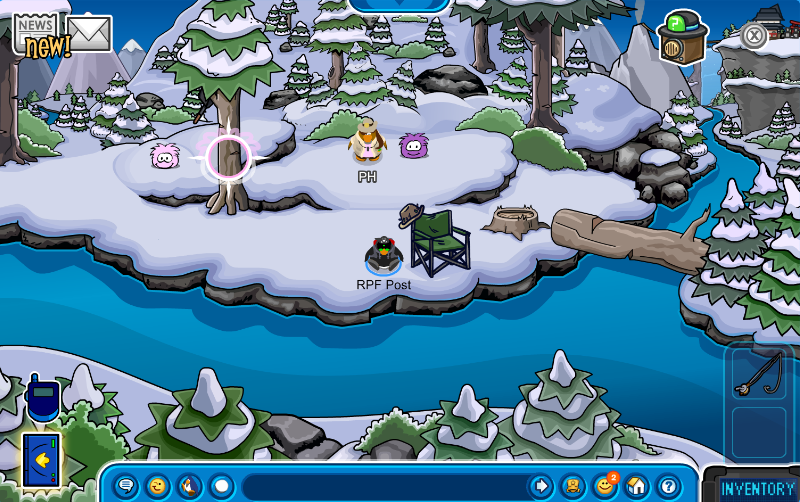
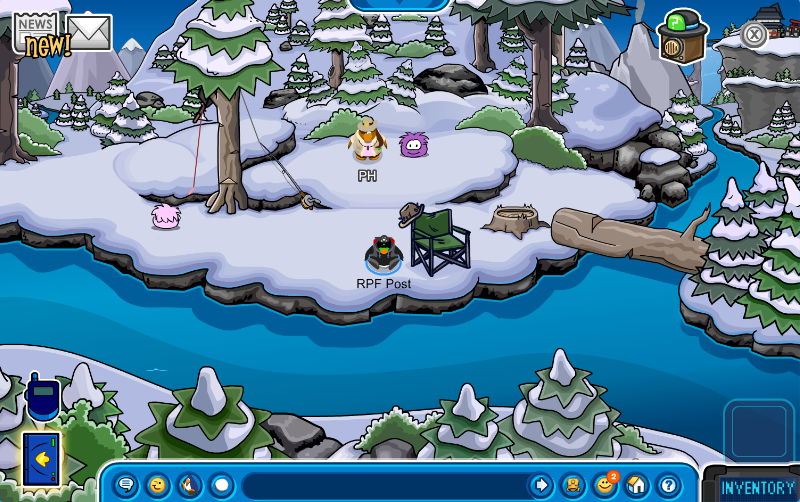
The tree will fall, but we’re not done here yet. Click on Pop and then click on the tree to put it in a bubble. Now’s your chance to pick up the pot.
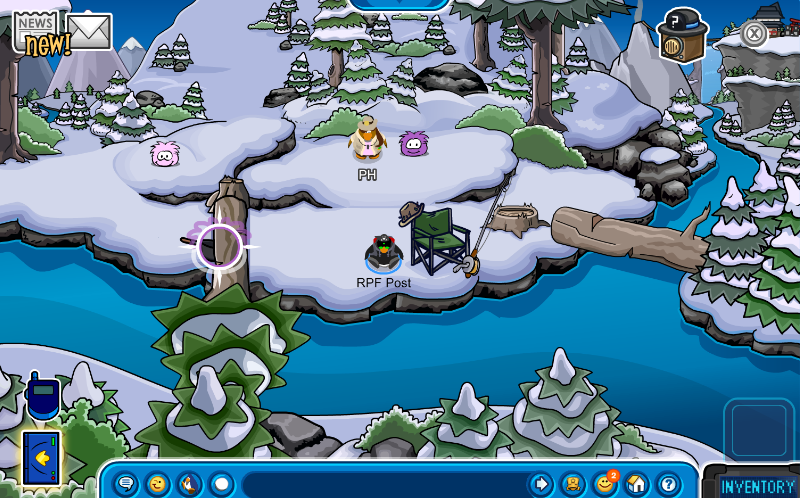
This is a bit of a predicament now, huh? The answer is closer than you think! Open up your Spy Phone and click the little red button three times to bring out your scissors. Make sure you’re close to the bubble and click on it to make it pop.
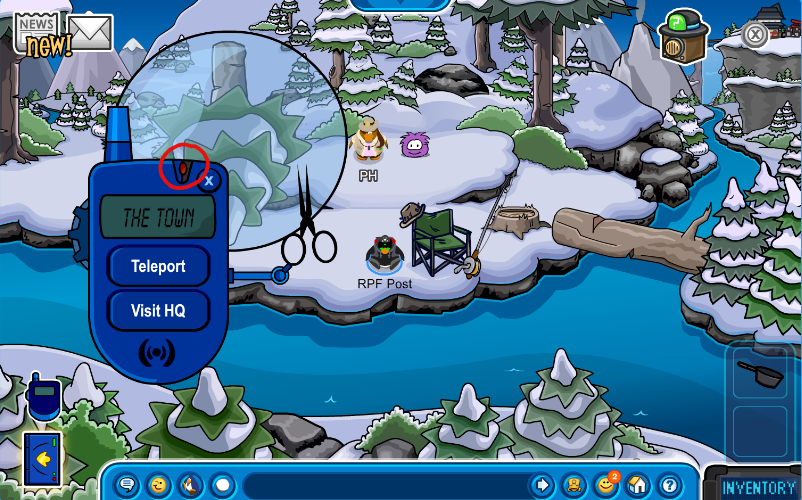
Get on top of the tree and cross to the other side. Head to the bottom right to proceed through.
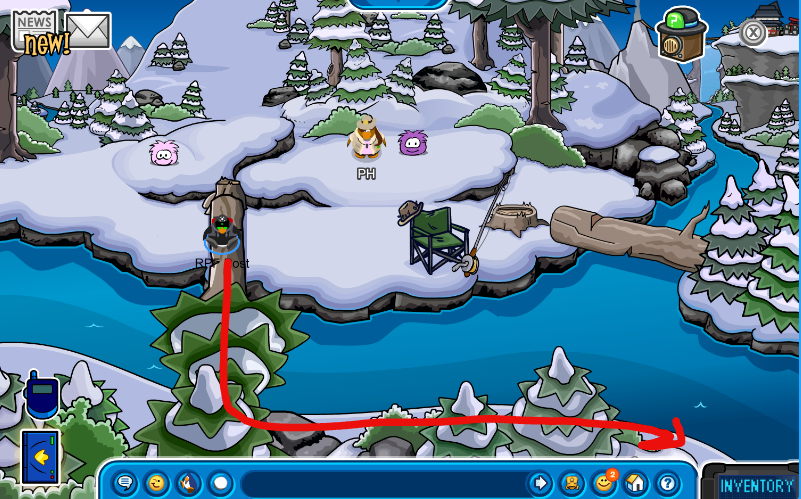
We’ll arrive in yet another clearing where someone seems to have crash landed.
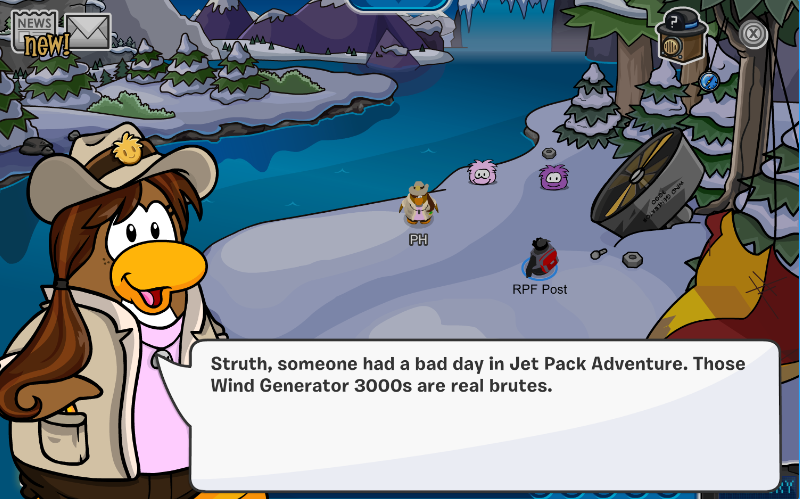
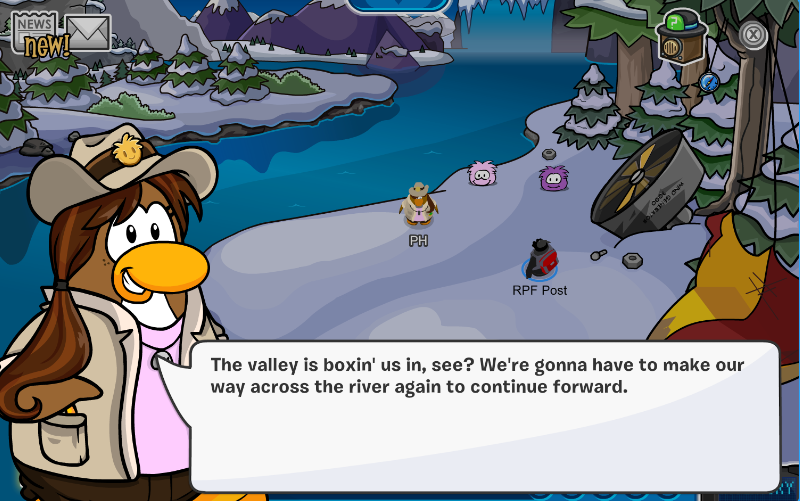
To cross the river here, we’ll need to make use of what we have to create our very own boat. Take out your Spy Phone and get your scissors out. Get close to the parachute to cut it free.
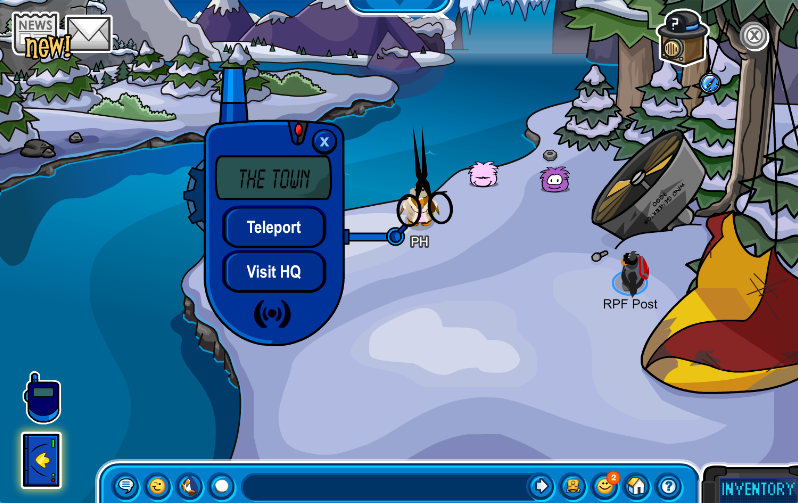
The large propeller is going to serve as our base for the boat. To make it stop spinning, click on Loop and then the propellor.
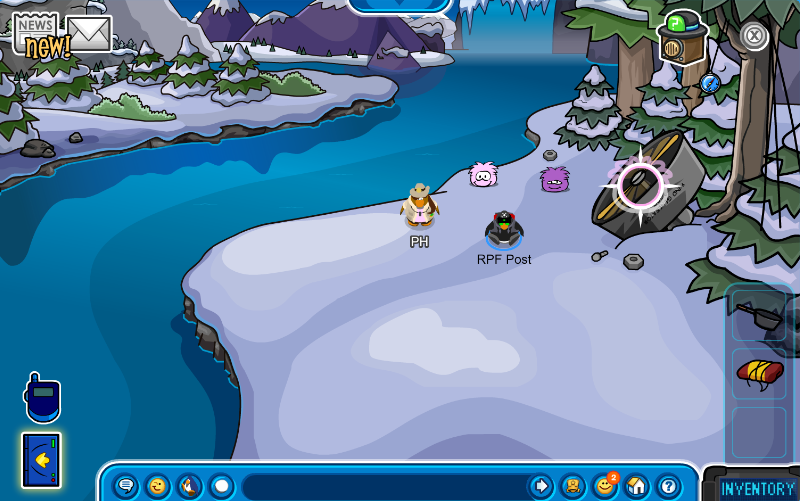
Click on the parachute in your inventory and attach it to the propellor. Then click on Pop to have her put it in a bubble. This will bring the makeshift boat over to the water.
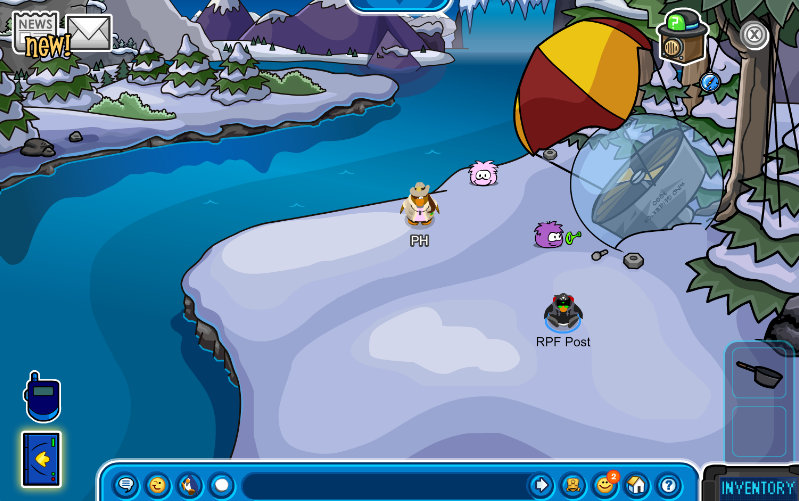
Take your scissors out again to pop the bubble.
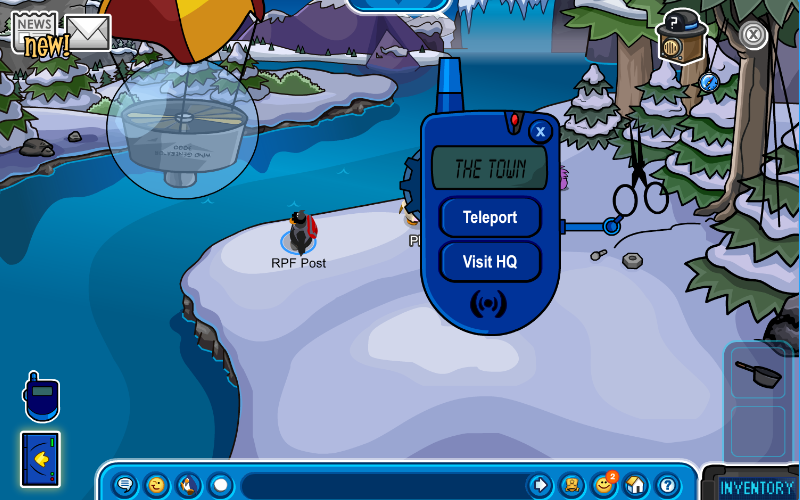
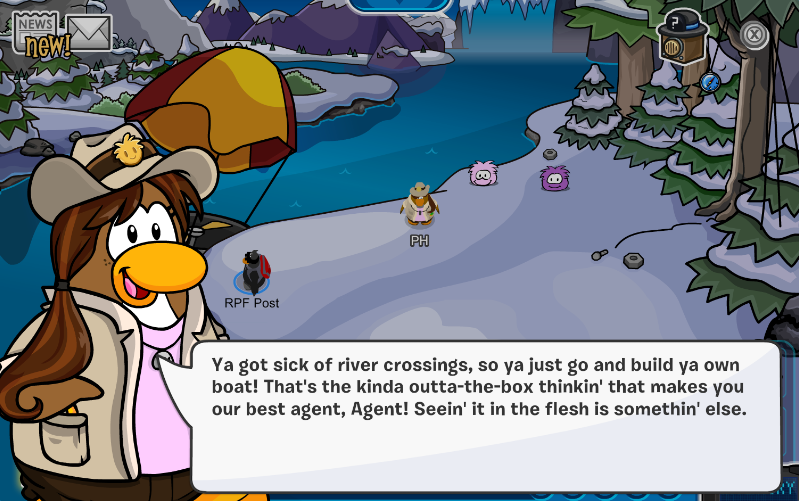
Climb into the boat to continue on to the cliff side.
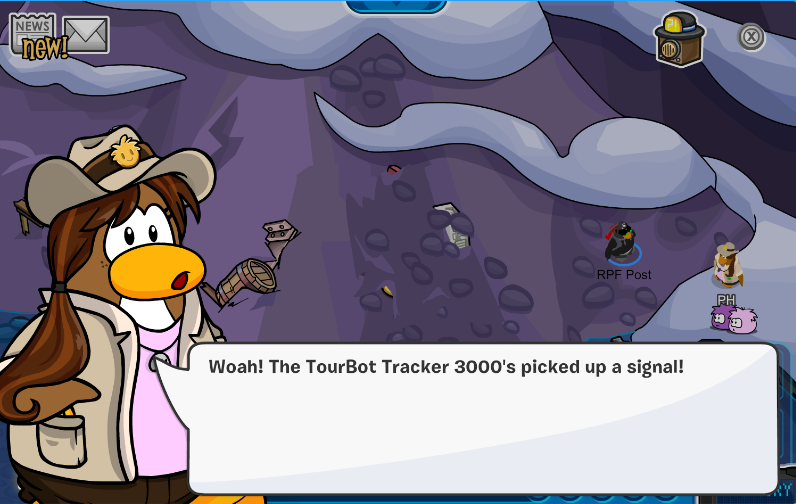
PH says that the tracker has picked up a weak signal in the area. We’re getting close! The bad news is that there’s a ton of rubble blocking our way. Take out your handy dandy pot we picked up earlier to brush some of it away.
Doing this will reveal some key items: a set of Blueprints, a rubber duck and a spring. These blueprints give us instructions to create a device that’ll clear away the rest of the rubble.

Pick up the deflated rubber duck and the spring. Return to the previous area.
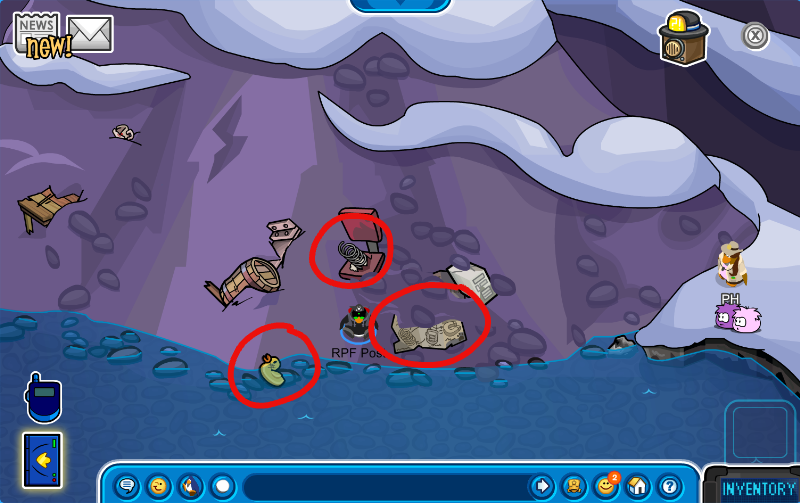
Let’s start making our device. First, click on the rubber duck in your inventory and place it underneath the hanging compass that’s in the tree. Next, click on the spring and attach it to your Spy Phone.
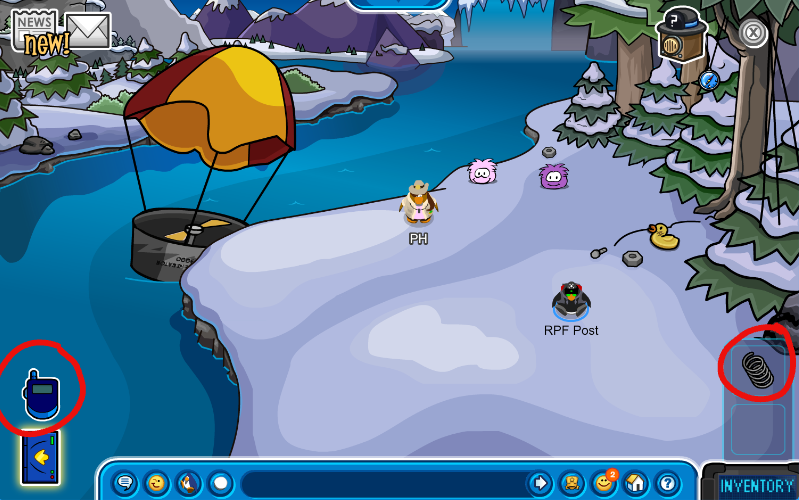
You should end up with something like this.

Now click on Loop and have her go onto the rubber duck. She’ll bounce high enough to knock it out of the tree and break it. Don’t worry! This is exactly what we wanted to happen. Pick up the magnet to add it to your inventory.
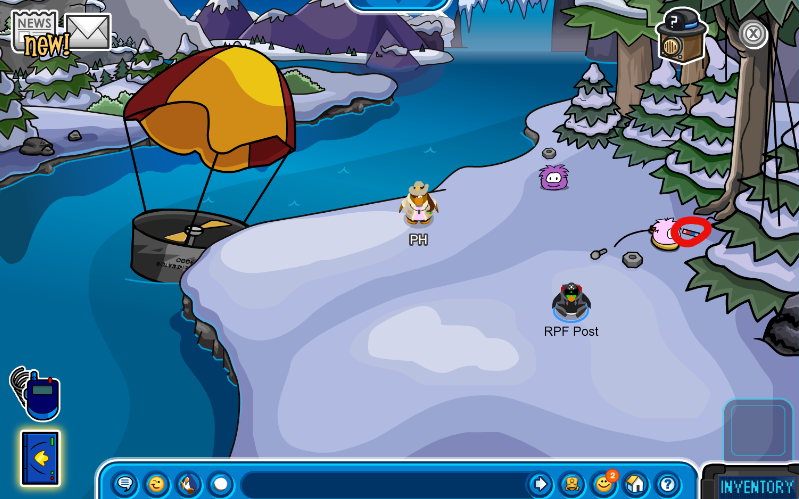
Just like with the spring, combine the magnet and your Spy Phone to finish the gadget.
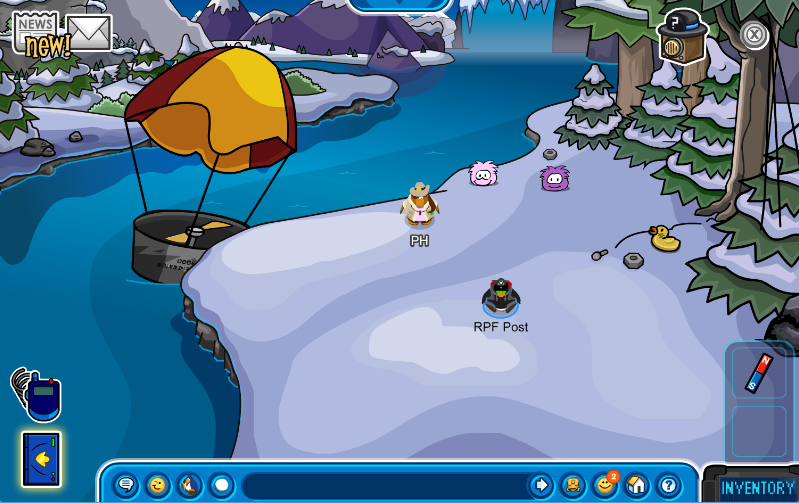
You should end up with something like this.

Get back in the boat and return to the cliffside. Click on your Spy Phone and watch out for the blast.
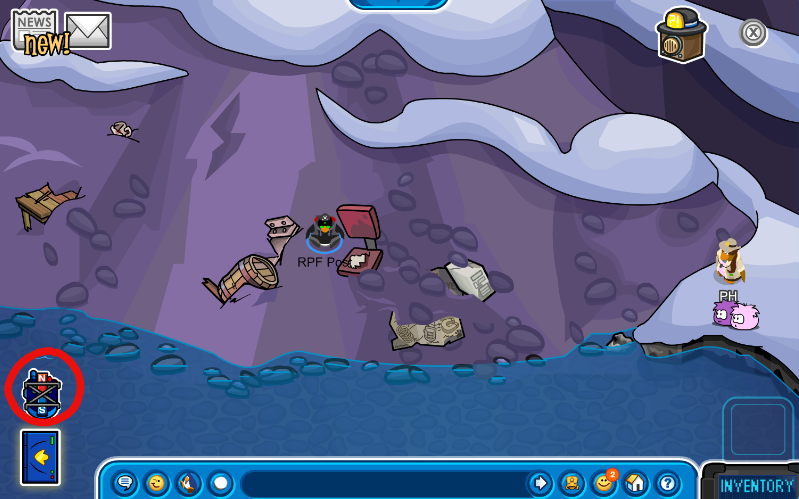
Enter the cave.
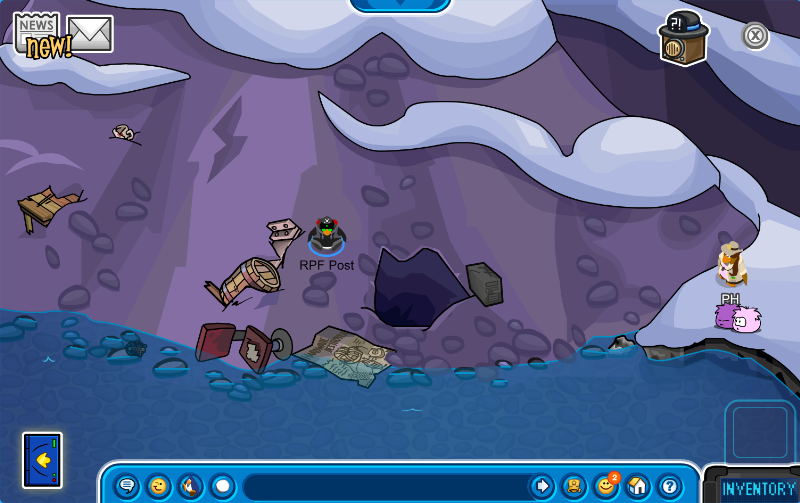
Unfortunately, this cave is filled to the brim with ice cold water. In our current condition, we can’t go down there. PH advises us to retreat for now.
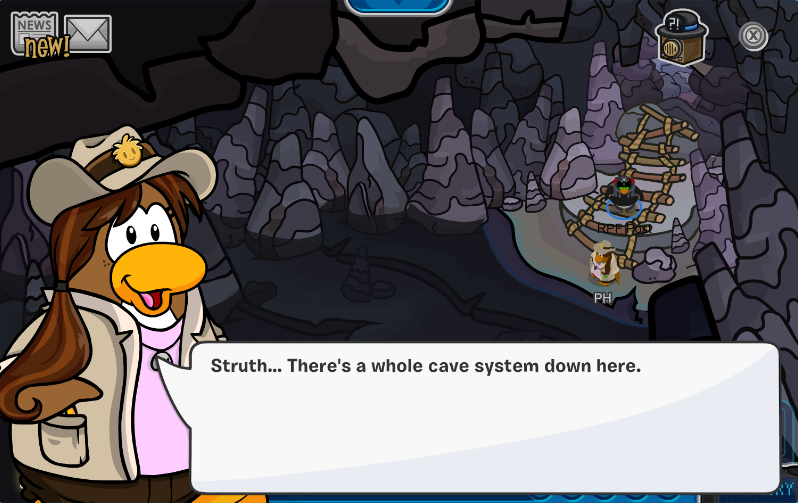
When we step back outside, Gary will contact us through the Spy Gadget. We fill him in on our findings.
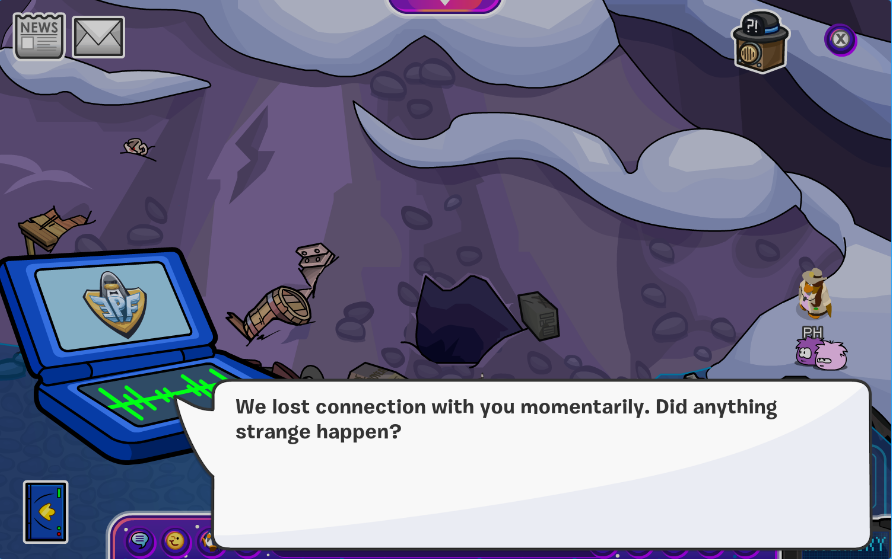
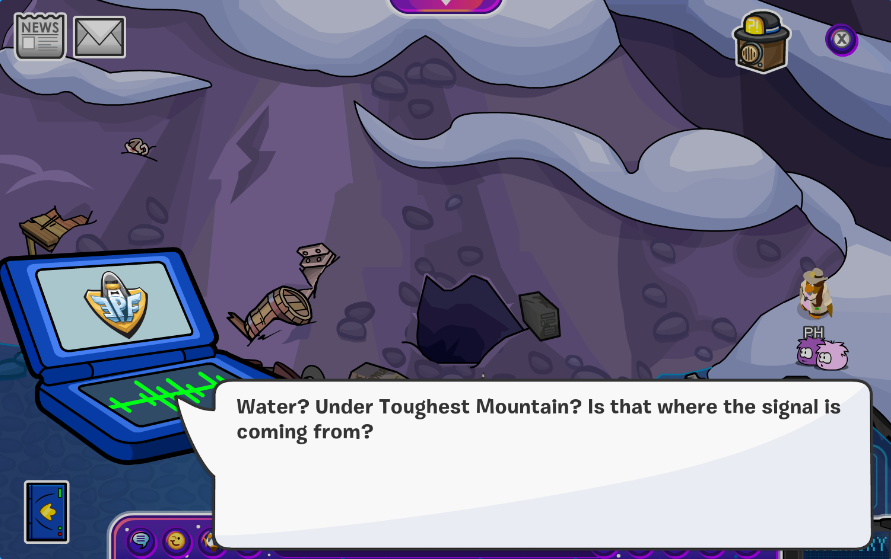
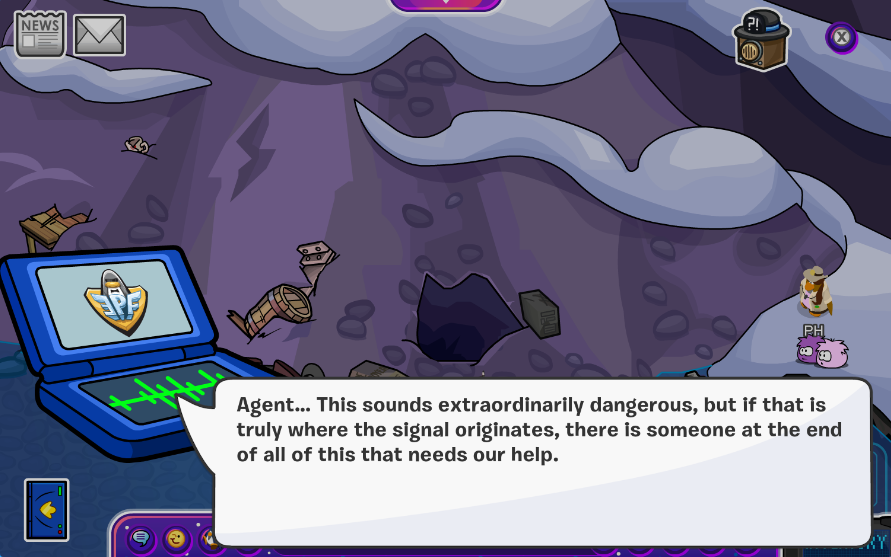
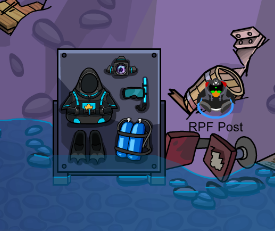
It seems like we’ll be going cave diving after all. To help us out, Gary will ship in some scuba gear. You cannot complete the rest of this mission without putting it on. Once you do that, head back into the cavern to start the maze.
Cavern Maze
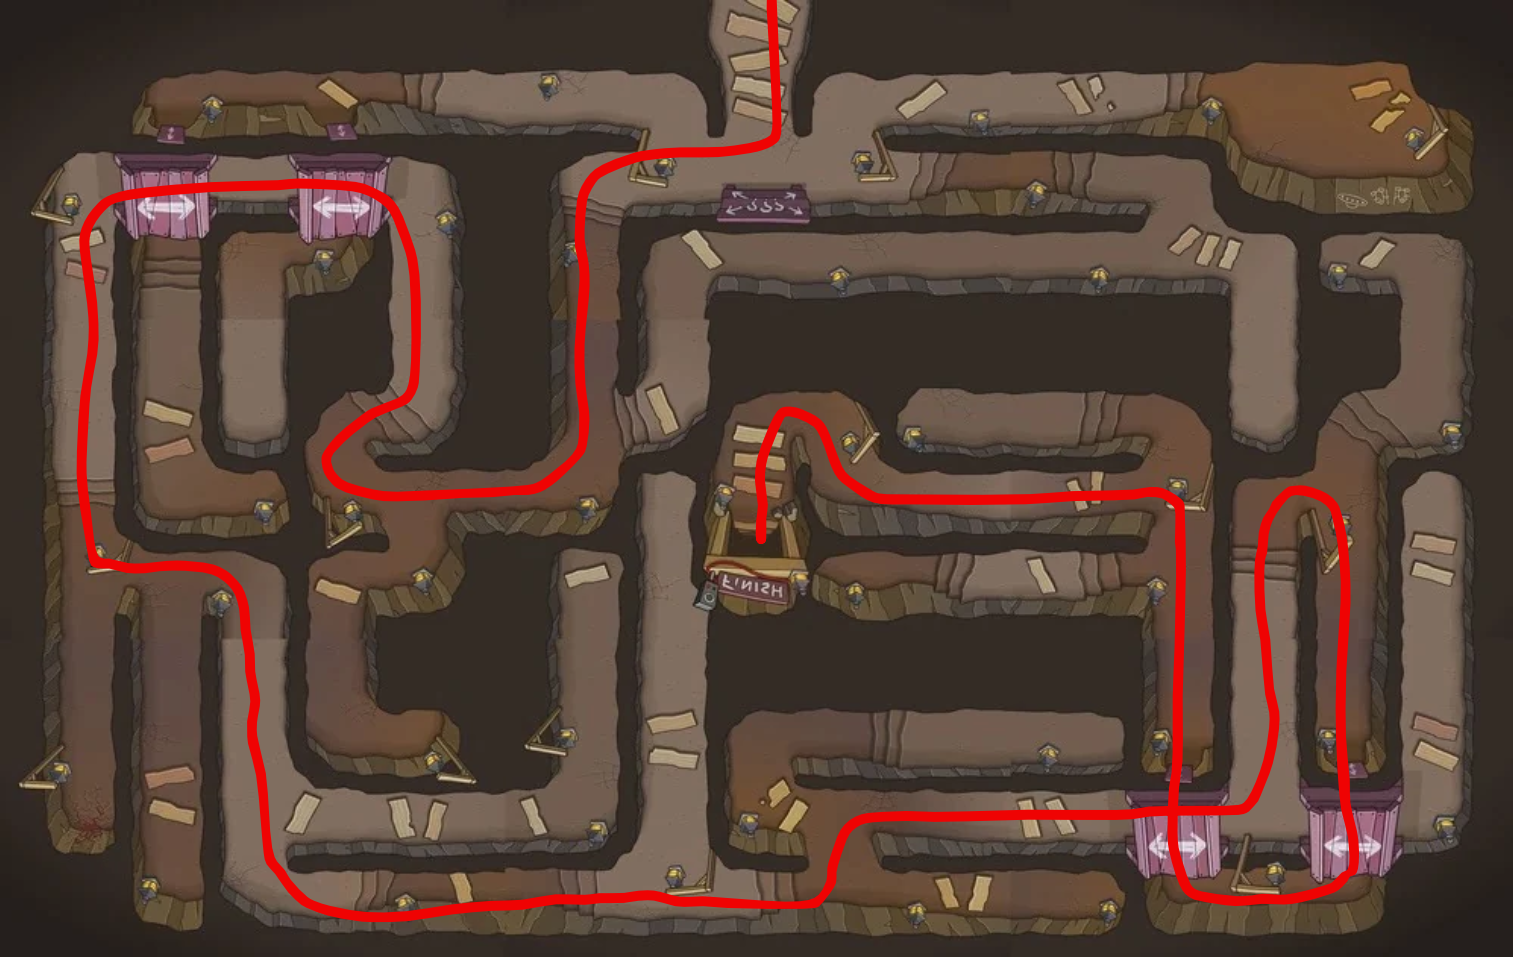
This maze is quite long and has a very special twist to it. Since it is incredibly cold down here, your time is limited. Fortunately, there are hot spots scattered around the maze where you can stop at and replenish your bar. Follow this map to find the exit!
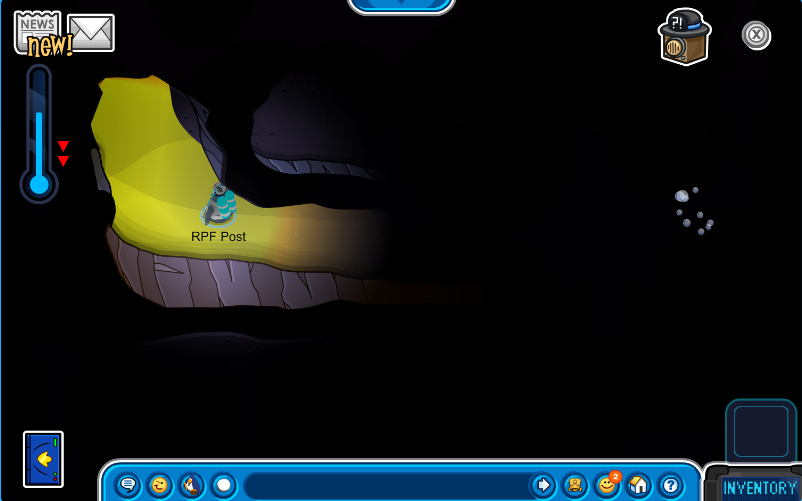
Freedom at last! Don’t let your guard down just yet. An agent should always be prepared for anything.
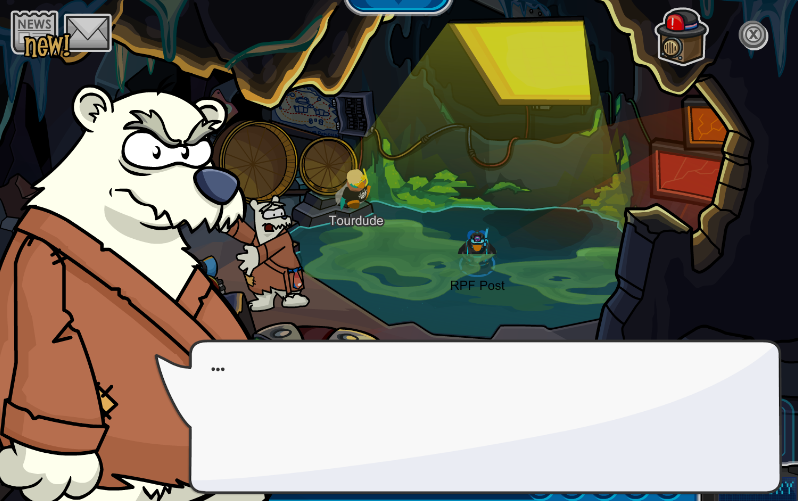
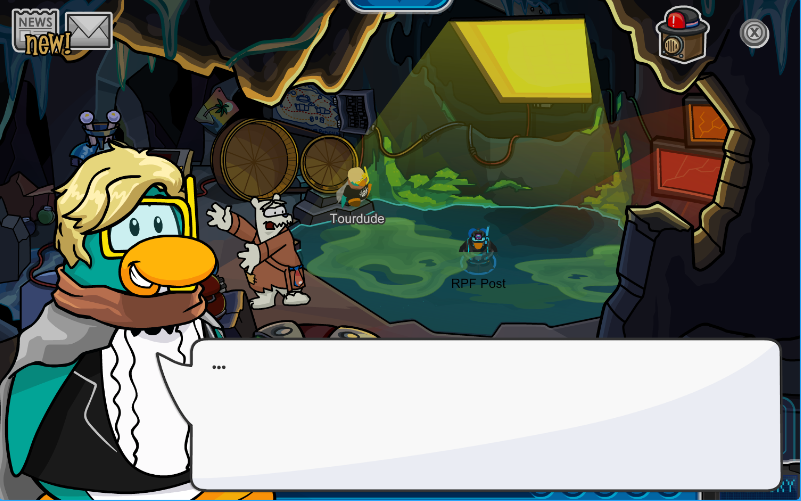
It seems we’ve found three very familiar faces in an unfamiliar place. Two are happy to see us…
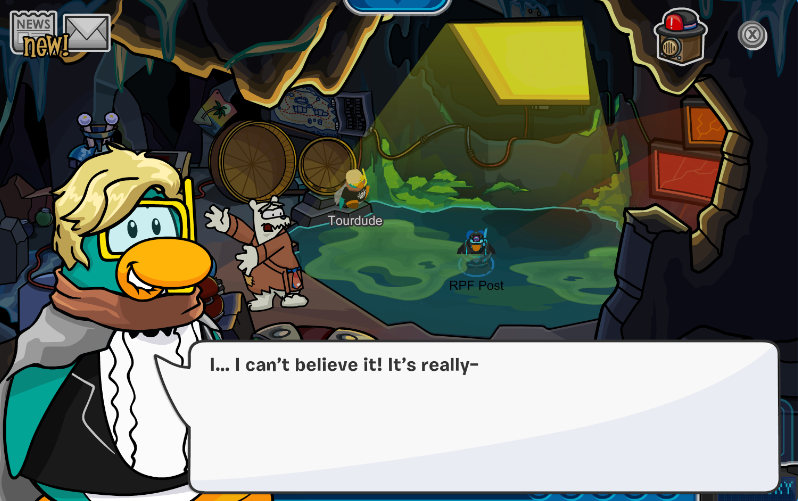
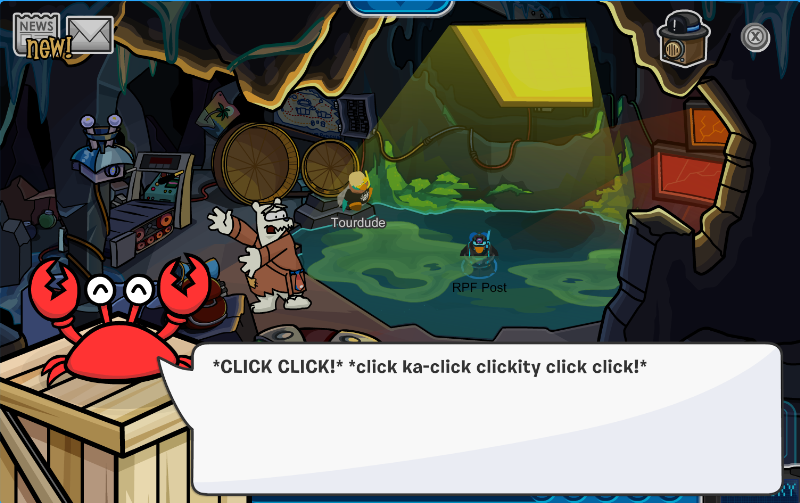
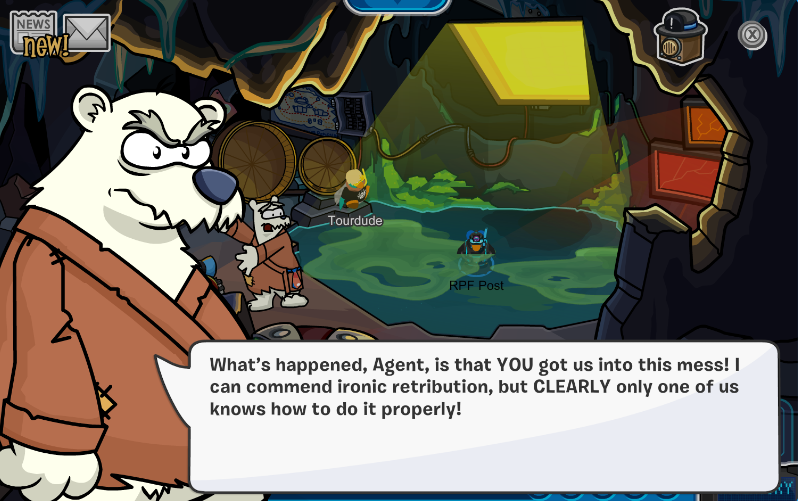
But Herbert isn’t. Because apparently this is all our fault. Remember back in Operation: Mayday when we thwarted Herbert’s plan? The aftermath caused an avalanche that left them stranded here in this cave.
Fortunately, we’ve found who we’ve come to rescue. Remember Tour Dude? He’s a lot nicer than Herbert is and tells us they’ve been trapped down here for a long time and their signal finally went through.
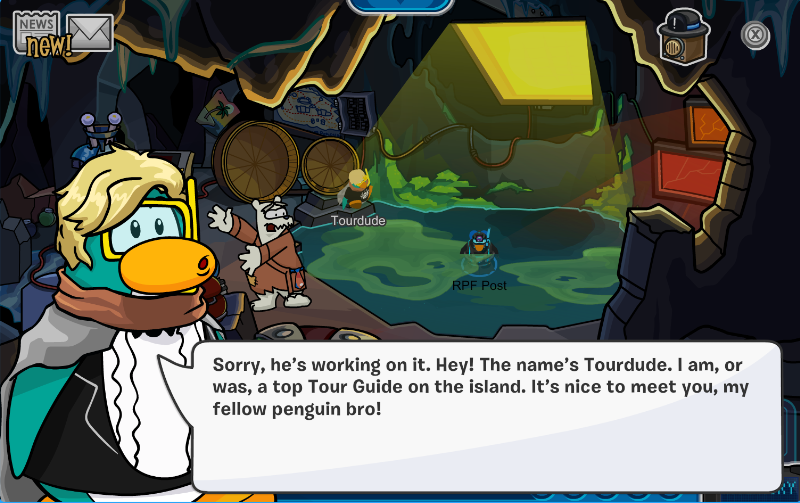
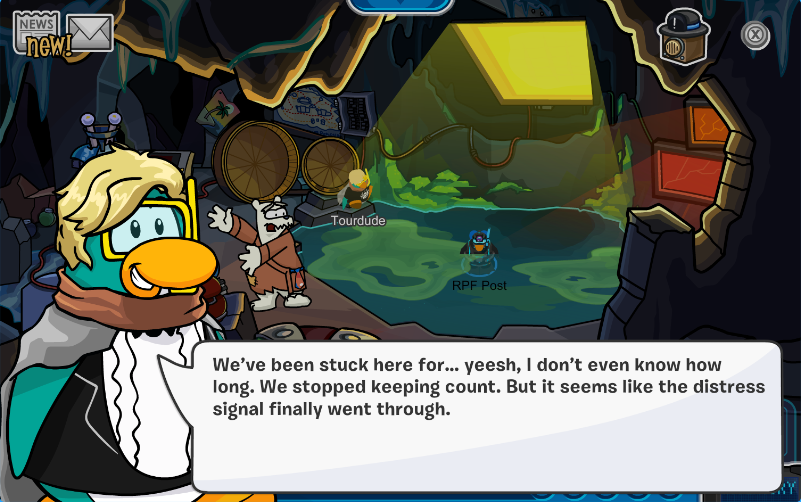
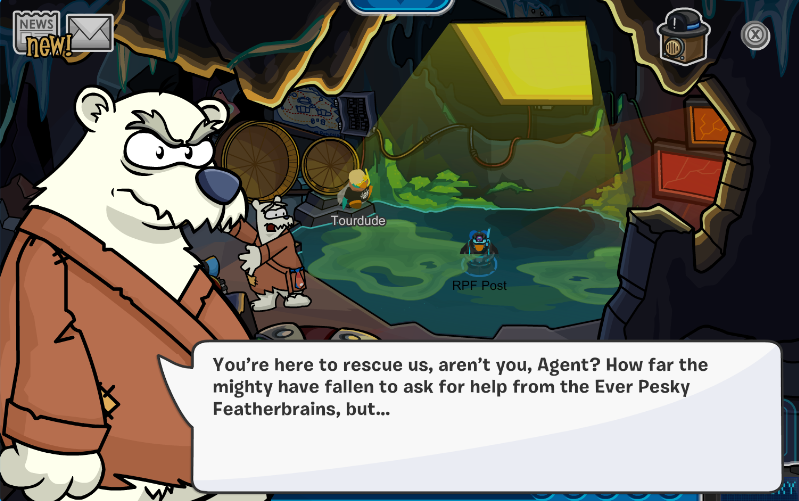
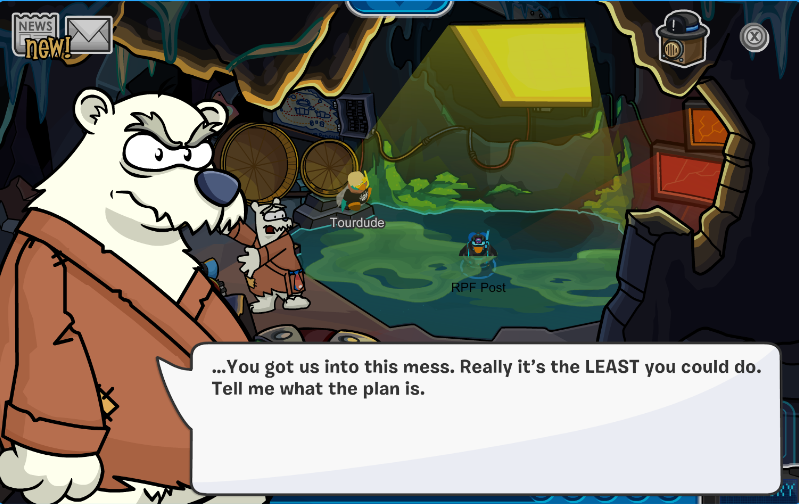
Herbert is on board with the rescue plan. If only there was one. We’ve made it this far in with no way to contact Gary. Looks like we’ll have to make our own signal and reach him.
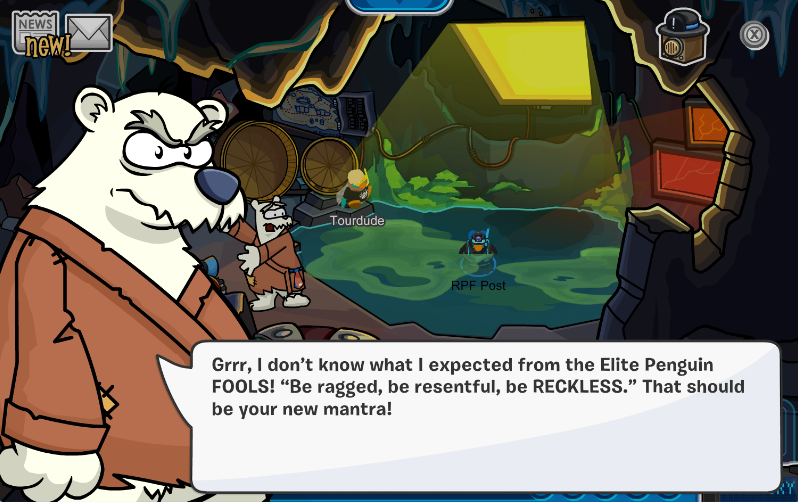
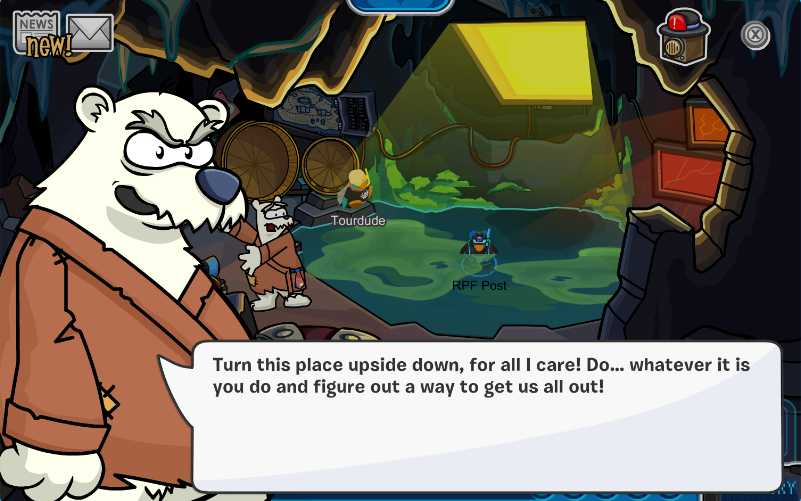
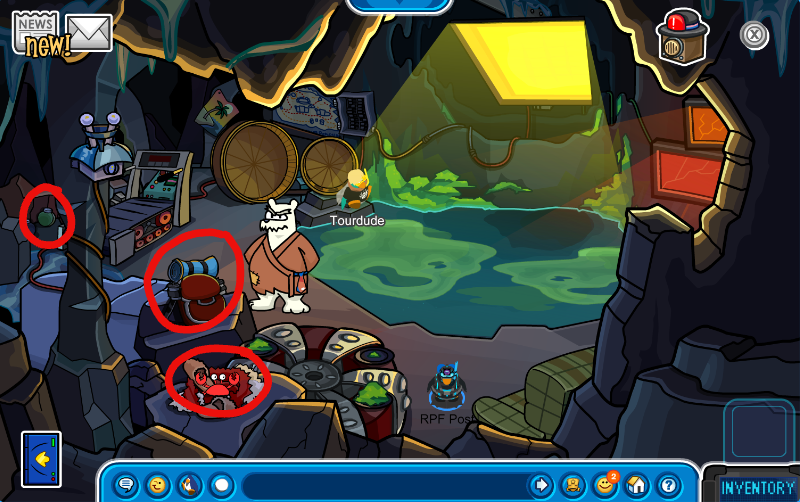
Gather all of these items by talking to Tour Dude and Klutzy:
A rock from the knapsack
Stuffing from Klutzy’s bed
A canteen from the back
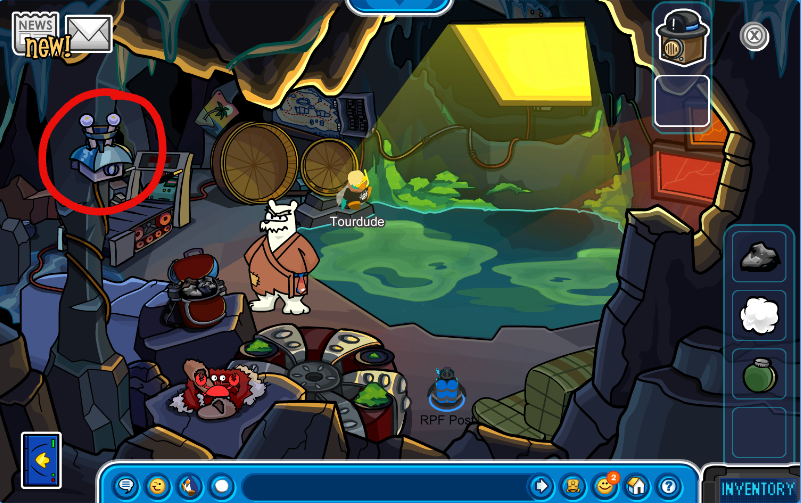
Using these items, we can make a signal! Click on the TourBot Tracker 3000 to open it and then click on Herbert’s signal machine on the wall to connect them.
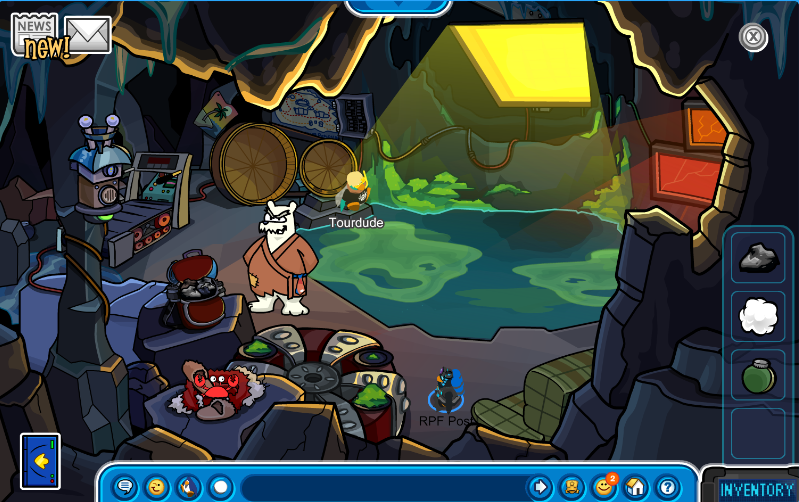
Success! Now we’re going to get a call from Gary.
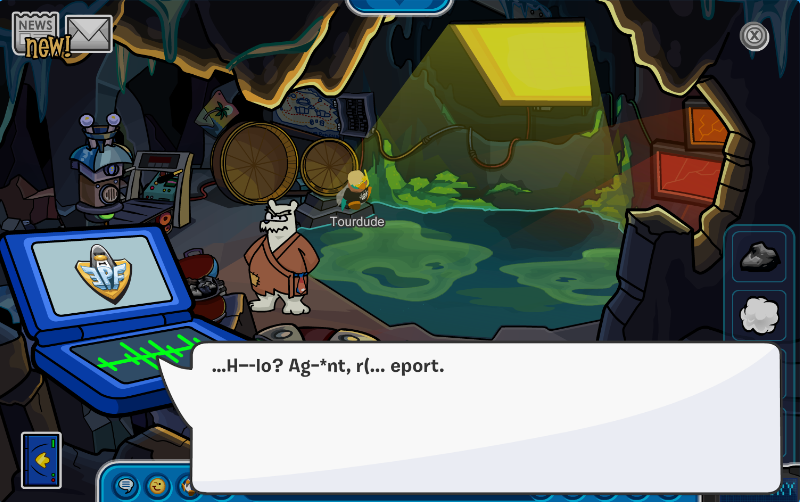
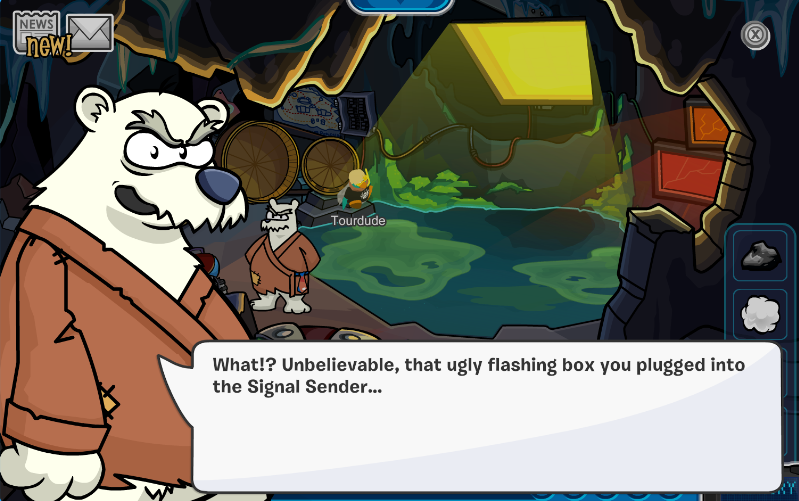
We fill Gary in on the situation. It would be so easy if we could teleport out of here, but unfortunately there isn’t enough power in the Spy Gadget to do that.
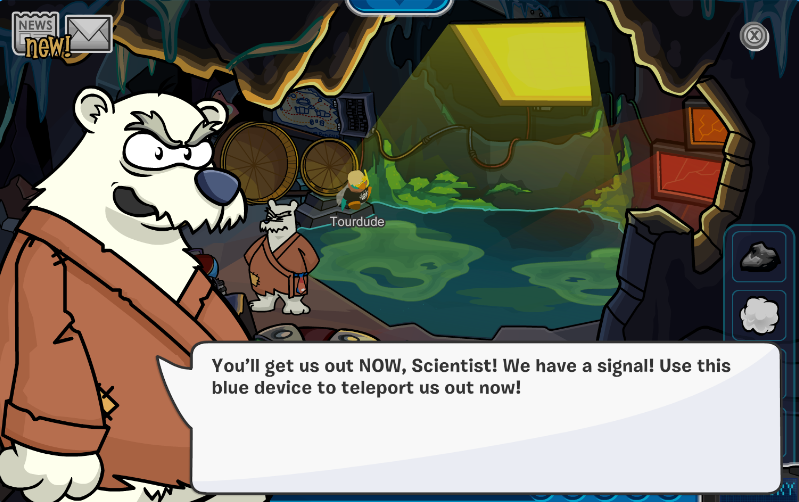
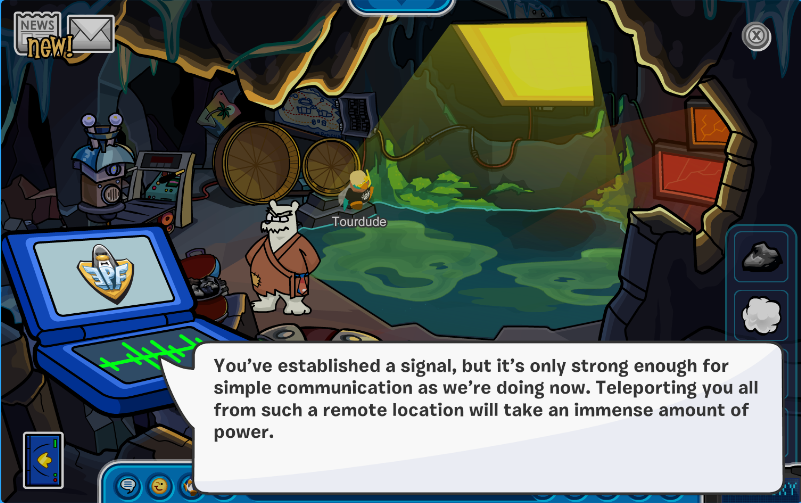
Herbert says that if we get more parts then there could be a chance of making a more powerful signal. He demands that Tour Dude go out and get more, but it wouldn’t be possible with how cold it is out there. That means the responsibility falls on us to save everyone.
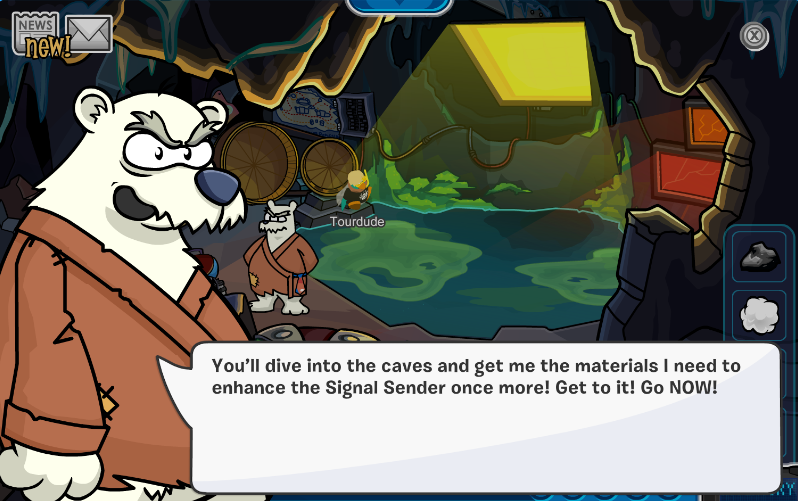
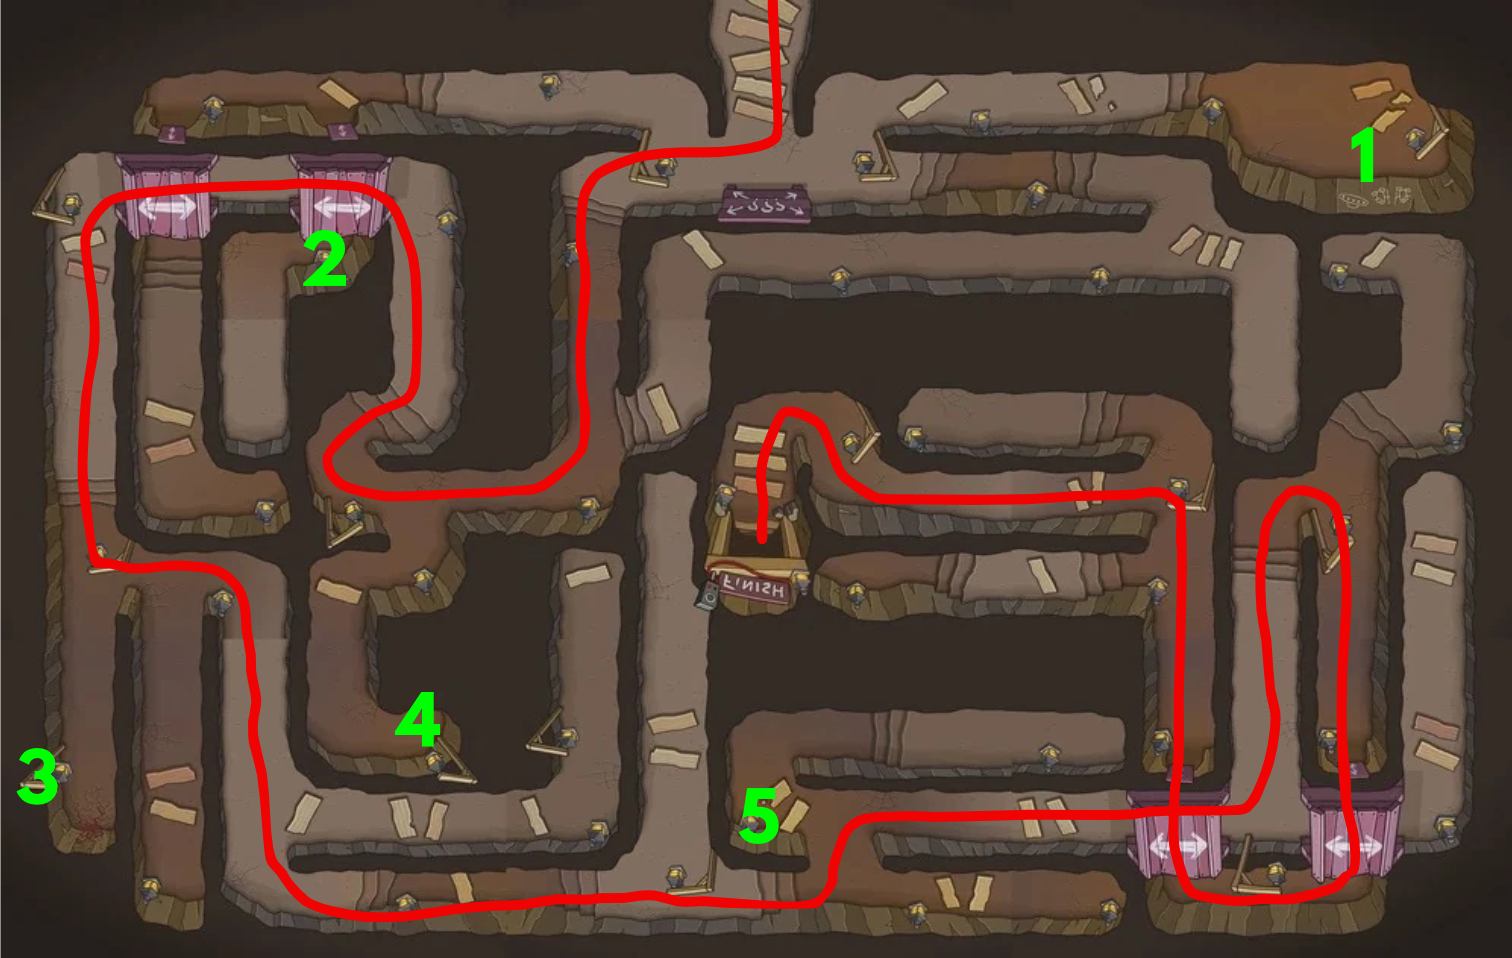
The machine parts are scattered throughout the maze. Refer to this map below to find all five pieces! You can collect them in any order.
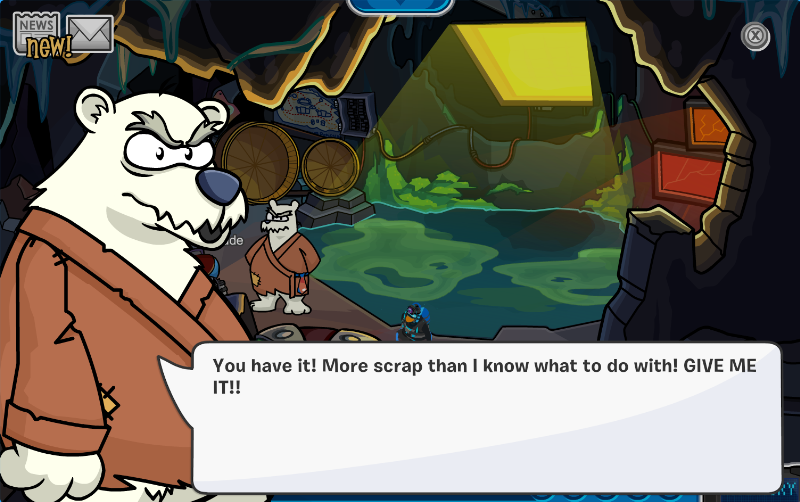
Once you’ve gathered all the materials, head back to the hideout and give them to Herbert.
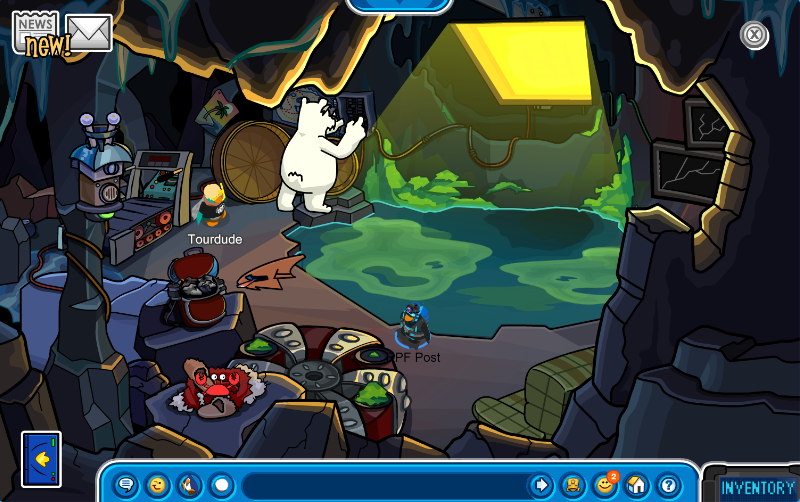
Herbert will get to work generating the signal to get us out of here. The power will suddenly go out.
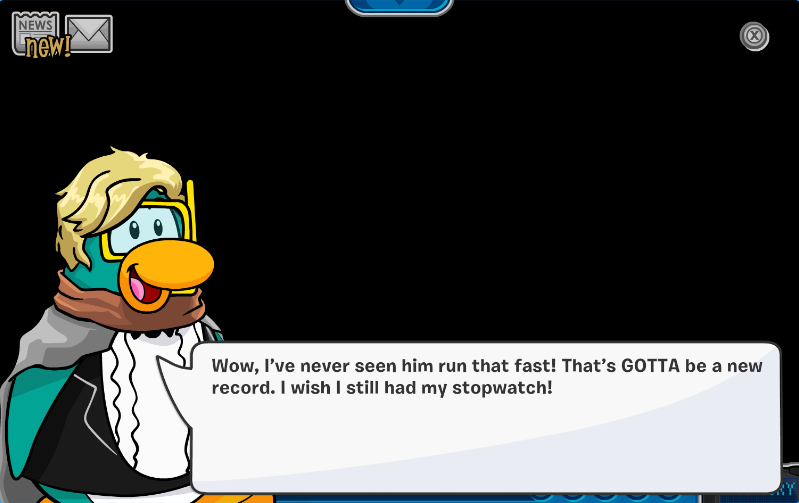
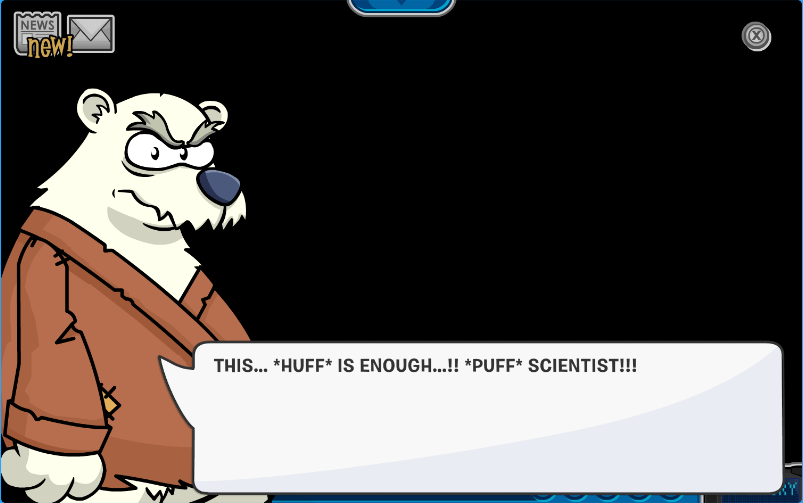
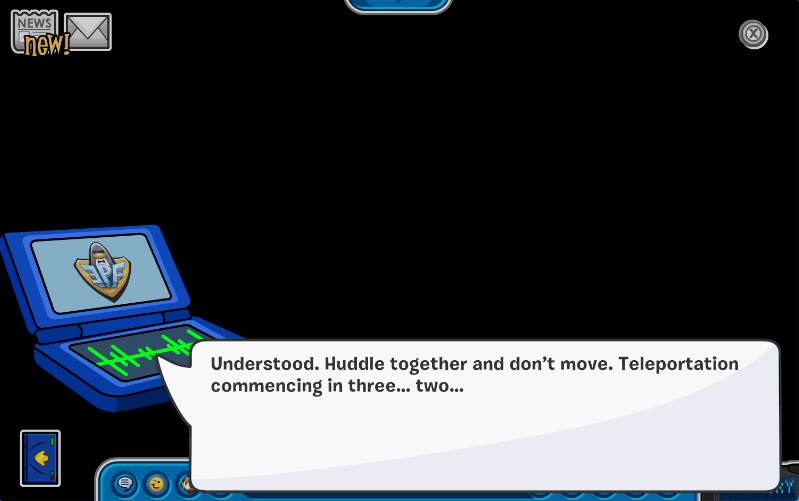
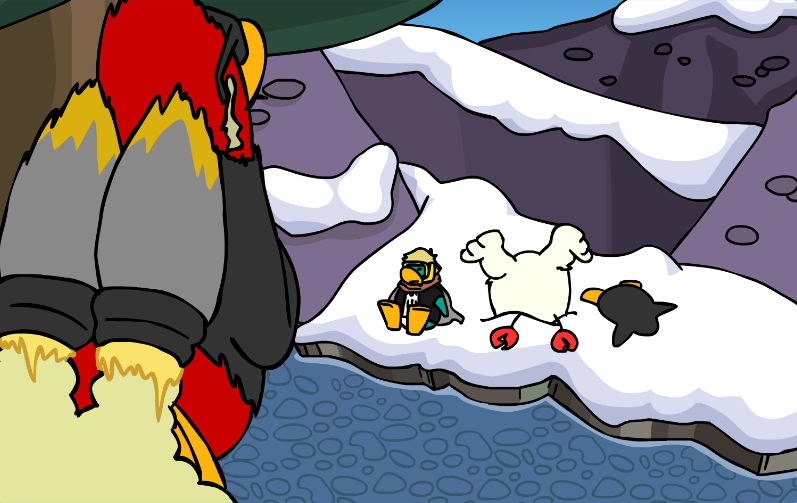
A cutscene will start and we’ll be let out of the cave. The Elite Puffles wrangle Herbert together, but they escape once again. After the cutscene, we will be teleported back to the HQ.
Reunion at HQ
Back at the HQ, Tour Dude will thank you for saving him before you talk to Gary.
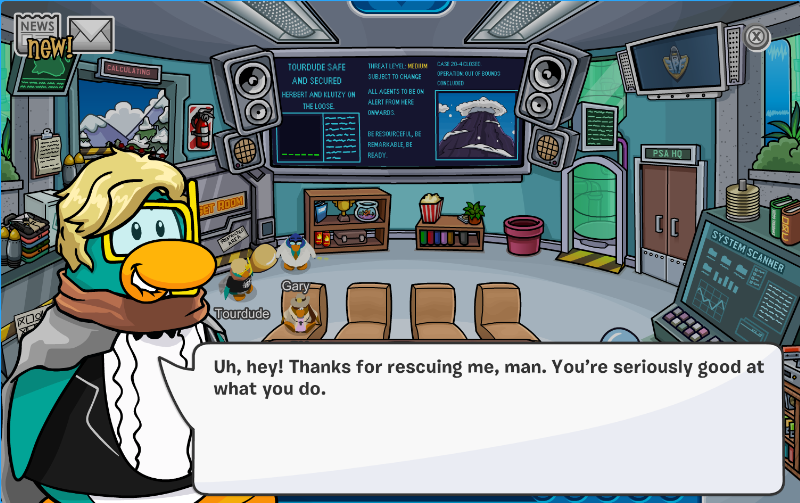
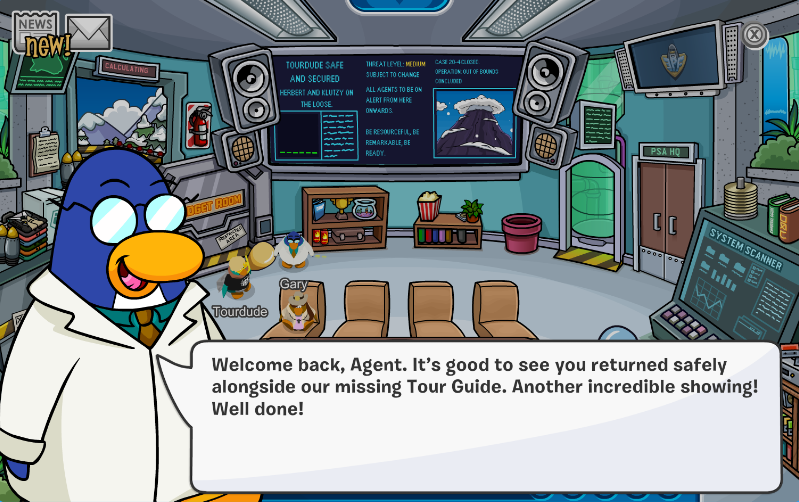
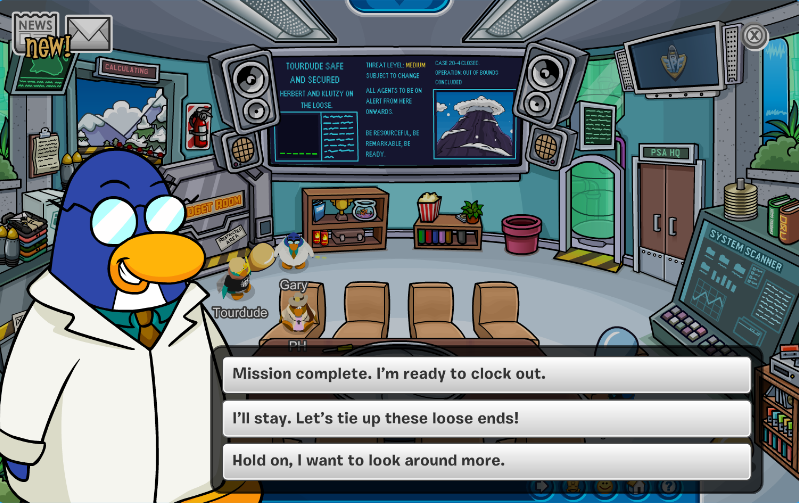
You will be given two options here. You can choose to end the mission now or you can stick around for an extra special surprise.
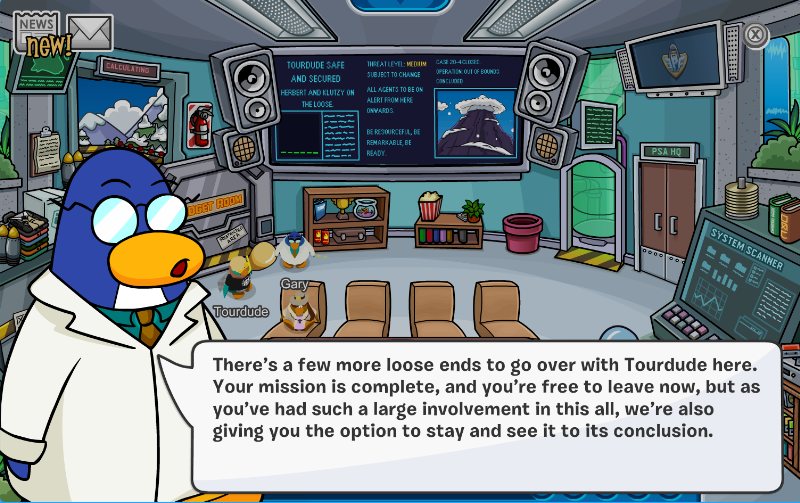
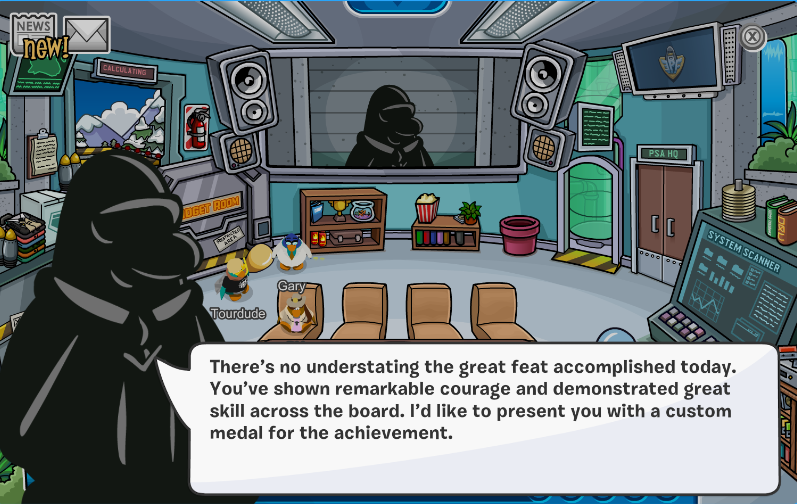
If you decide to stick around, the Director will make an appearance. They will begin by apologizing to Tour Dude for having lost contact with them and explain that the Wilderness exploration had originally been a test for him.
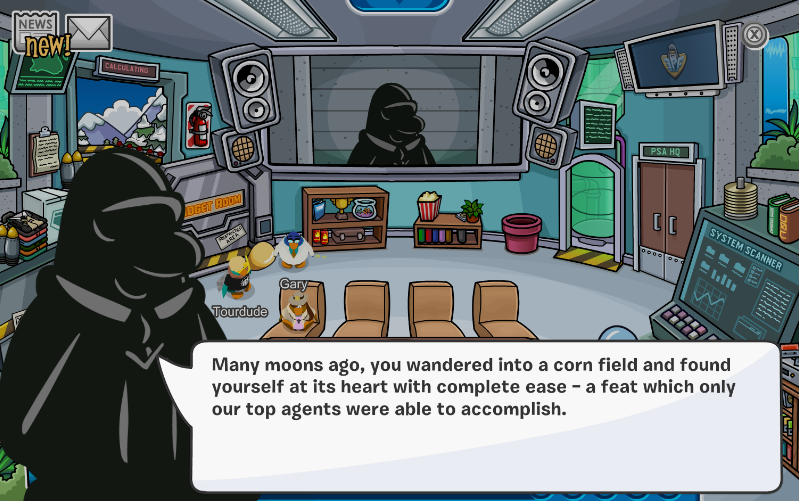
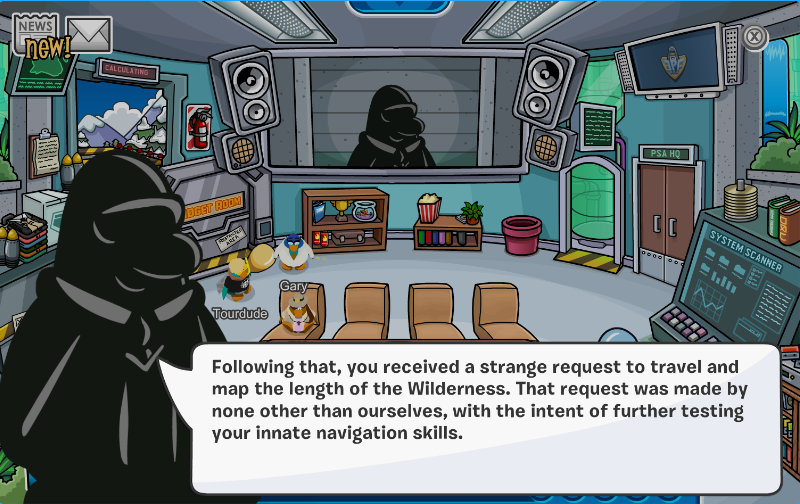
For his bravery and survival skills, The Director offers Tour Dude a role on the EPF team.
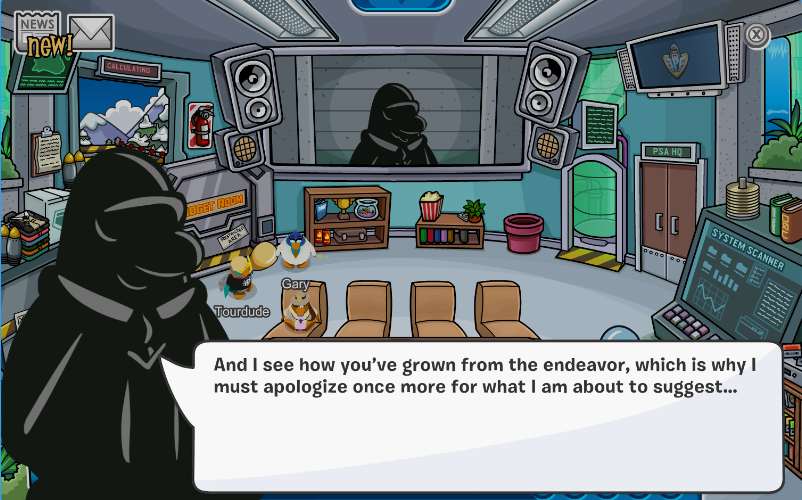
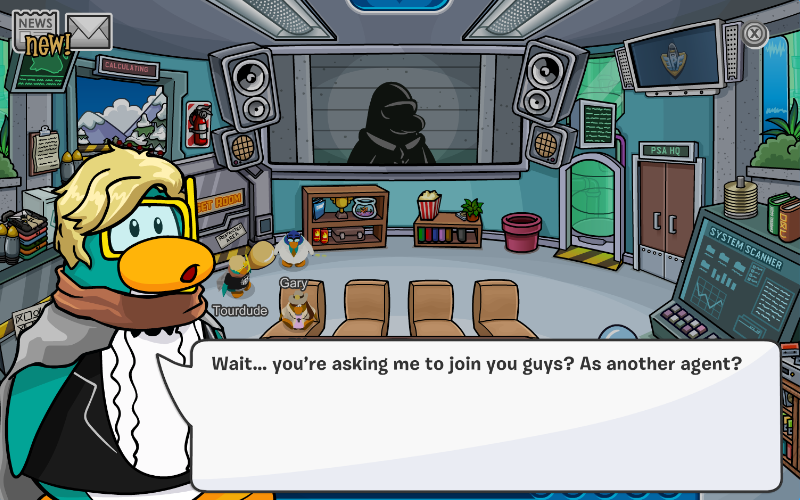
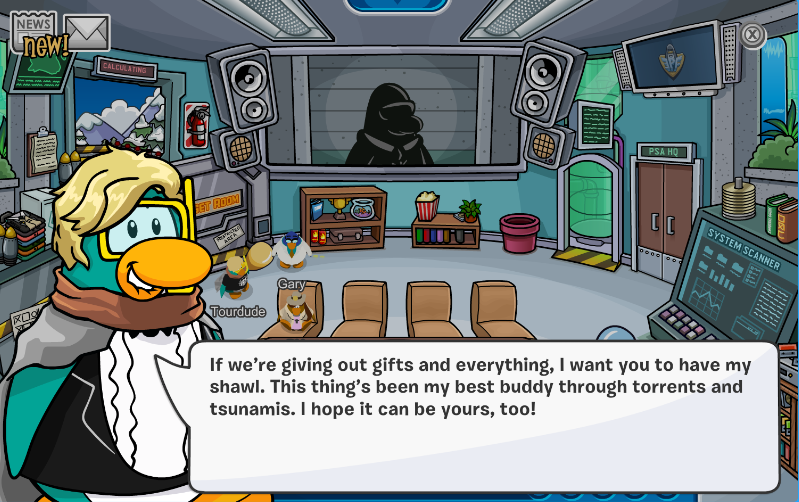
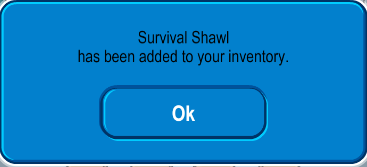
Tour Dude will decline for now. The Director will then congratulate you on completing the mission and gives you a special medal for all your hard work. As thanks, Tour Dude will also give you his shawl.
Stamps
With this Club Penguin Journey update, the medals and secrets you earn from PSA Missions will be given to you as stamps for your stampbook. You can see all of this in the ‘Games’ section.
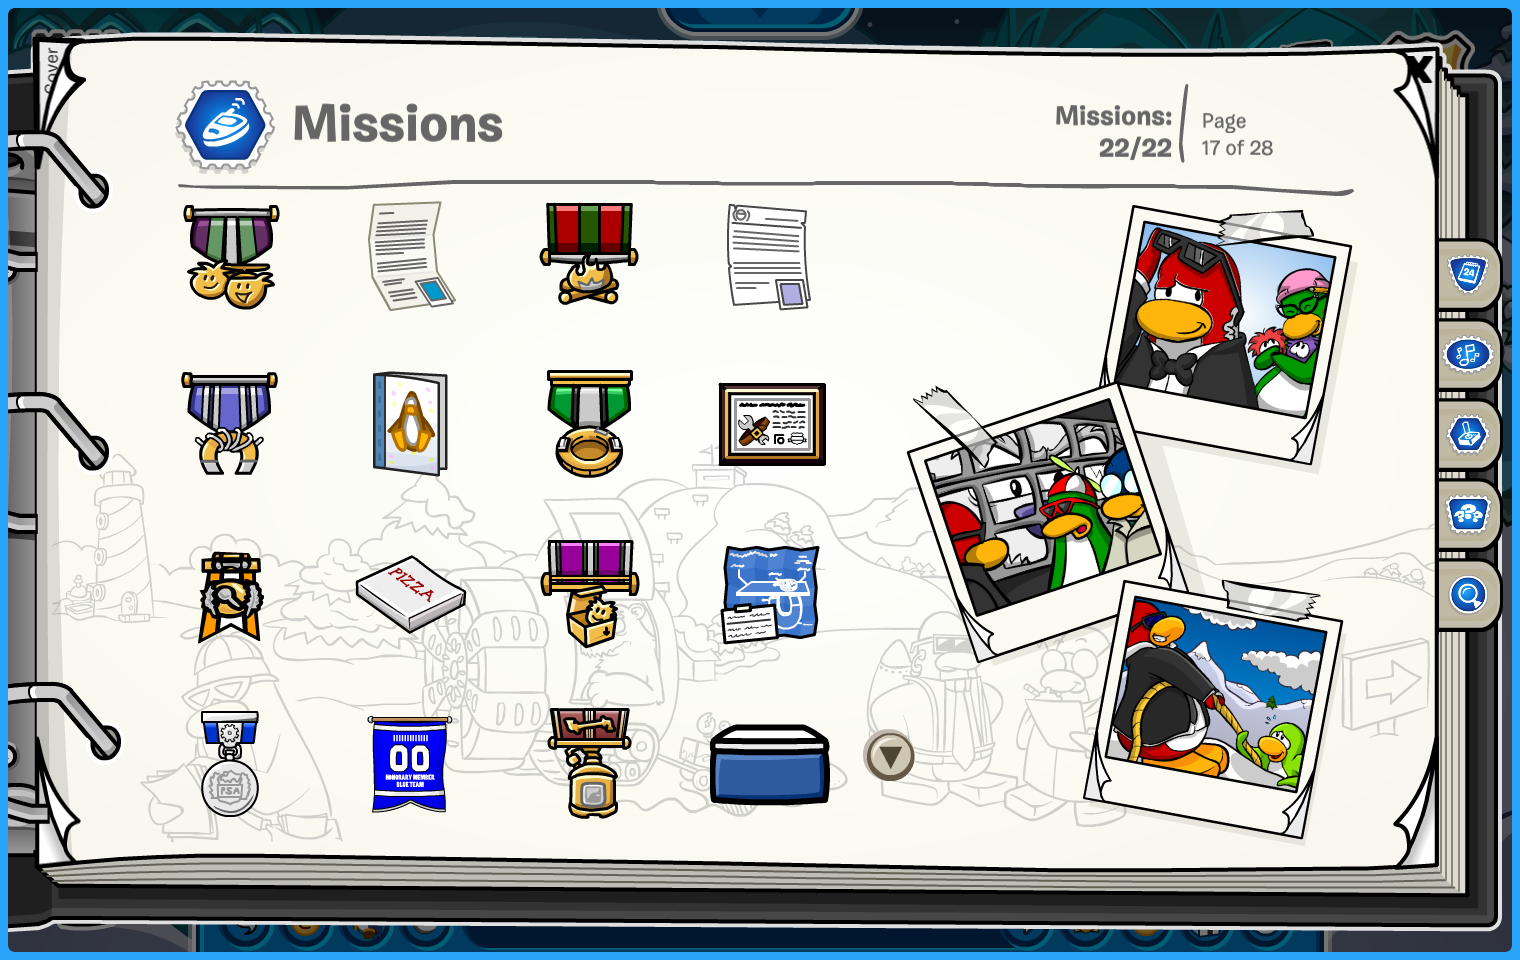
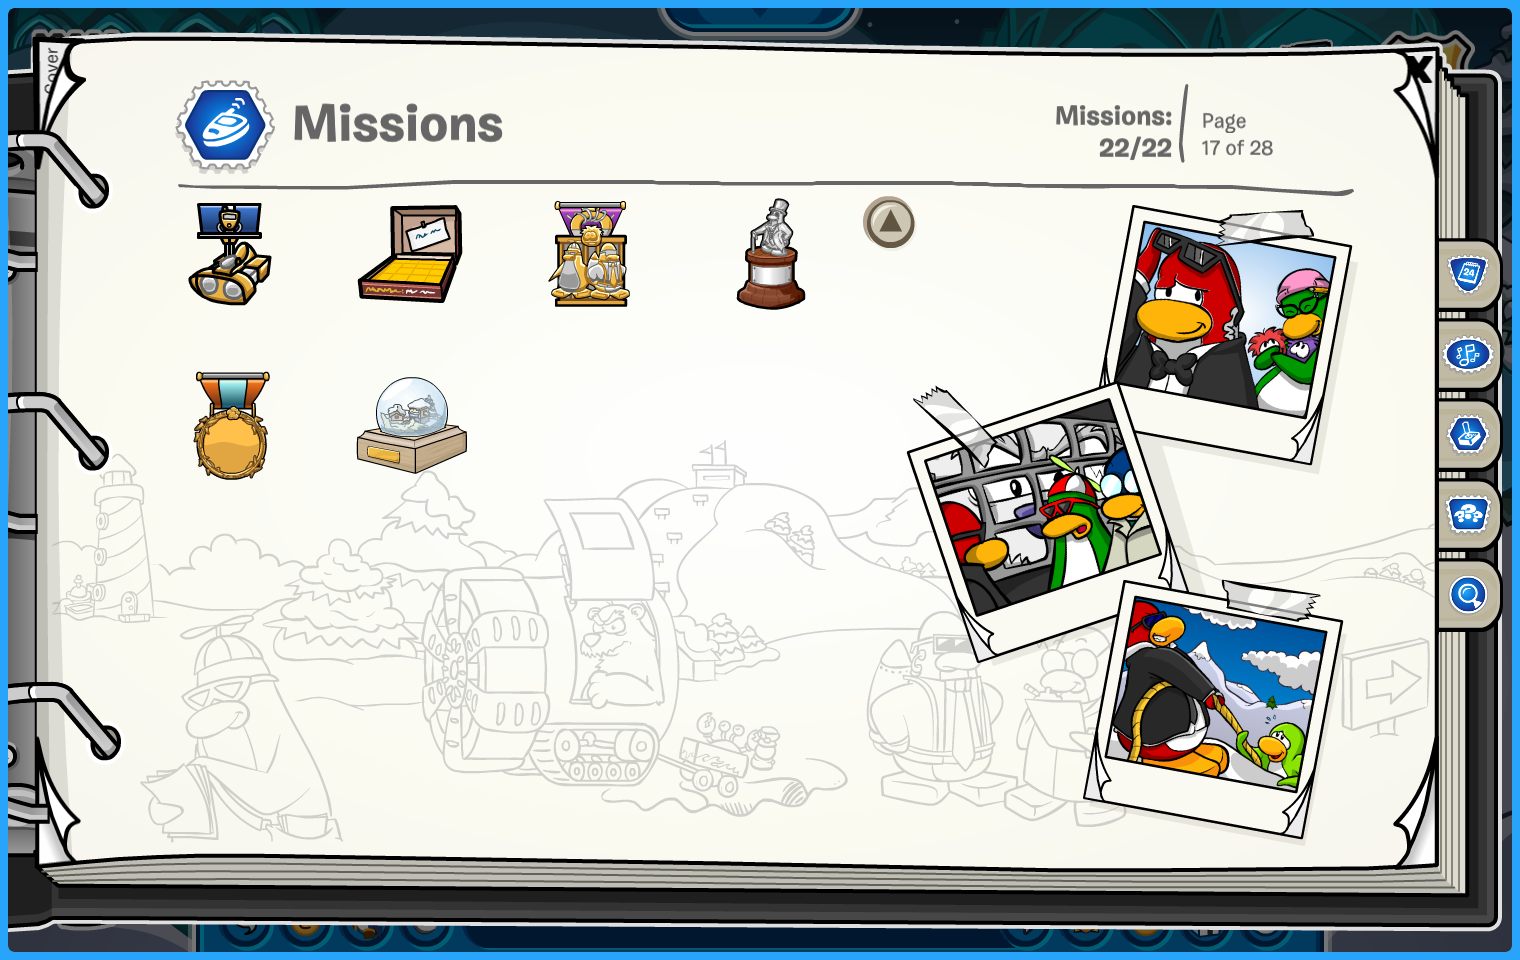
In addition, if this was also your first time completing a mission during a party, you will also be rewarded with the Elite Operative stamp after you complete the mission.

Rewards
After you complete the mission, stay in the EPF Command Room. If you look at the top right corner, you’ll notice two torn pages. You can purchase the Classified Collection for as long as the party goes on.
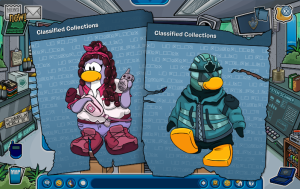
As previously mentioned, you will also receive a medal from The Director.

Take a bow, agents! You’ve all done incredible. We hope that this guide was helpful in completing your mission. If you feel as though we missed something or if you still need help, click here to join our discord server and join in on the conversation.