


Hey rebels! A brand new PSA mission has dropped on Club Penguin Journey! This guide will give you a complete walkthrough of Mission 10: Waddle Squad!
If you are unsure on how to access the PSA and missions menu please check out our guide here!
SPOILERS AHEAD!! If you don’t want spoilers for Waddle Squad please don’t continue reading!
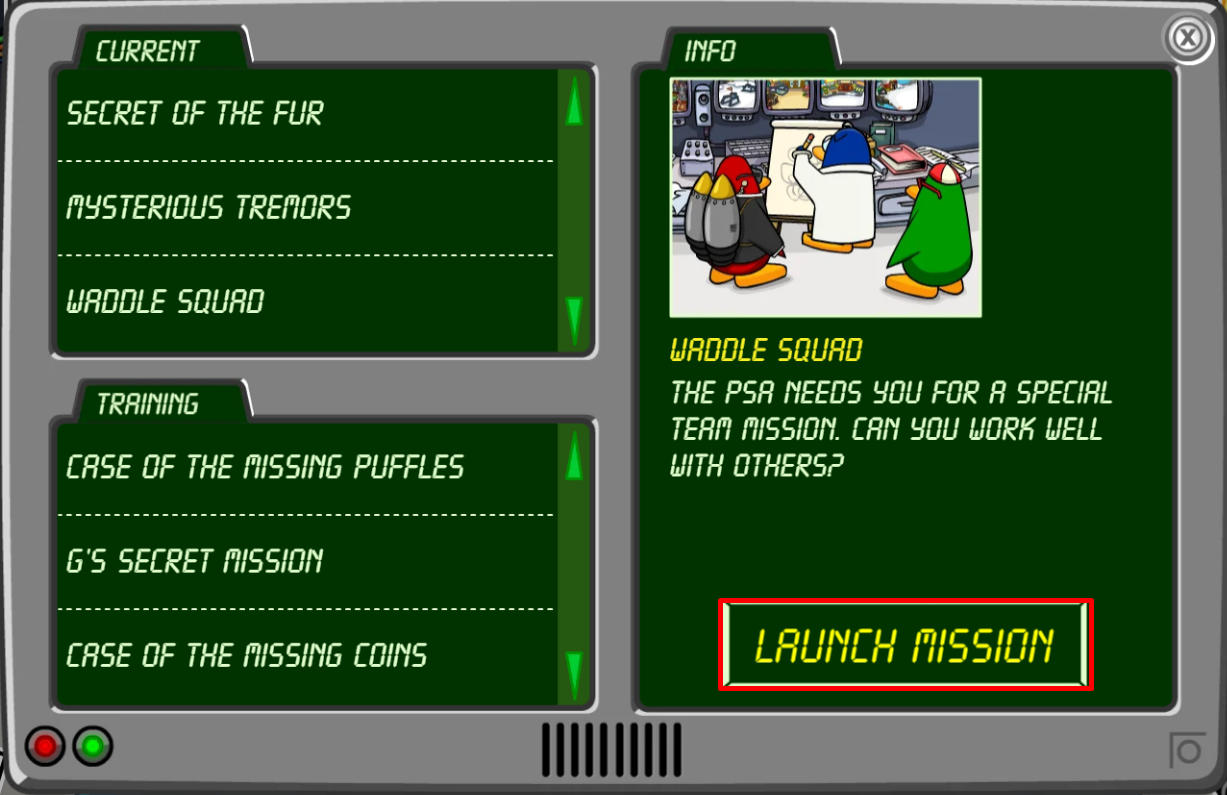
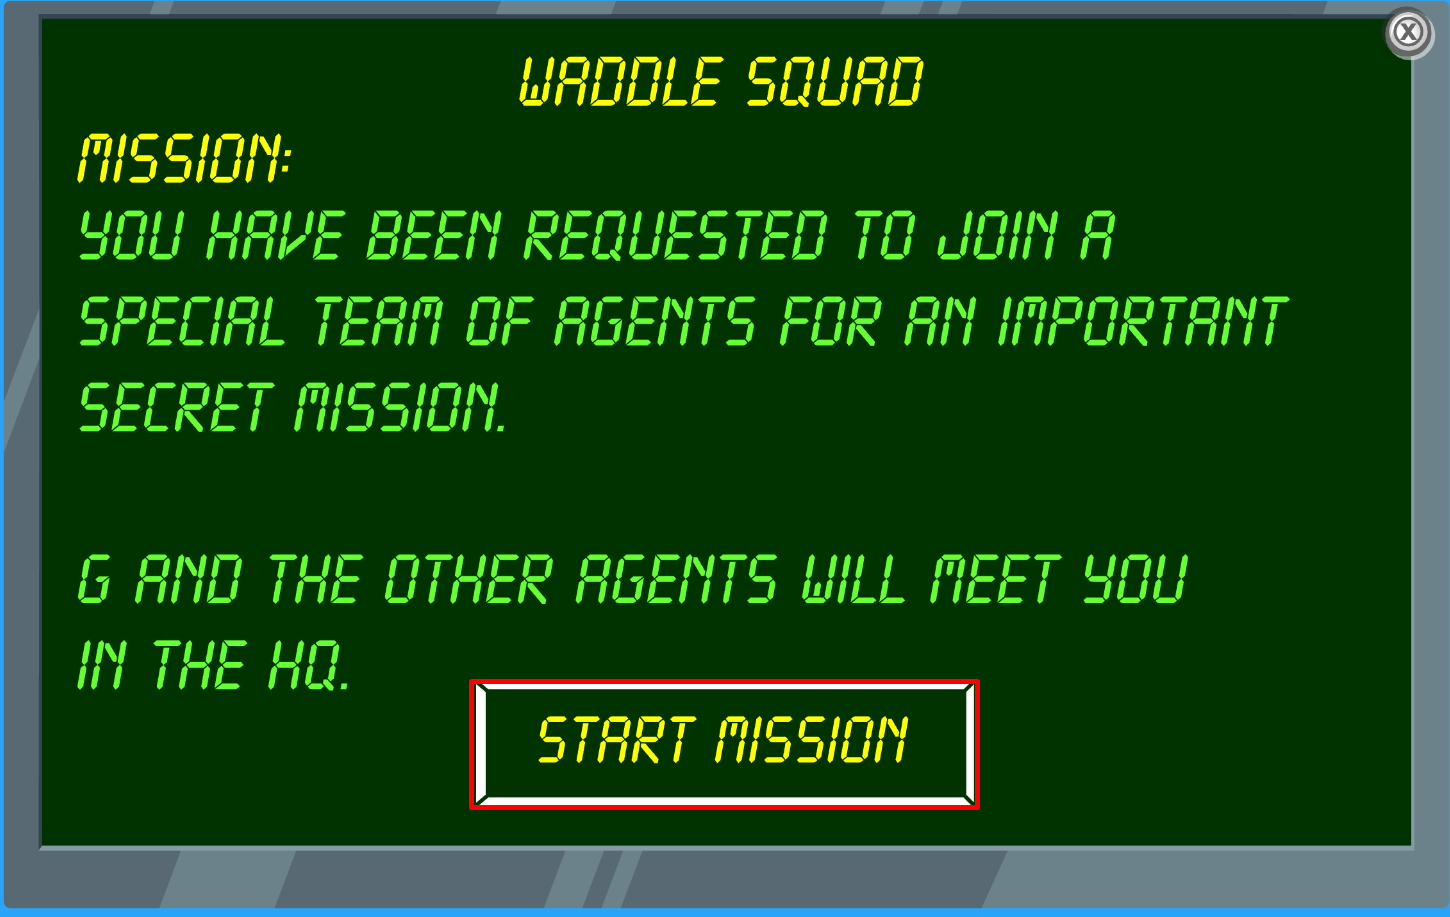
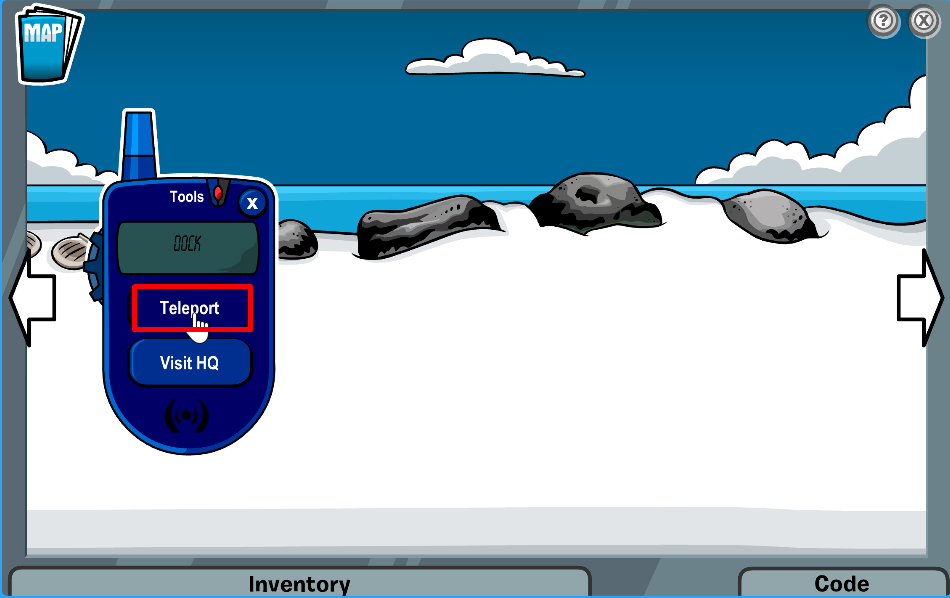
Teleport to the HQ, click on the mission waddle squad and then click ‘start mission’ to begin!
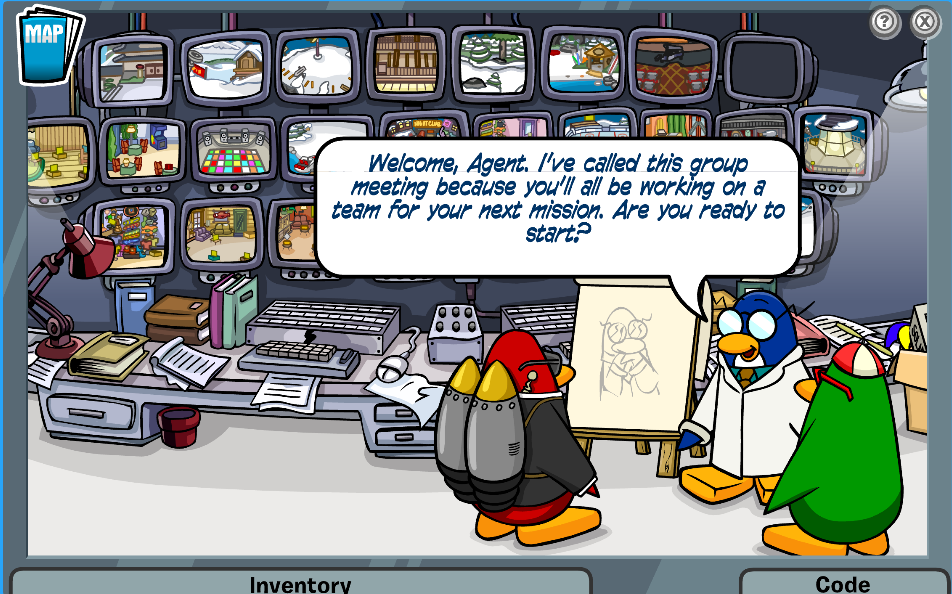
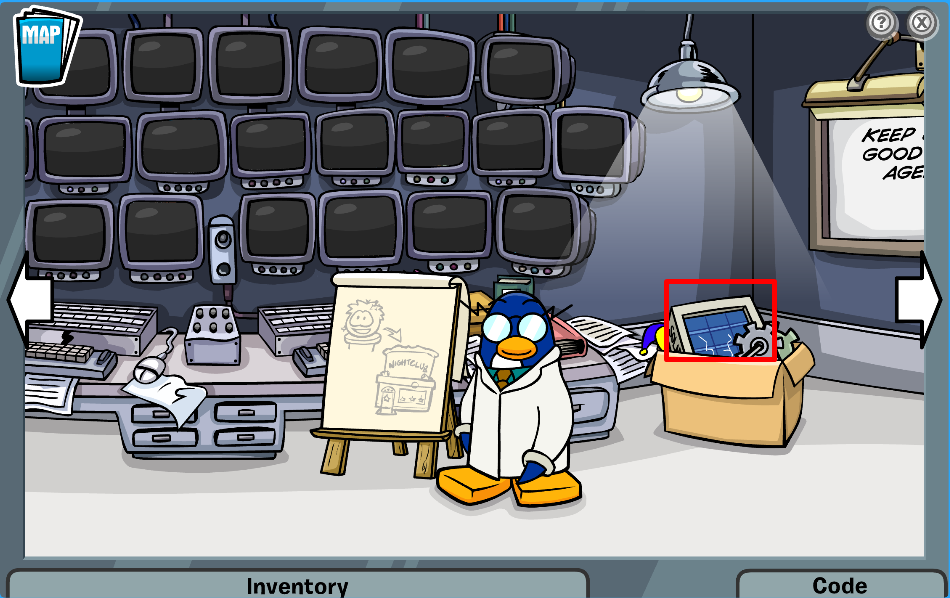
When you get into get into the mission, Gary the gadget guy will be drawing on a board. Click on him to talk to him. You will be working with Jet Pack Guy and Rookie.
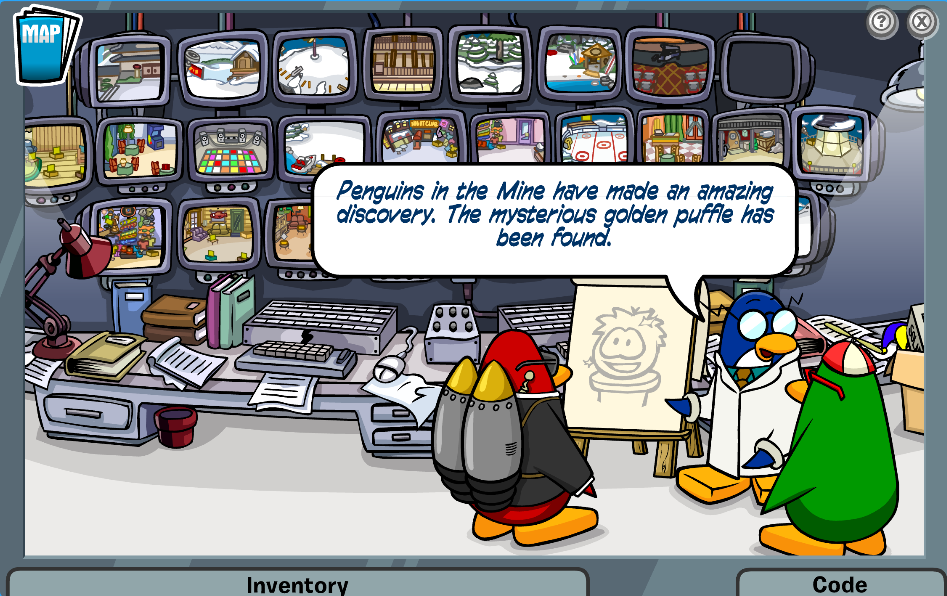
When you agree to start the mission, G will tell you that they have found the Golden Puffle! The puffle will be hidden at the Night Club until they can find a safe place for it.
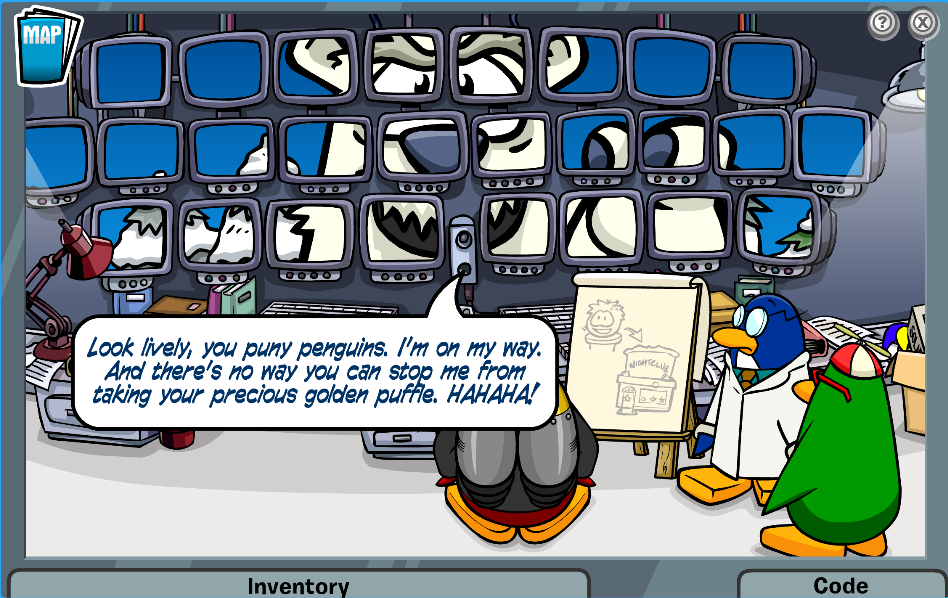
Suddenly the monitors behind Gary begin to go dark then Herbert pops up. Rookie accidentally tells Herbert about the golden puffle in the night club. Herbert will reveal his plan of stealing the Golden Puffle from the night club.
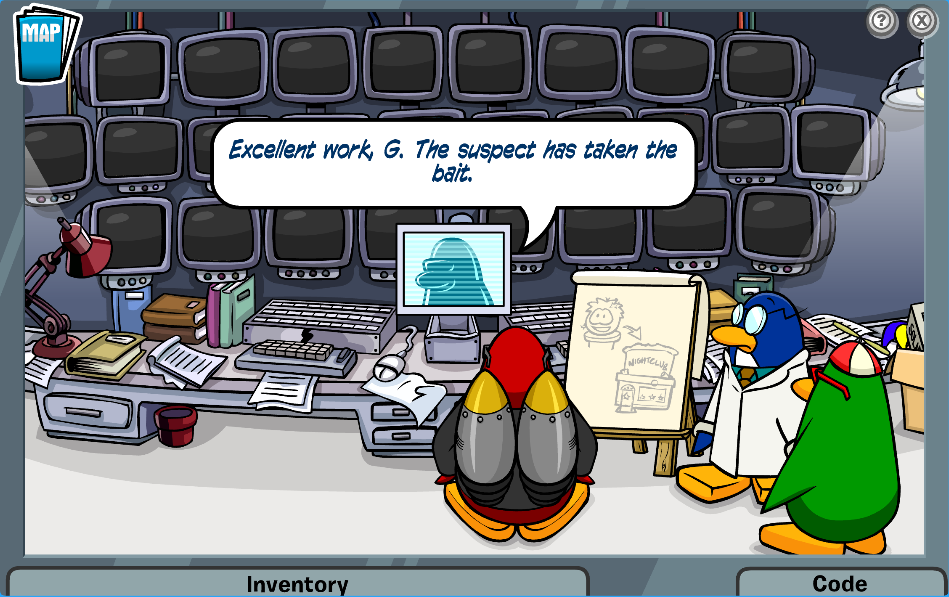
The director then pops up on another monitor and says that the Herbert has taken the bait.
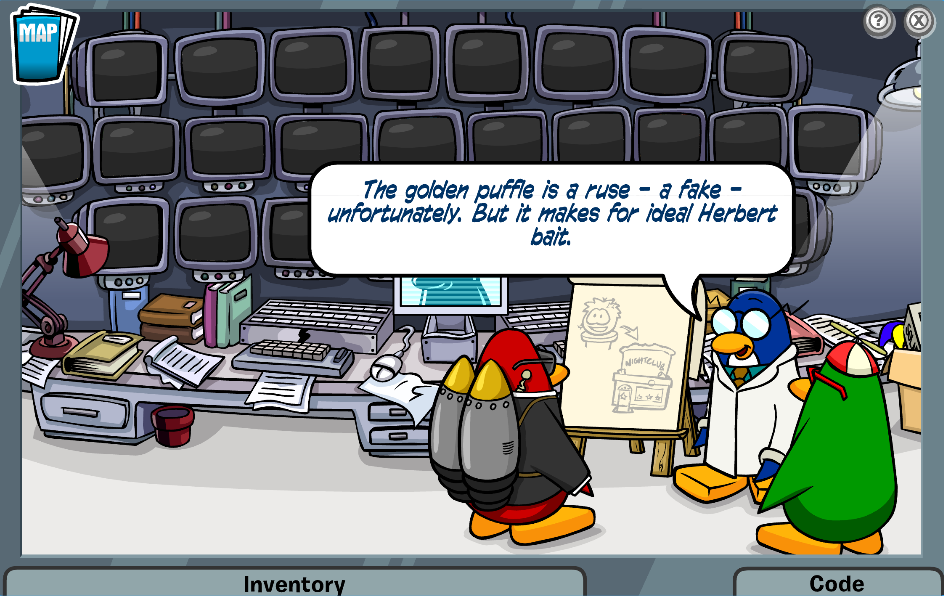
G then explains that the golden puffle that was found is actually a fake. You and the other agents must create a trap to catch Herbert.
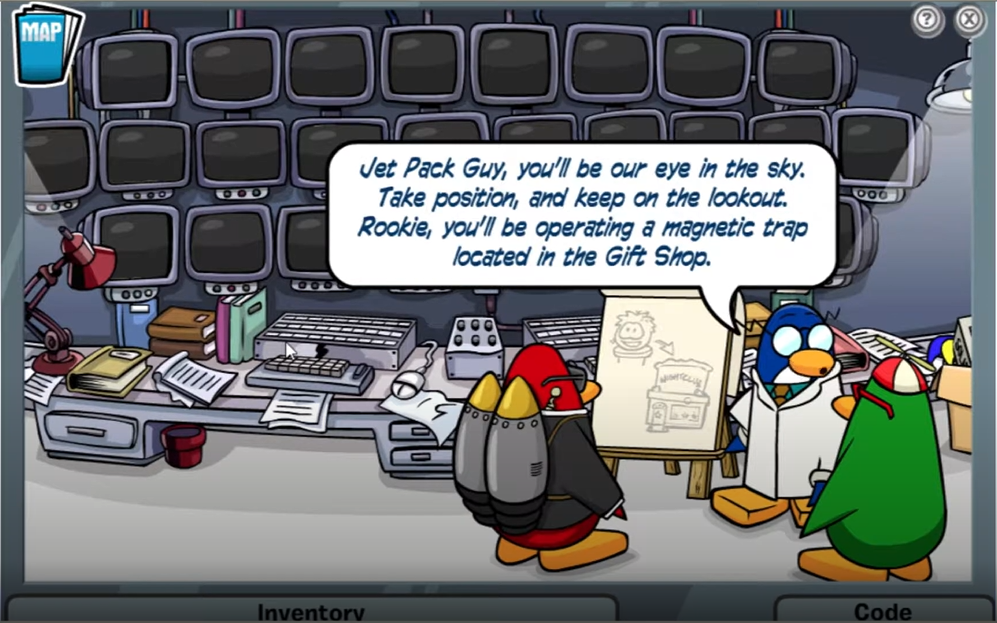
JPG will look out for Herbert in the sky and Rookie will operate a magnetic trap in the Gift Shop. You are assigned mission leader to make sure everything is going as planned.
Grab the box solar panel from the box of mix matched gadgets and drag it to your inventory!
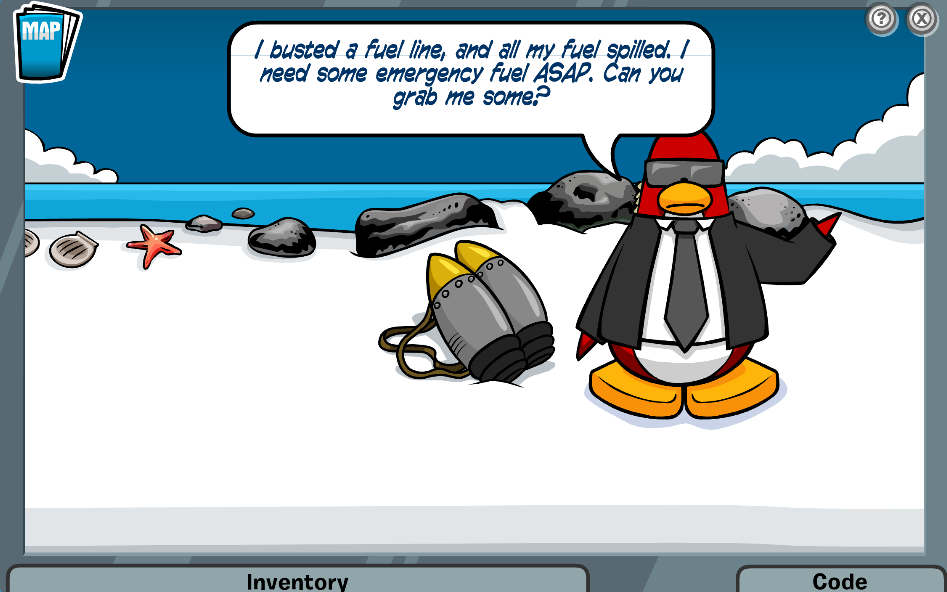
First head to the beach by using your phone to teleport! Head to the left till you find Jet Pack Guy. When you talk to him he will tell you his jetpack is out of fuel. He will ask if you can find some fuel.
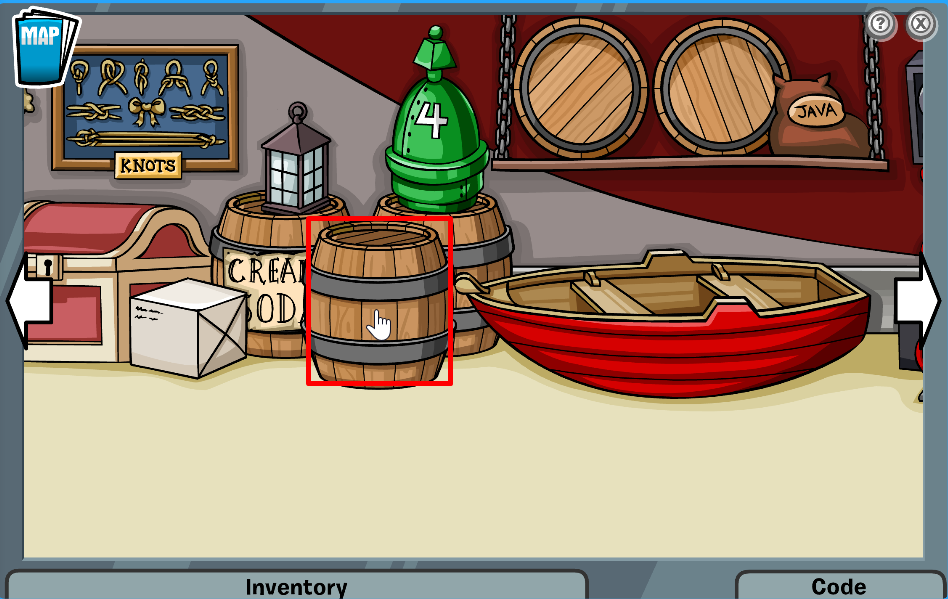
He will tell you to find some cream soda. Enter the lighthouse and look around for a barrel. Pick up the barrel sitting by the boat and drag it to your inventory!
Head back to beach, tell JPG that you found the cream soda. He will tell you to divide the soda into two containers, each containing 4 units of soda. Hand the barrel to JPG. 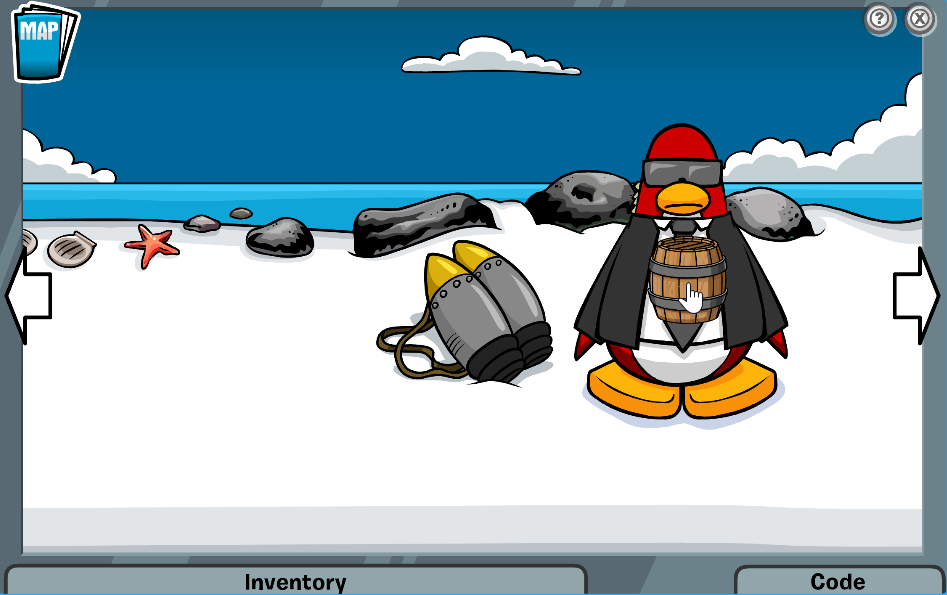
Now you will see 3 beakers with the labels 8, 5, and 3.
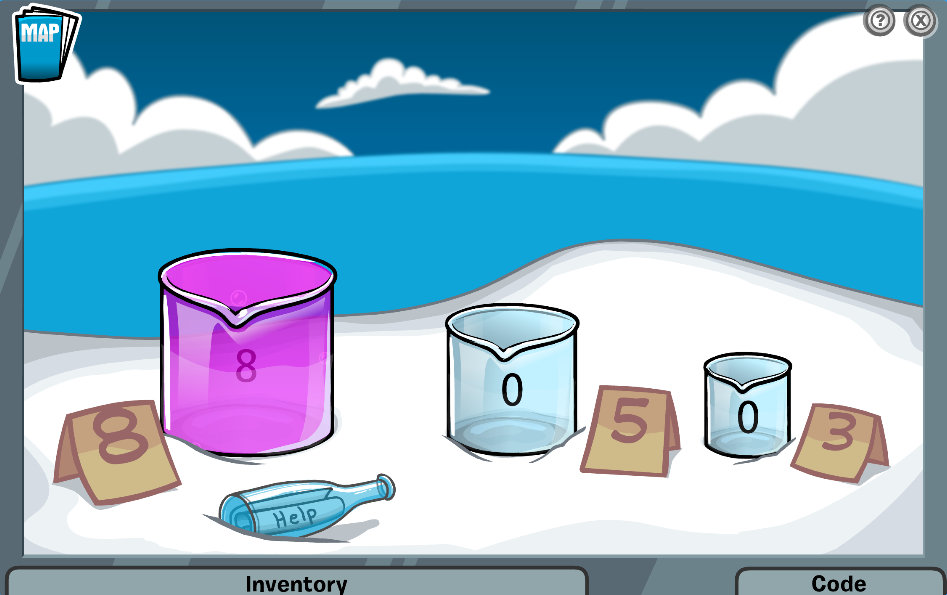
Here are the steps to completing the puzzle:
1. Pour liquid from the left beaker into the middle beaker.
2. Pour liquid from the middle beaker into the right beaker
3. Pour liquid from the right beaker into the left beaker.
4. Pour liquid from the middle beaker into the right beaker.
5. Pour liquid from the left beaker into the middle beaker.
6. Pour liquid from the middle beaker into the right beaker.
7. Pour liquid from the right beaker into the left beaker.
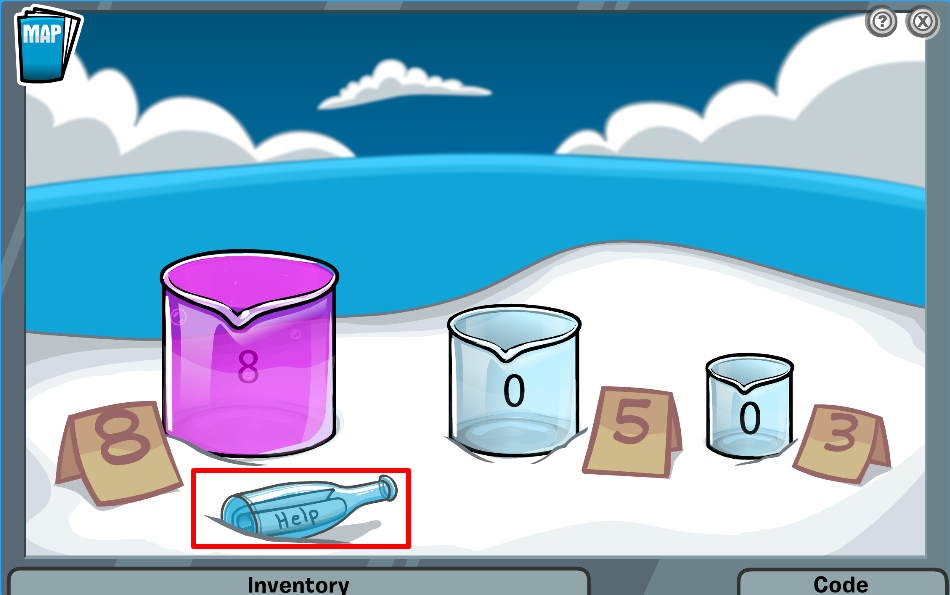
NOTE: If you get confused you can click the note sitting in the bottle to see directions for getting four units of cream soda into two containers!
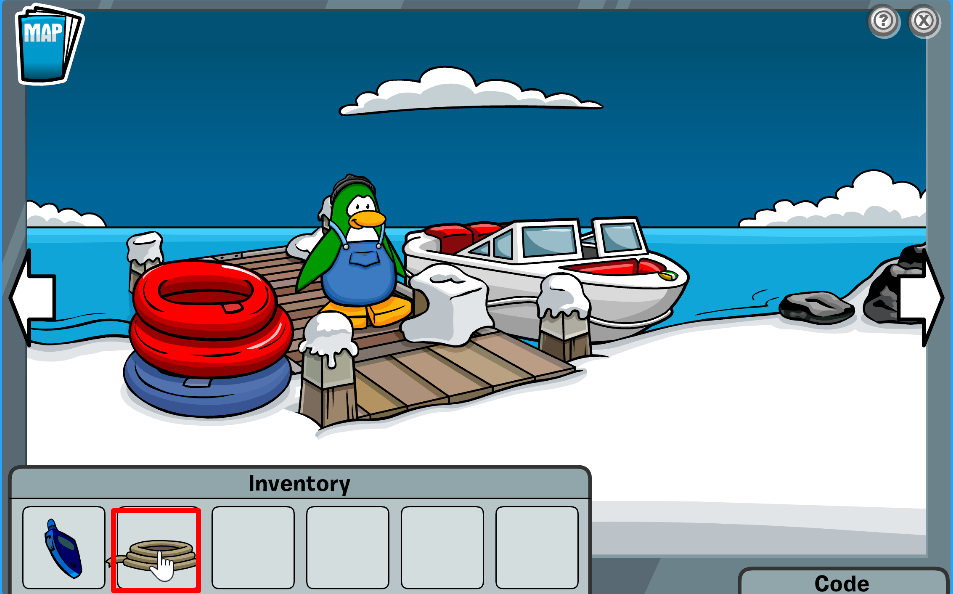
Once your finished, Jet Pack Guy will say thanks and then fly away. Now, go to the dock using your spy phone!
Once there ask the green penguin for his rope! Surprisingly he just straight up gives it to you without asking why. Put the rope into your inventory.
Now teleport to the Gift and talk to the manager!
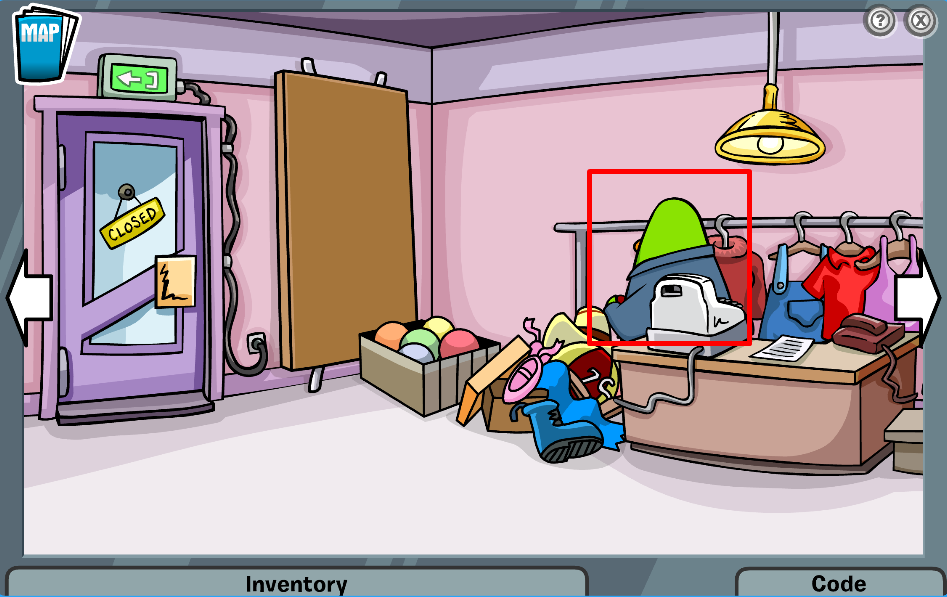
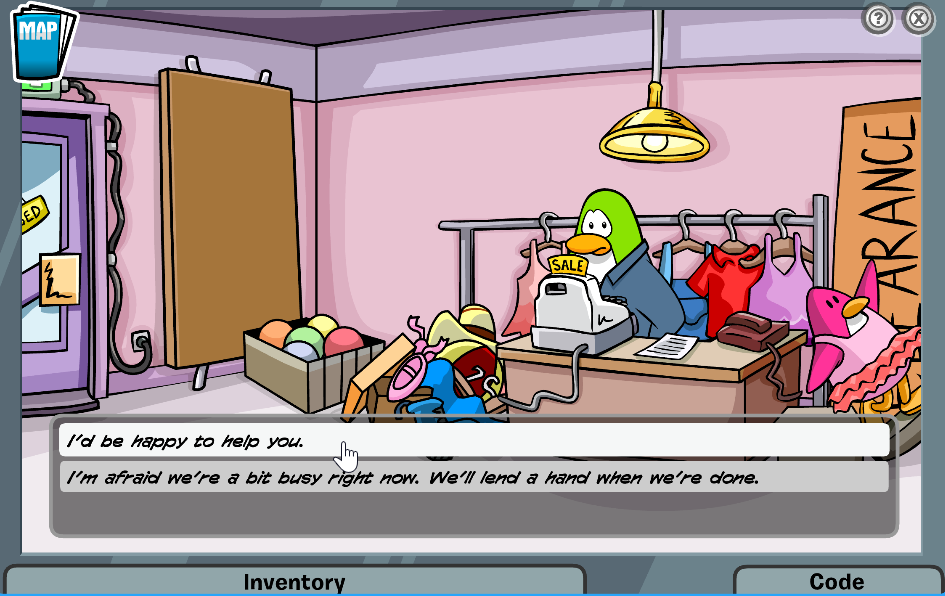
He will comment about needing help setting up a display of items that are for sale! Tell him that you would be happy to help! 
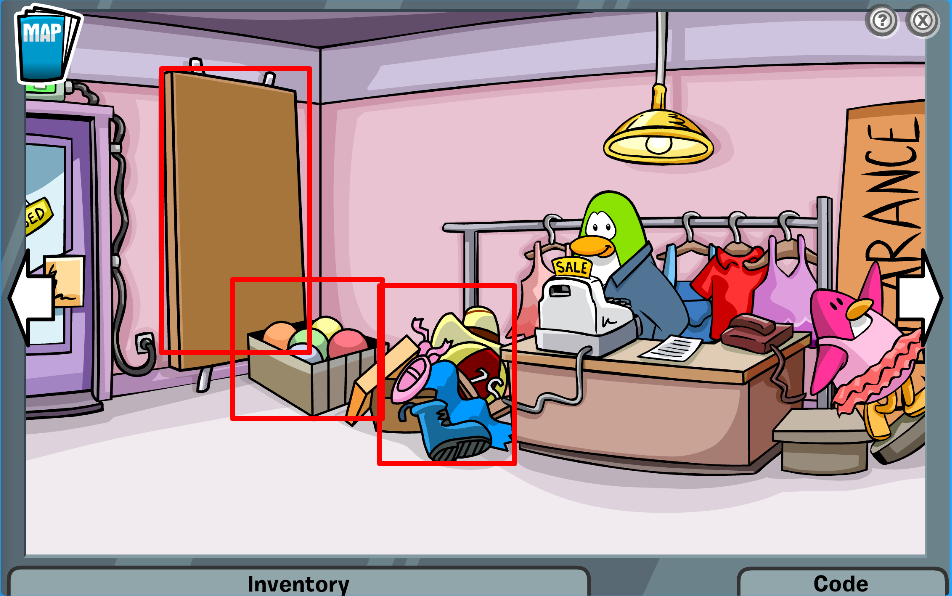
Now pick up the two boxes and the table and place them into your inventory!
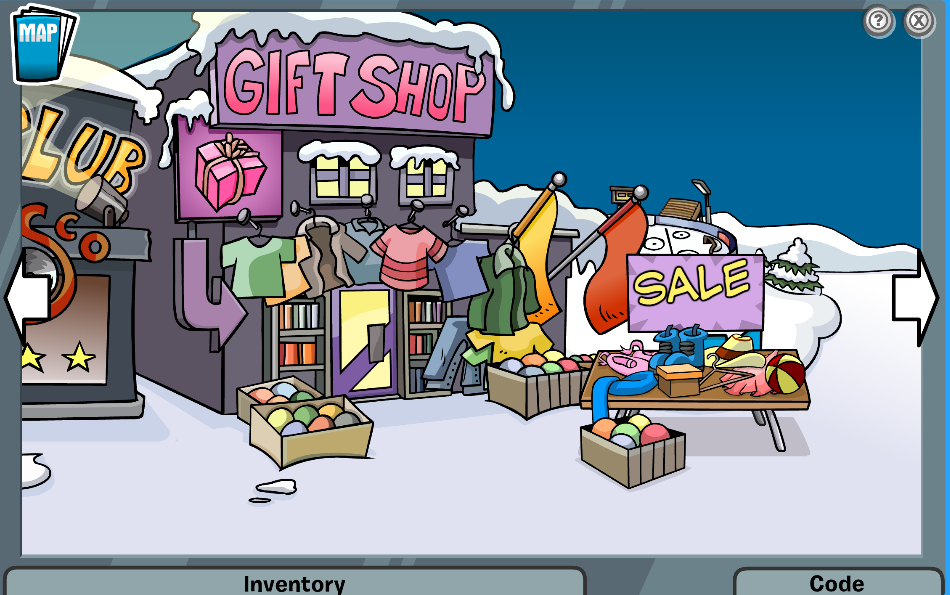
Now head outside the gift shop, take the table from your inventory and set it up to the right of the gift shop. Then, put the two boxes on the table. Nice you completed the stand! 😀
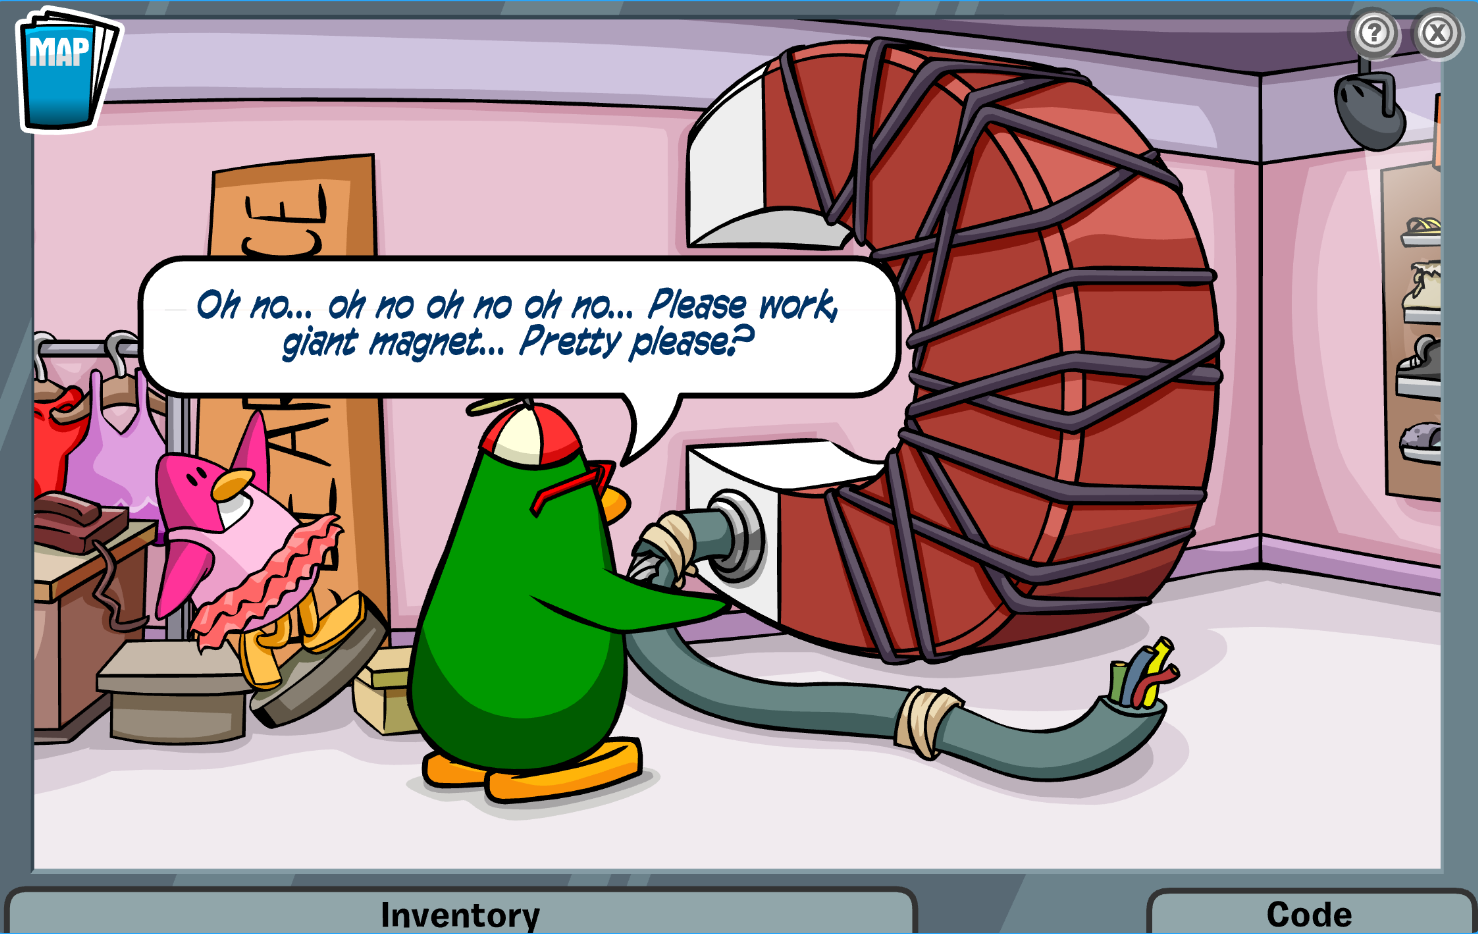
Go back to the gift and talk to rookie. You will notice the magnet 3000 is giving him problems.
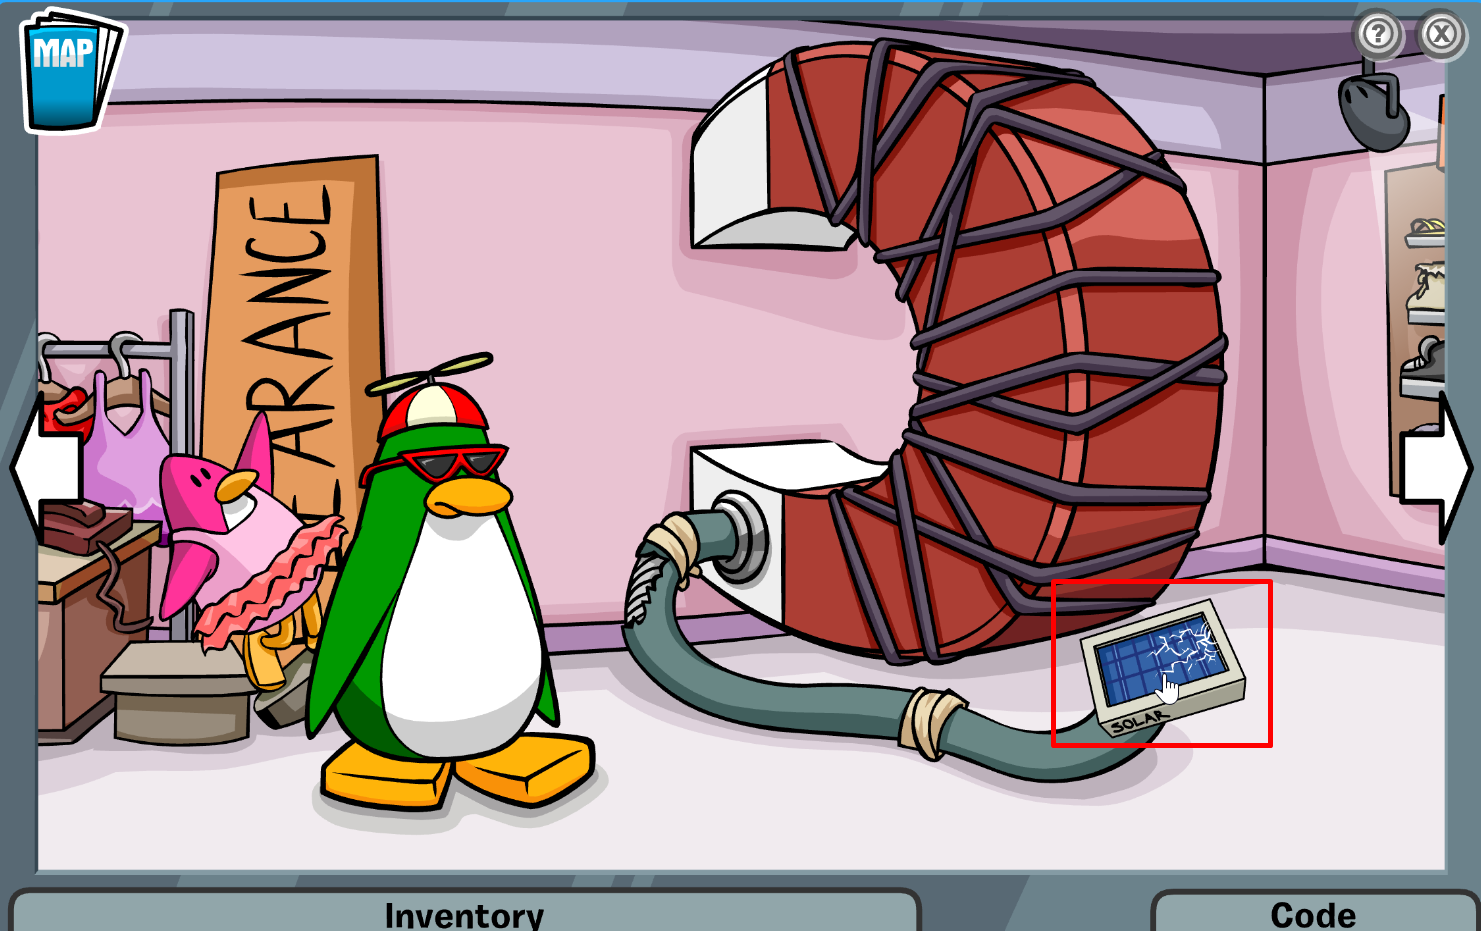
Grab the solar panel from your inventory and put it on the magnets power cord. A circuit board will pop up!

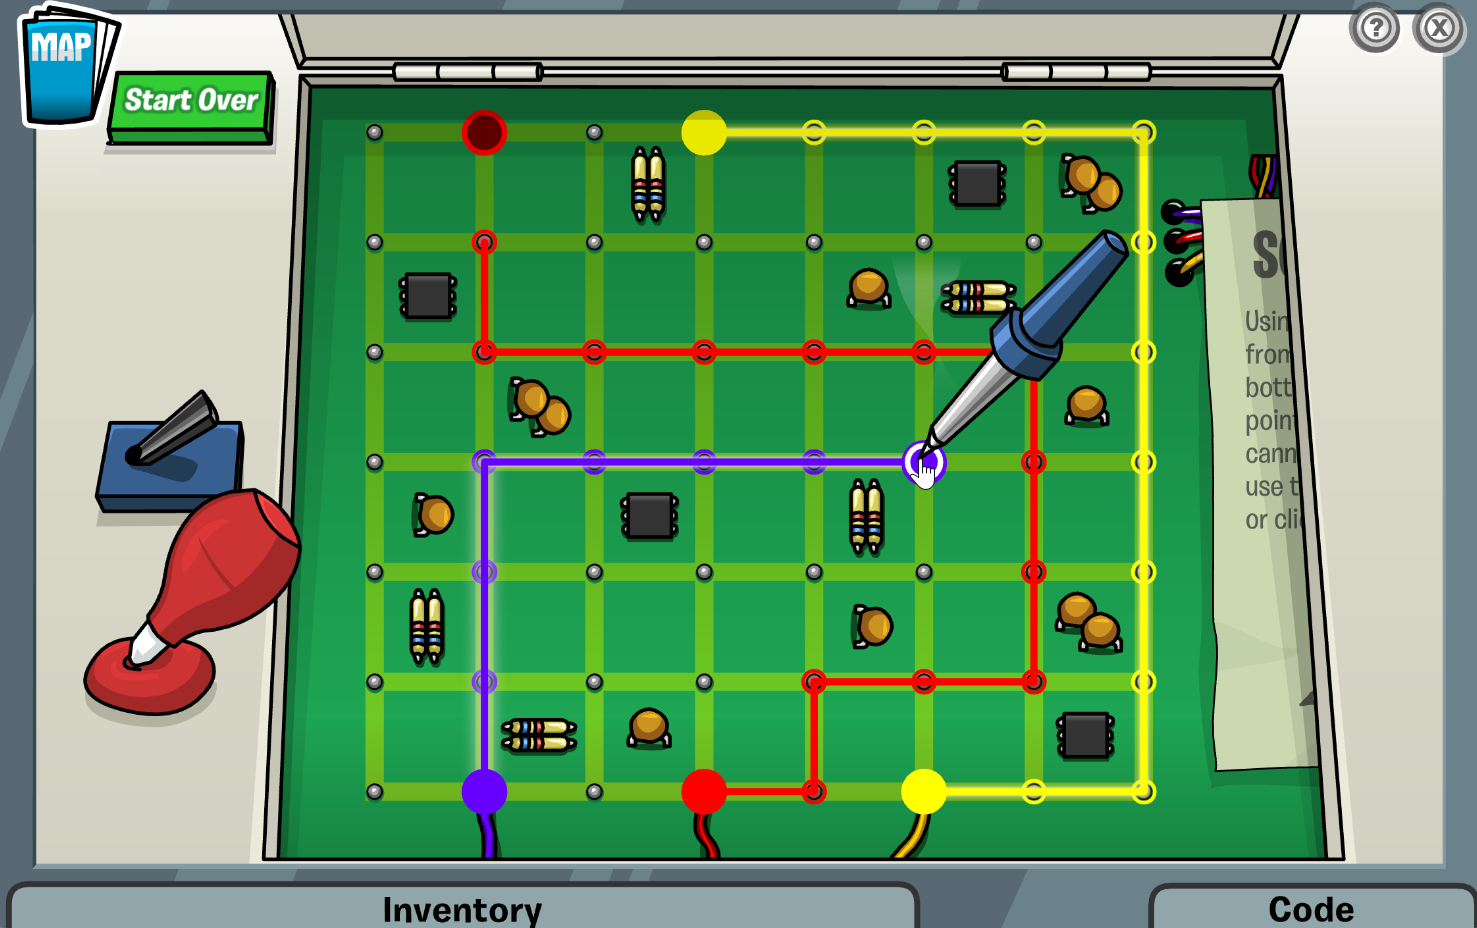
How to complete: Use the blue soldering iron to complete each path between each pair of the three pairs of colored circles. If you make a mistake use the red solder sucker to erase mistakes.
Click each of the circles to begin the path designated to that circle. The paths should look like this or something similar:
Once you get done Rookie will thank you. Now teleport to the Night Club.

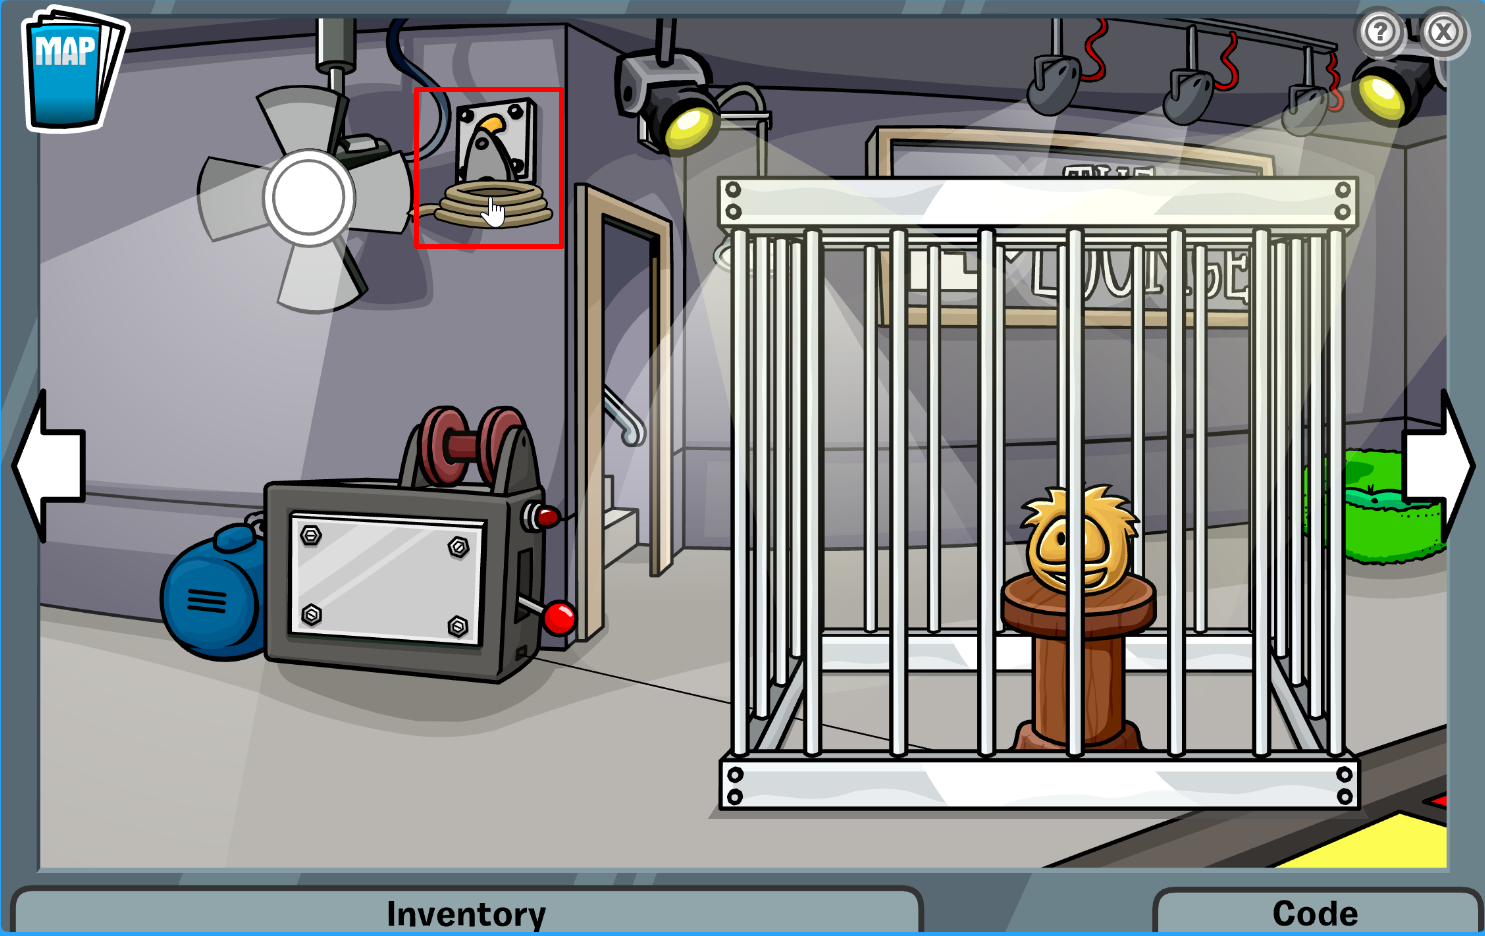
Once you get to the Night Club, pan to the right till you see a cage with the golden puffle in it. Take the rope out of your inventory and put it on the pulley. Now the rope is attached to the cage.
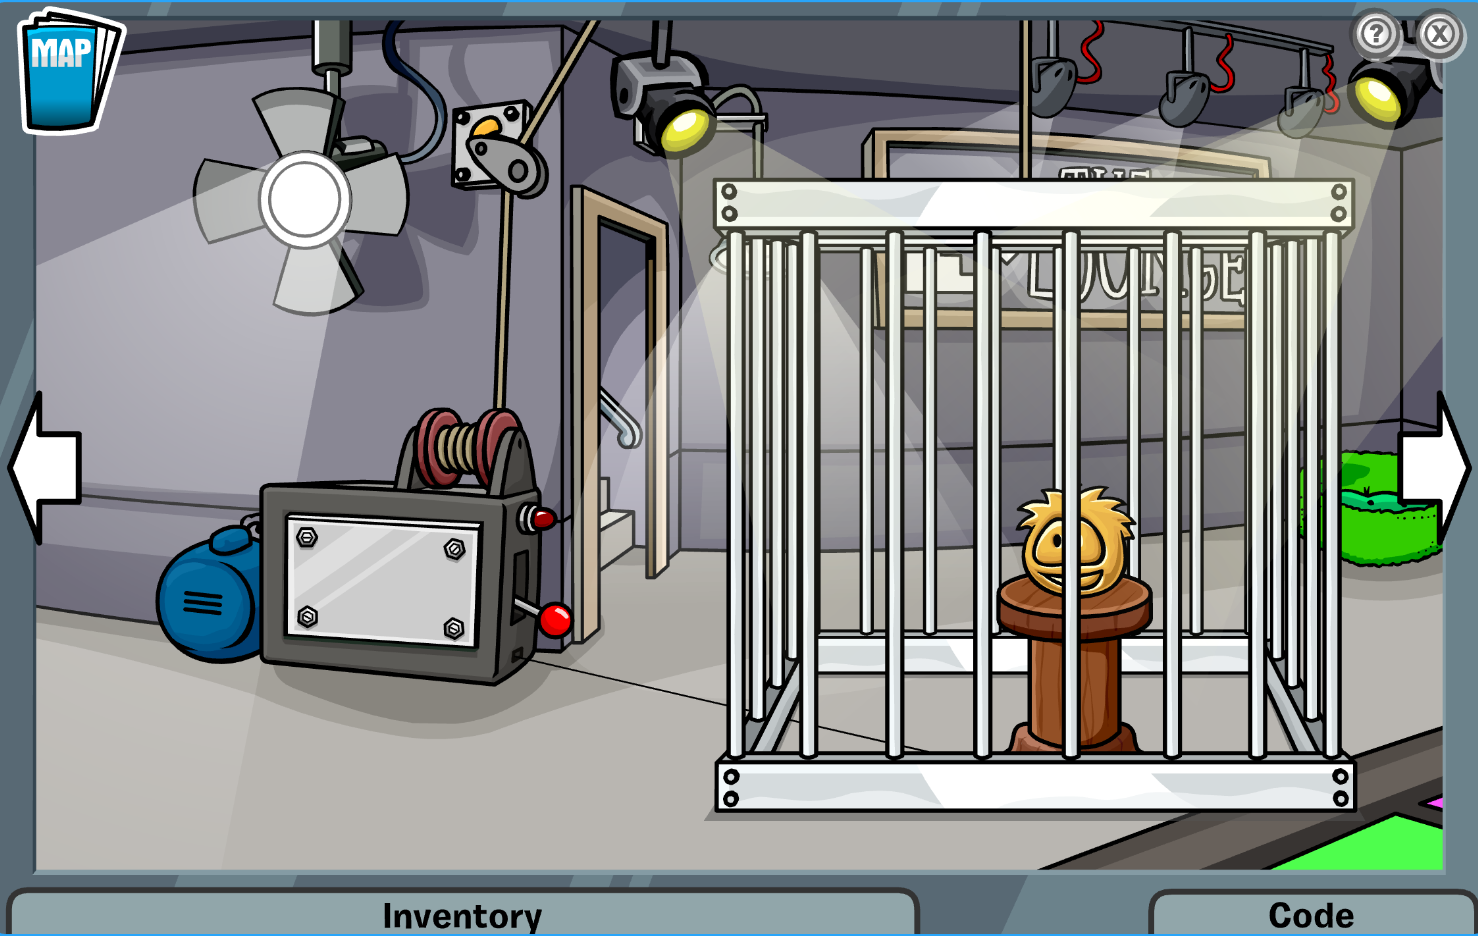
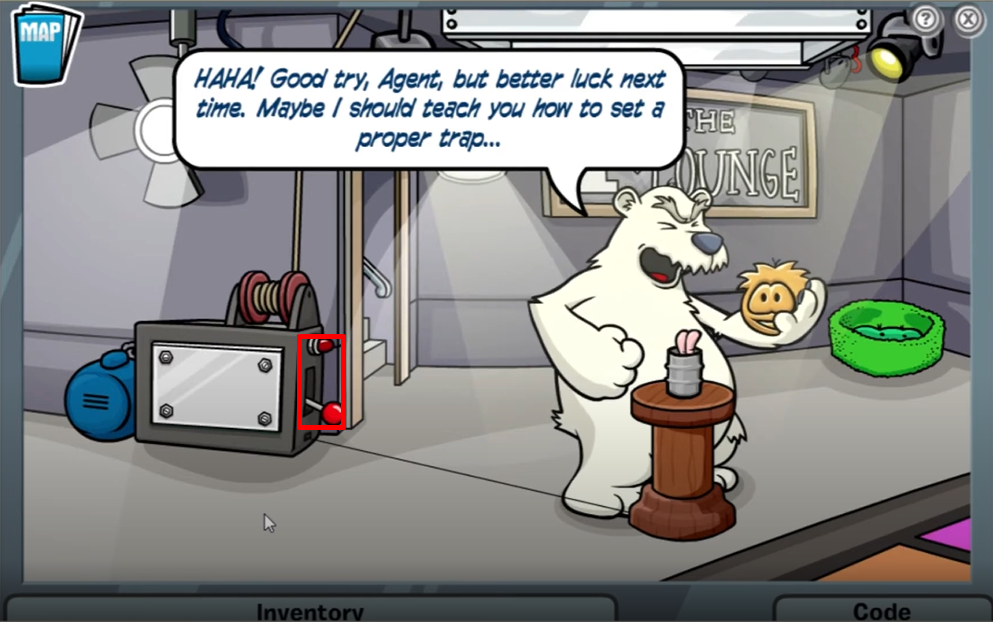
Now click the red lever. Instead of the cage going up it shoots out sparks and the red light flashes. Oh no its broken!

Take out your spy phone. Click the red flashing light at the top. A bunch of tools will pop up. Click the wrench and drag it to the bolts.
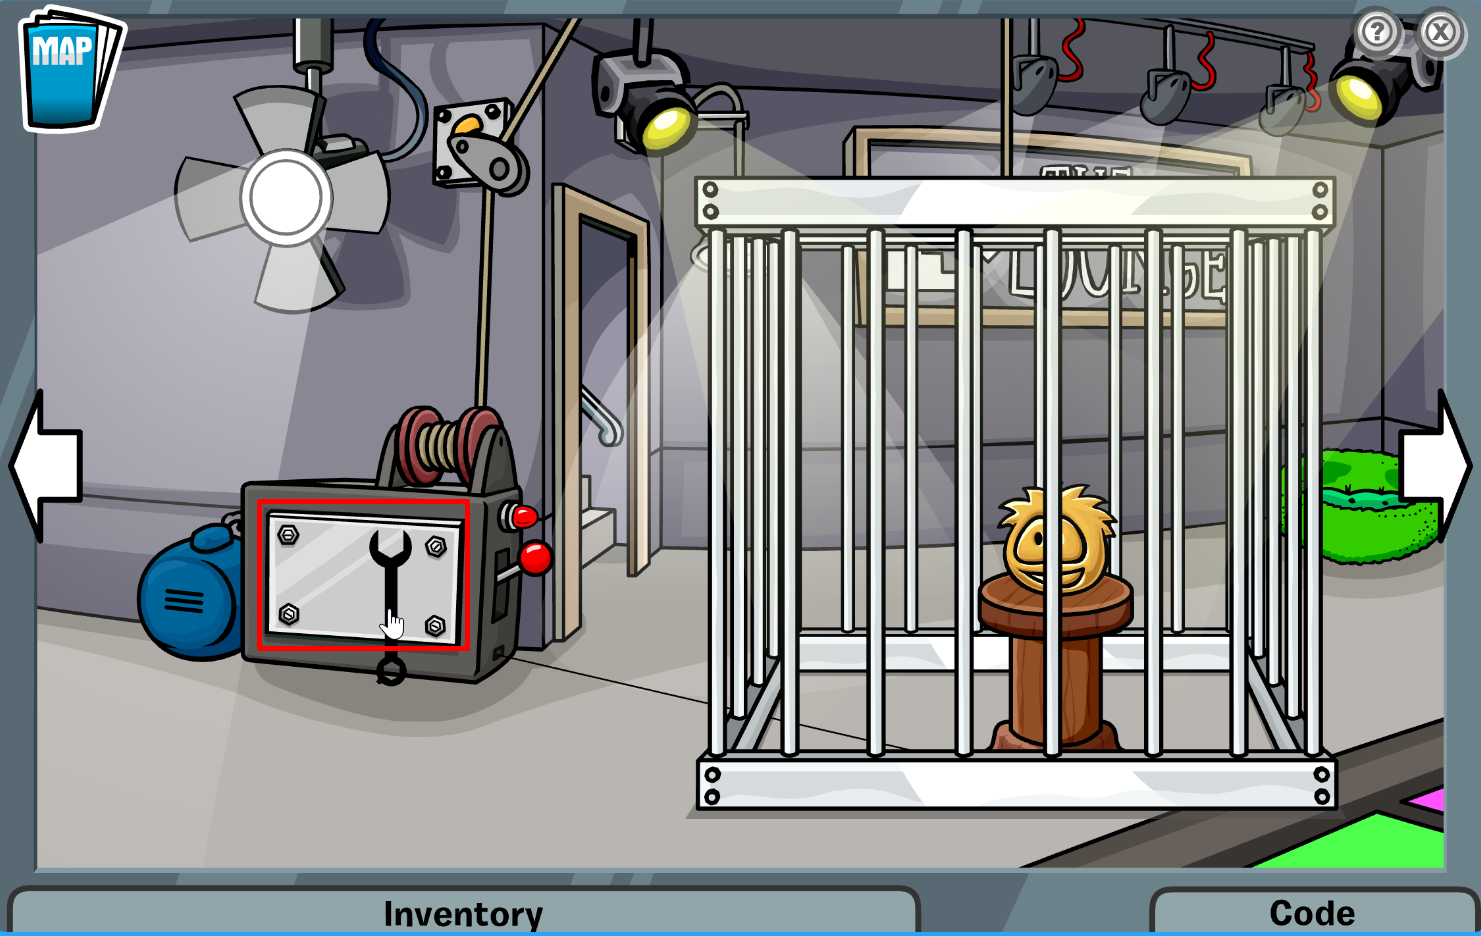
Once the wrench undoes the screws click the panel. It will pop open revealing five gears on the bottom of the box. Fit the gears on the spindles to fix the winch and set the gears fitting to your trap. Note: The gears might fit different each time you do the mission. Ex:
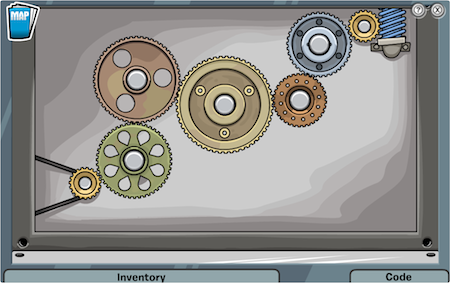
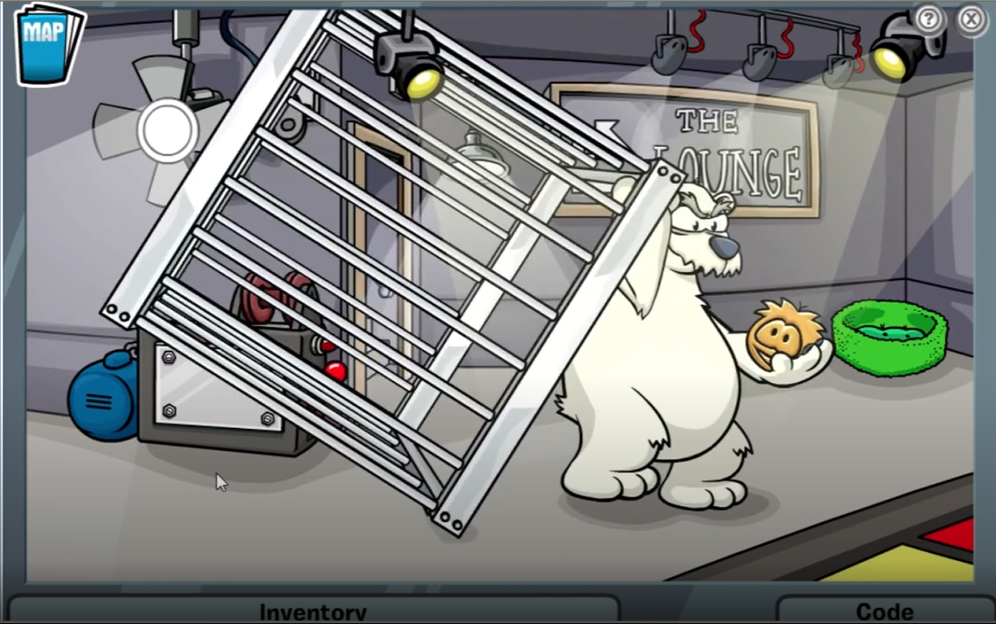
Now that its fixed the cage will lift and the trap will be set.
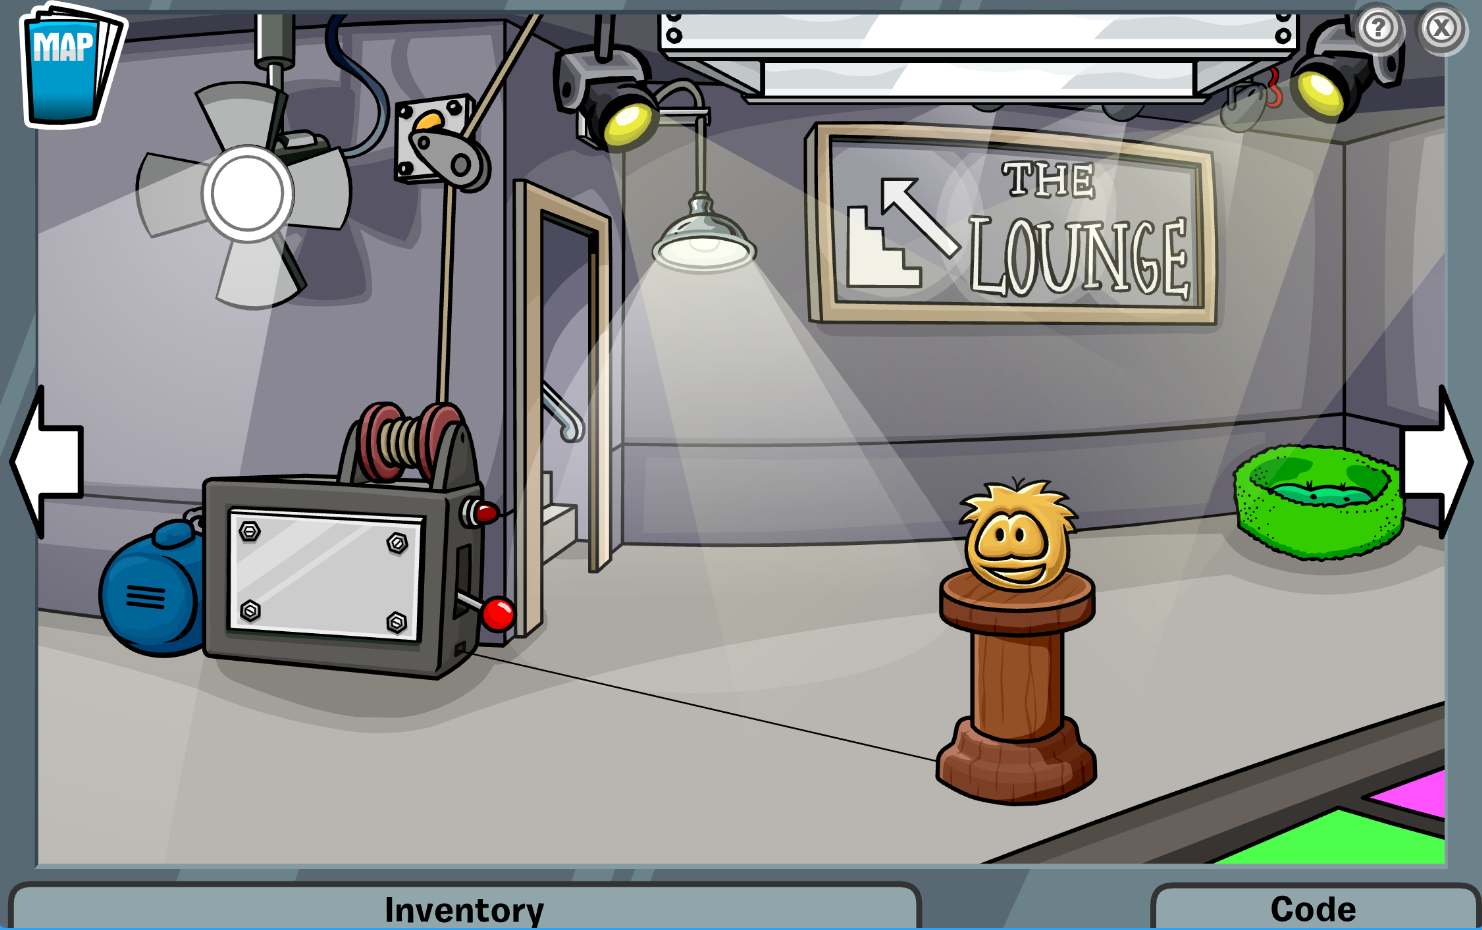
Now head back to the docks. Once you get there your phone will ring. Answer it. It’s Jet Pack Guy telling you to go to the dock although you’re already there?
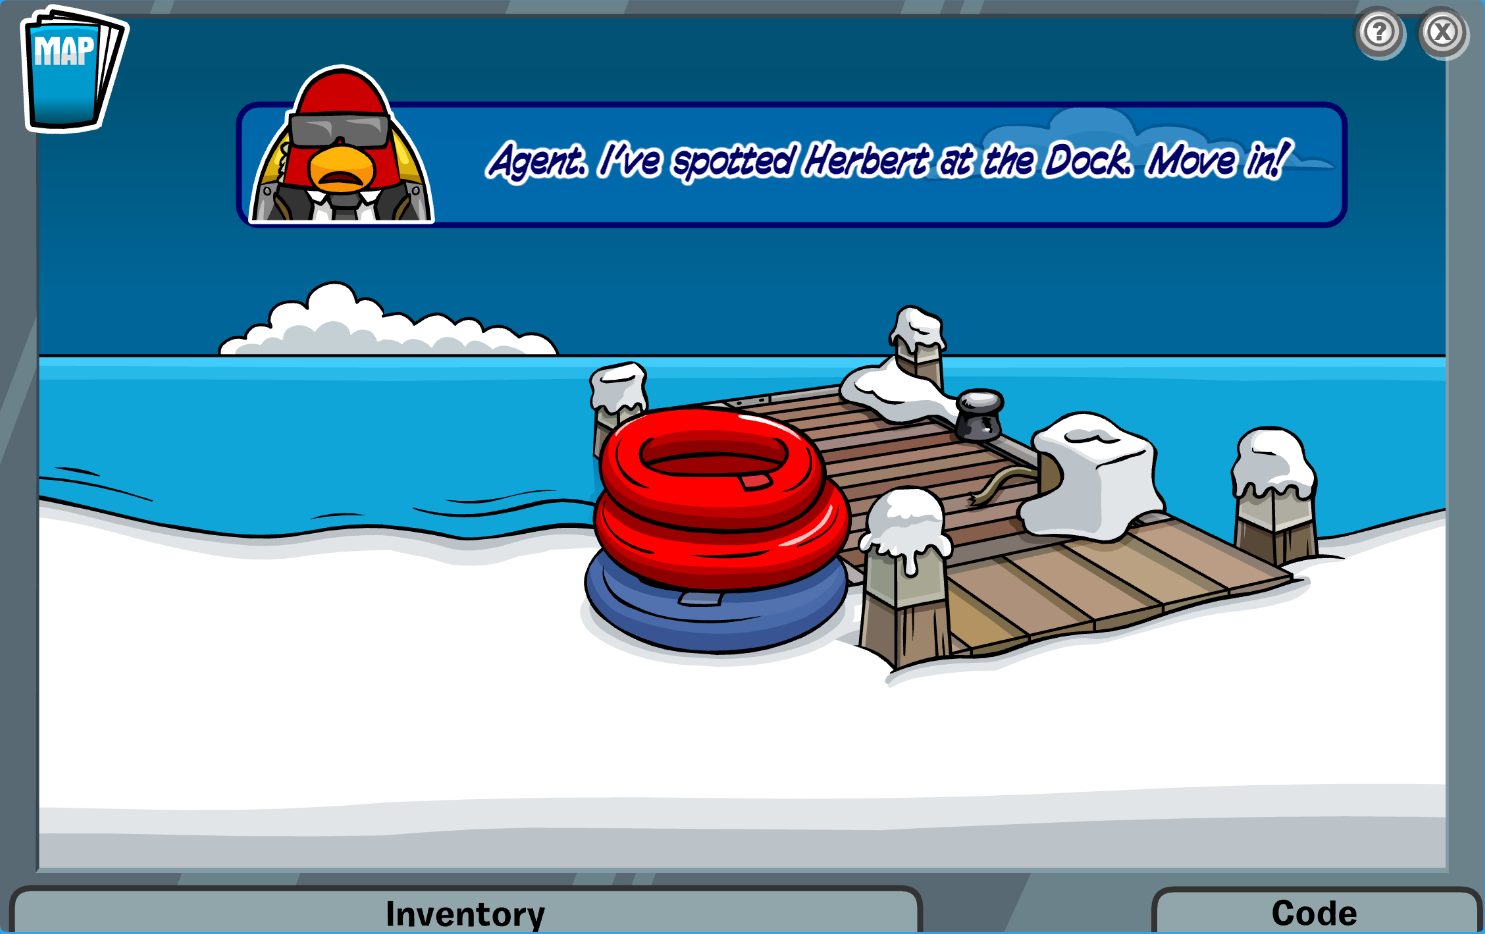
Look around till you spot klutzy waving a decoy Herbert. Klutzy drops the sign and runs up the ski hill.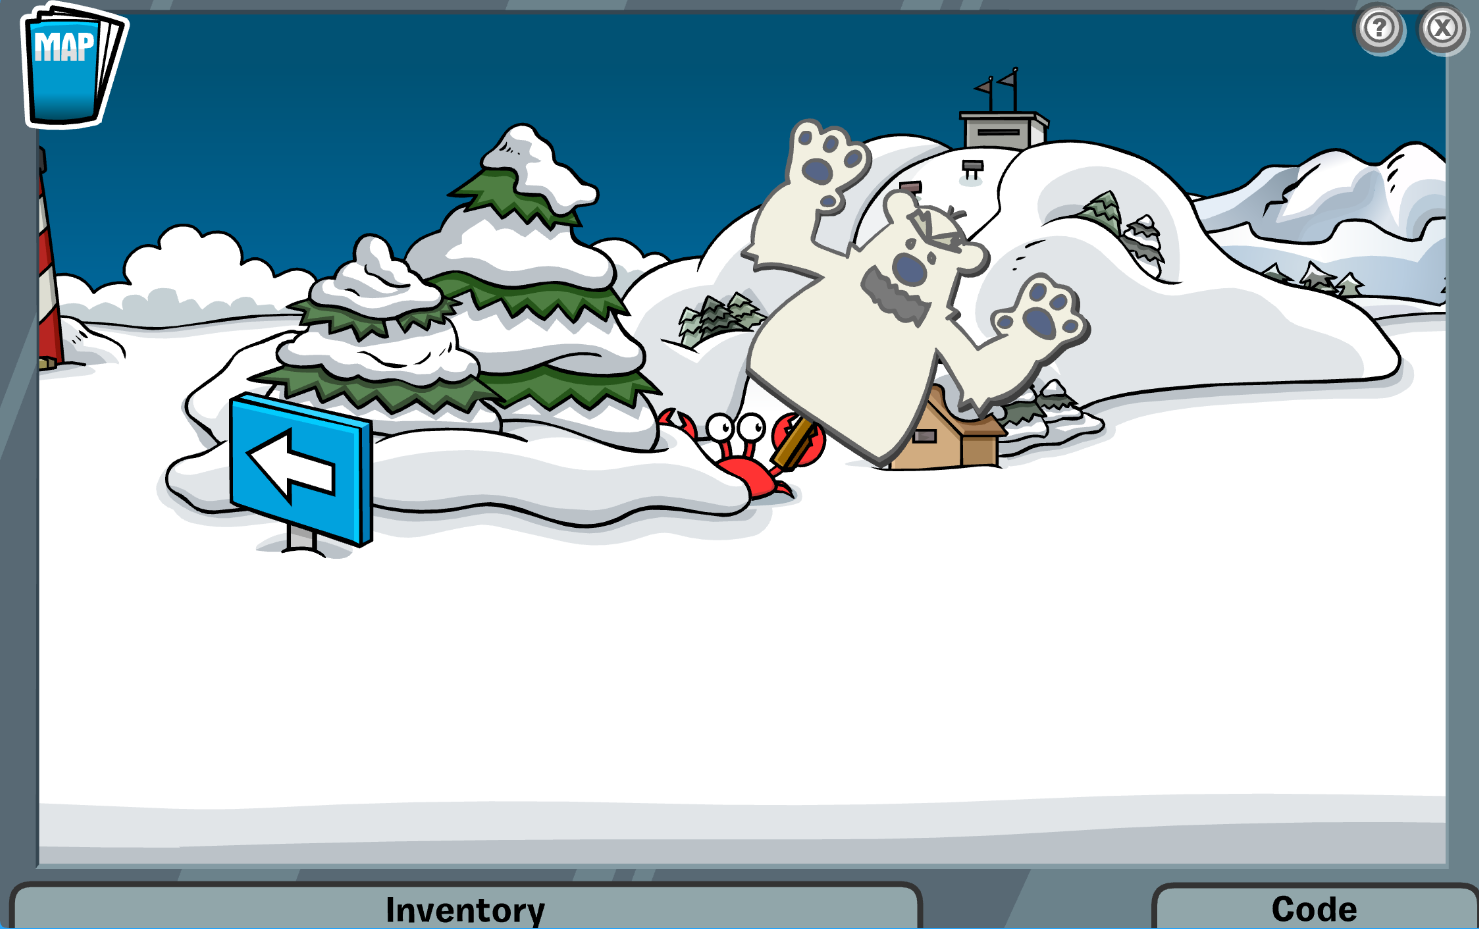
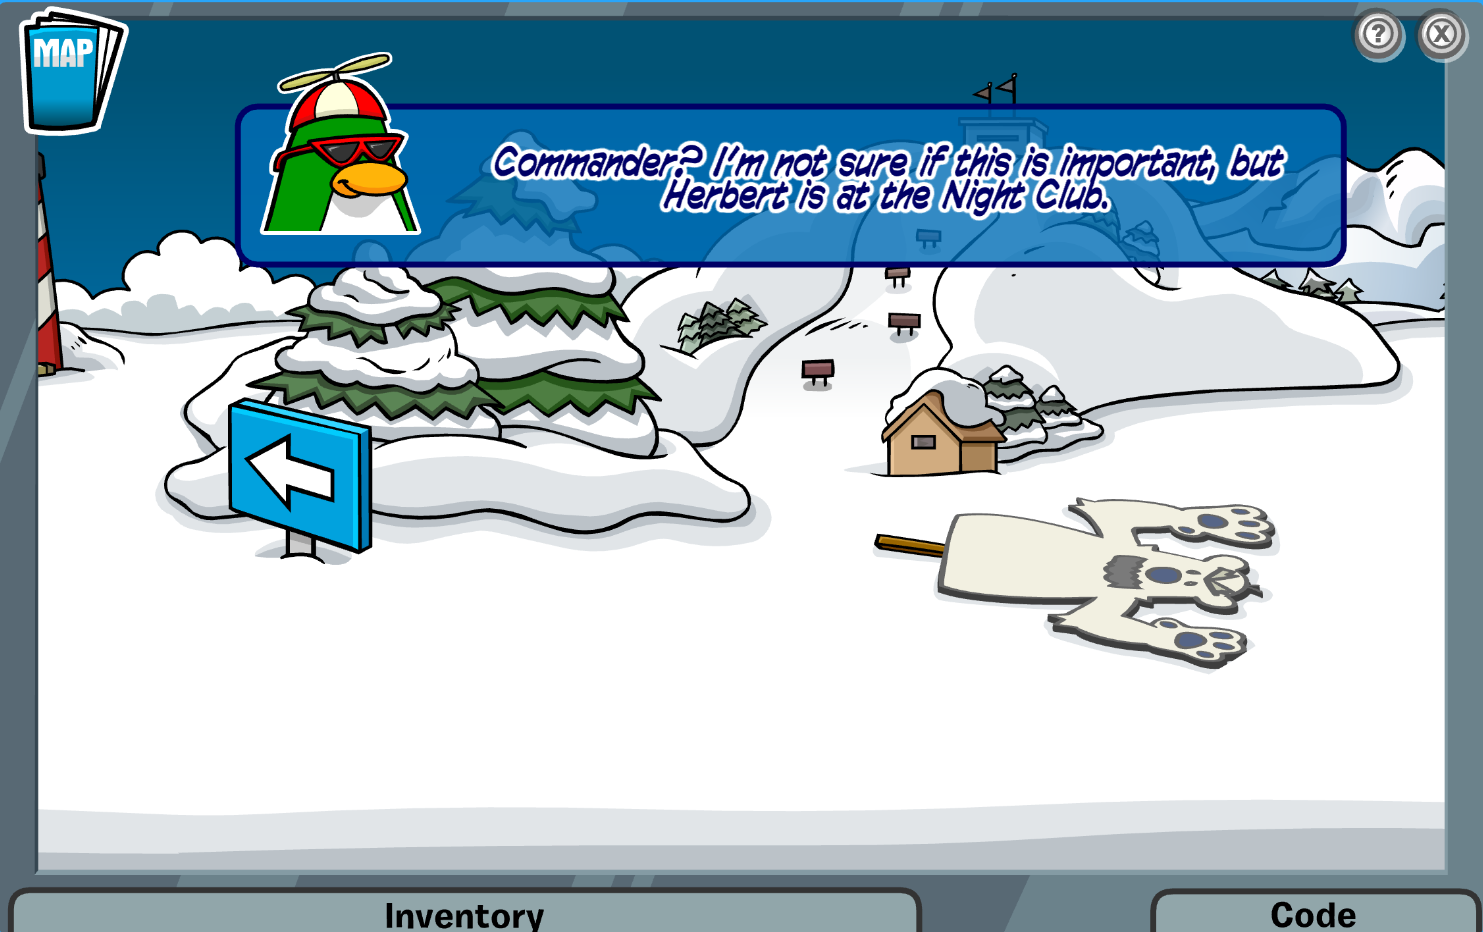
Your spy phone rings again. This time it’s Rookie, telling you Herbert is now at the night club.
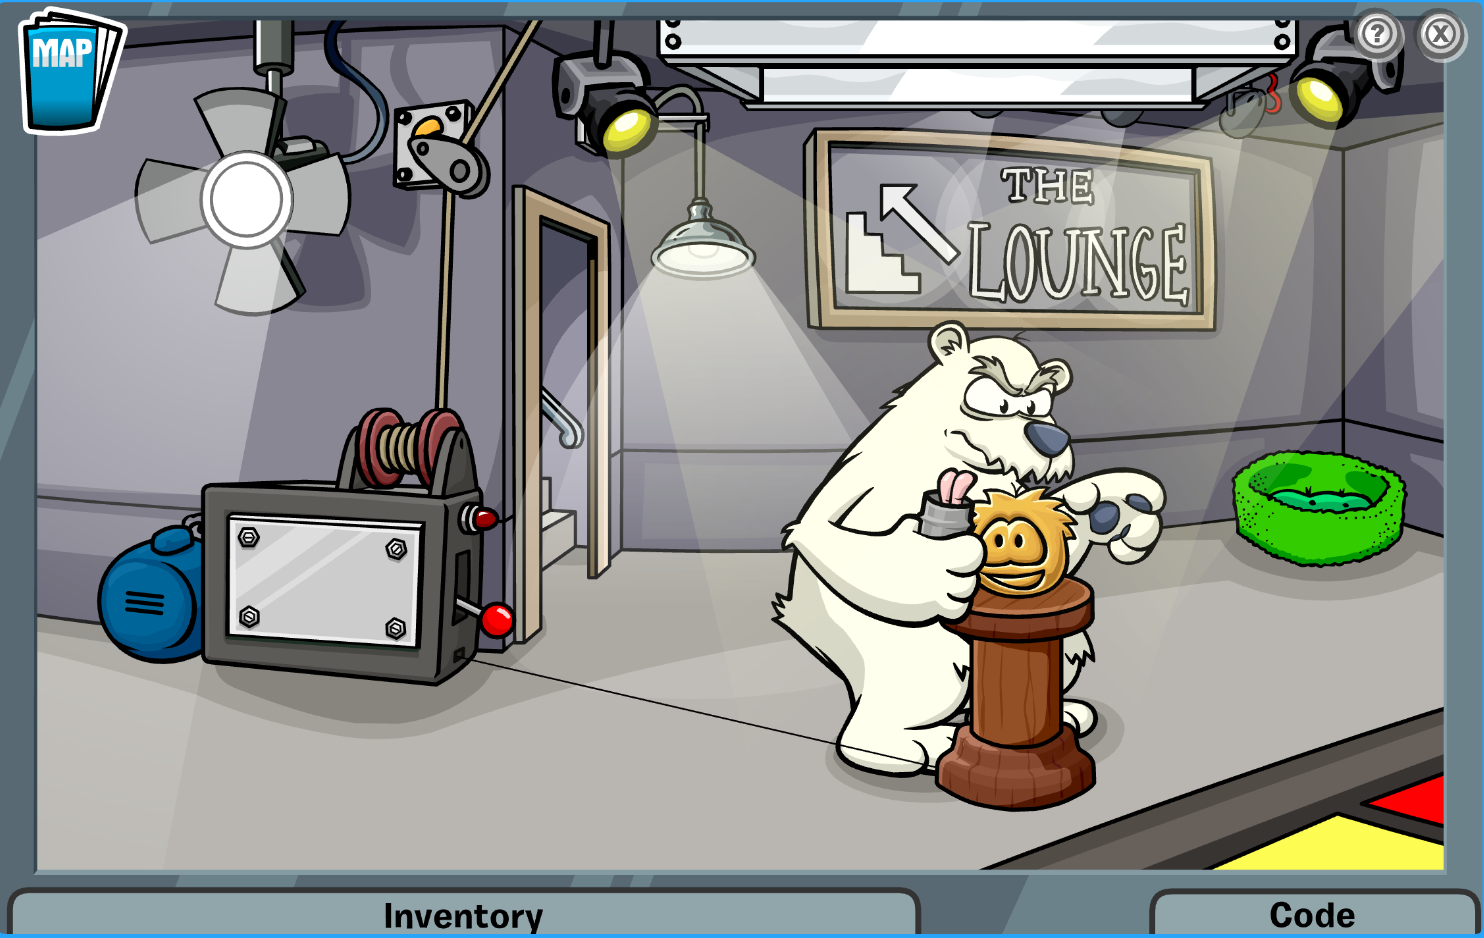
Run to the night club. You see Herbert with the golden puffle attempting to make a switcheroo.
QUICK! Click the lever to drop the cage!! ? The cage will drop on Herbert, but he just picks it up and throws it aside.
Your spy phone rings. Click it to answer it. It’s Gary he tells all agents to move in.
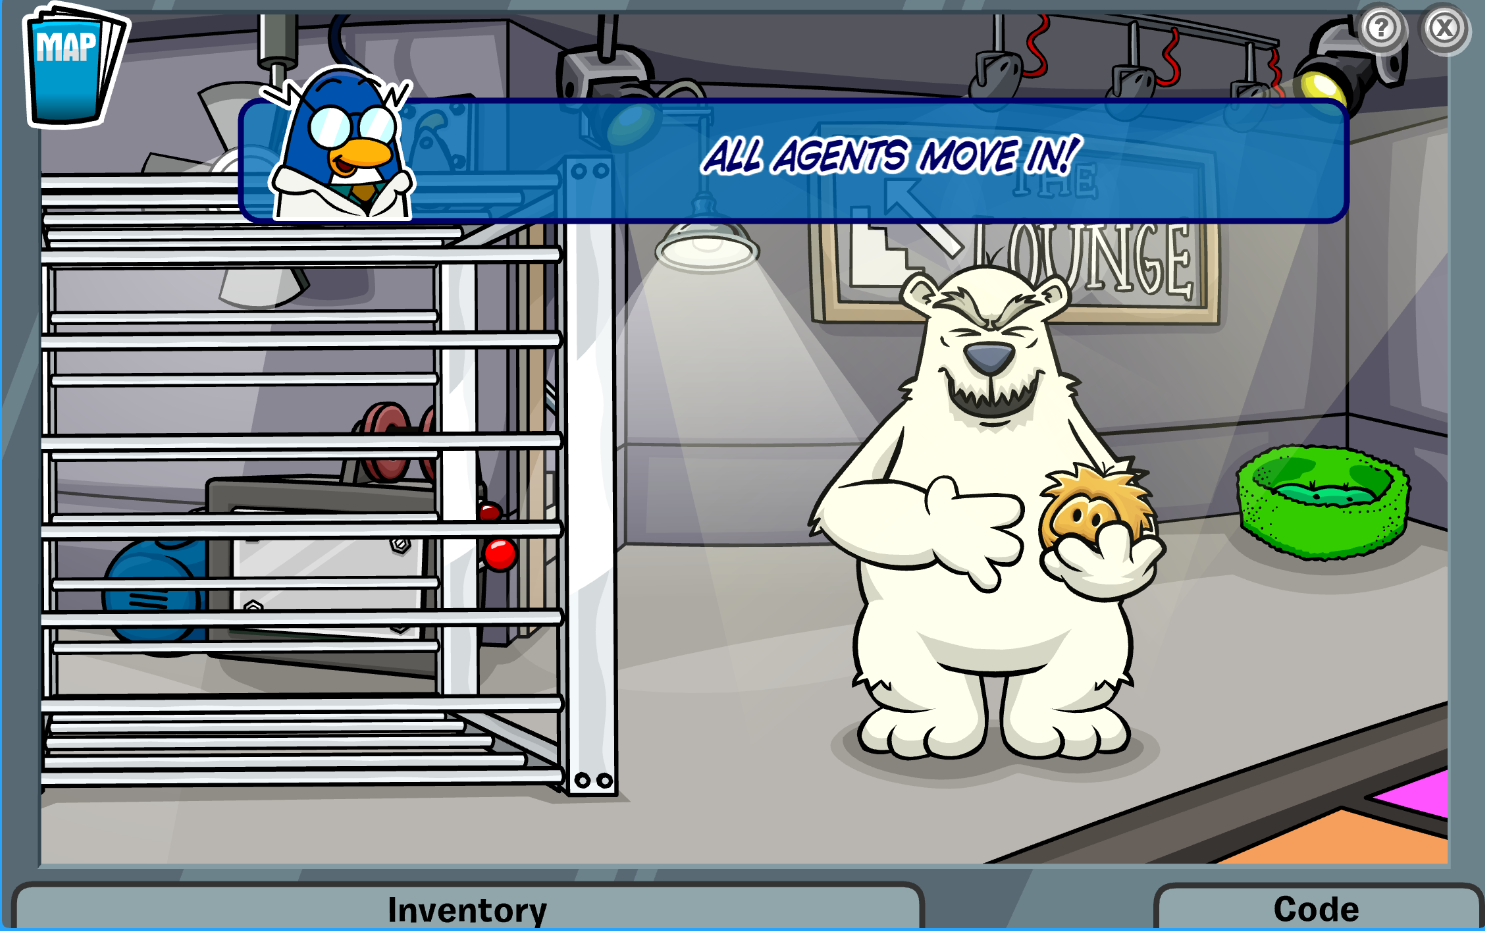
The magnet 3000 moves breaks through the wall attracted by the golden puffle. Click and move all three lights to point them at the solar panel.
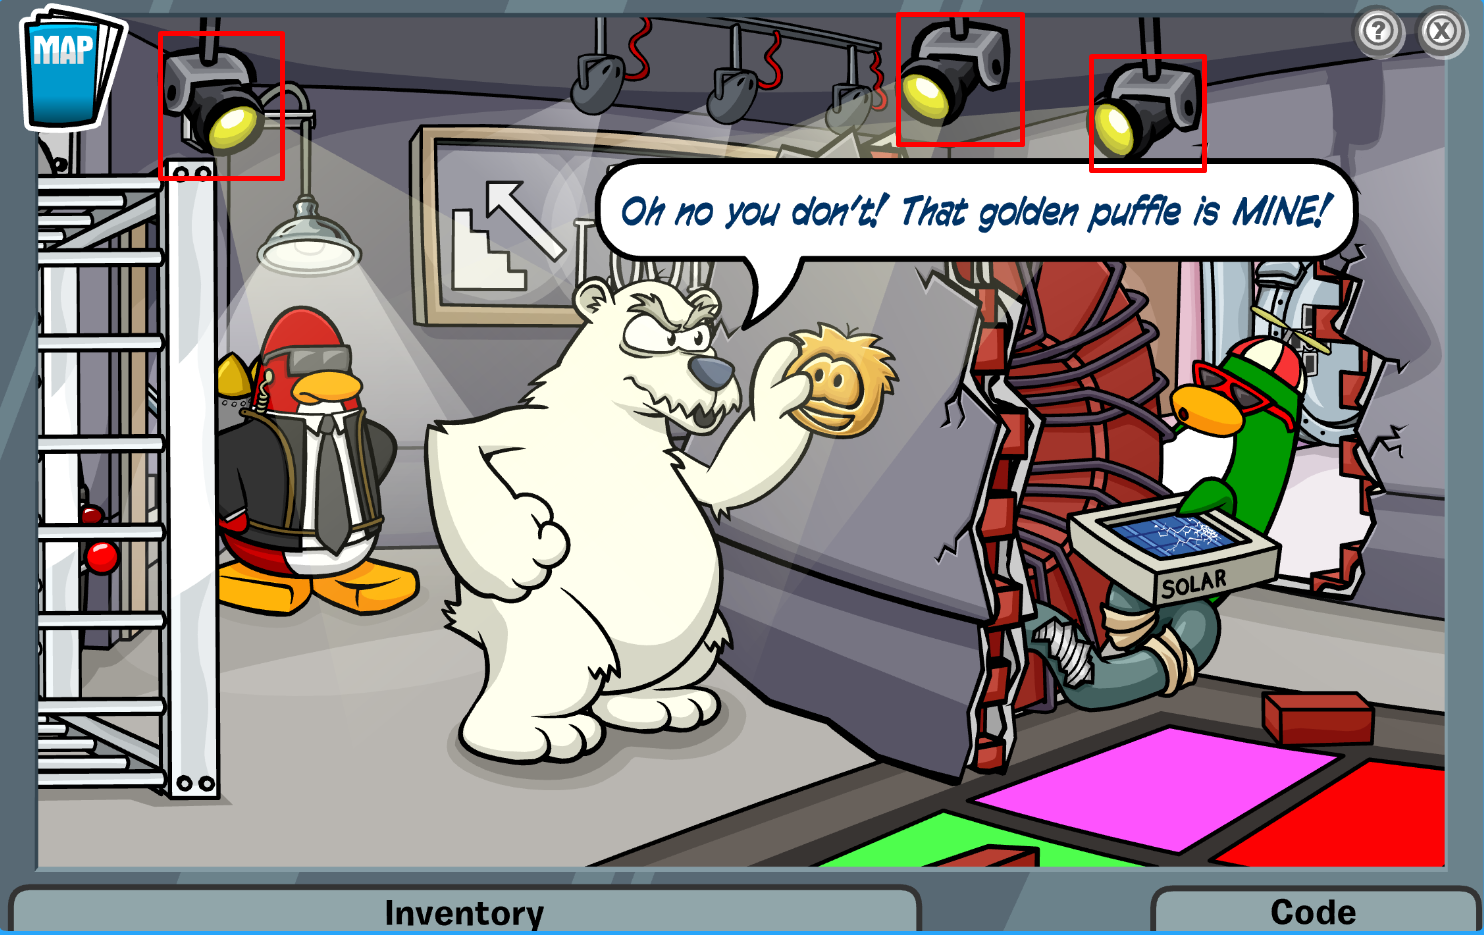
The magnet attracts to the cage moving it closer to the magnet 3000 trapping Herbert.
 After Herbert gets trapped Gary comes in and decides what happens to Herbert. He asks for one phone call. Rookie then gives him his spy phone. Herbert escapes.
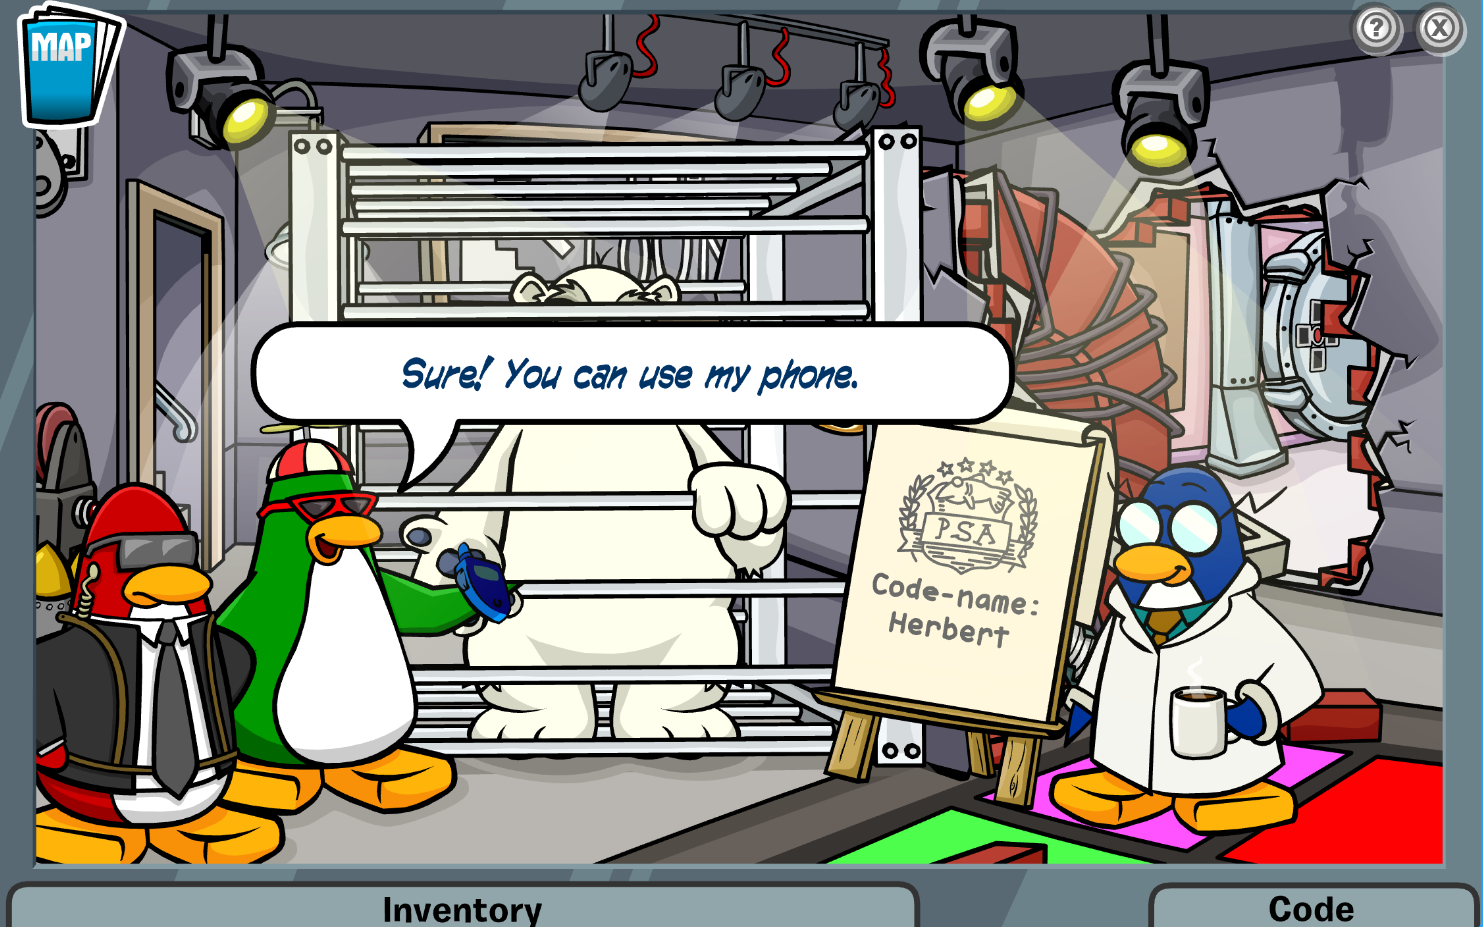
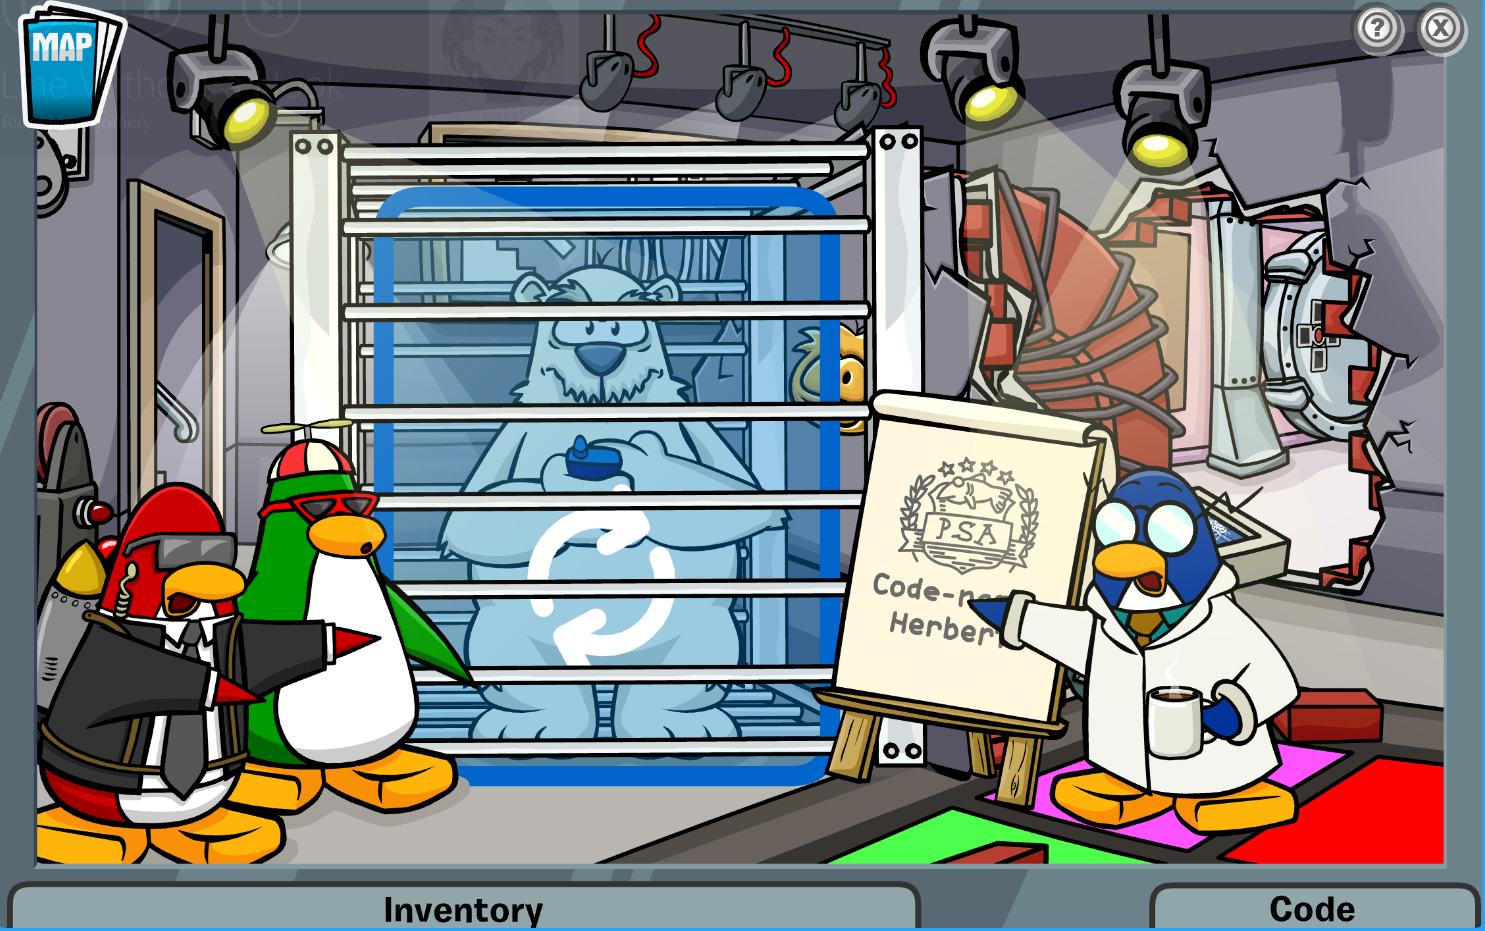
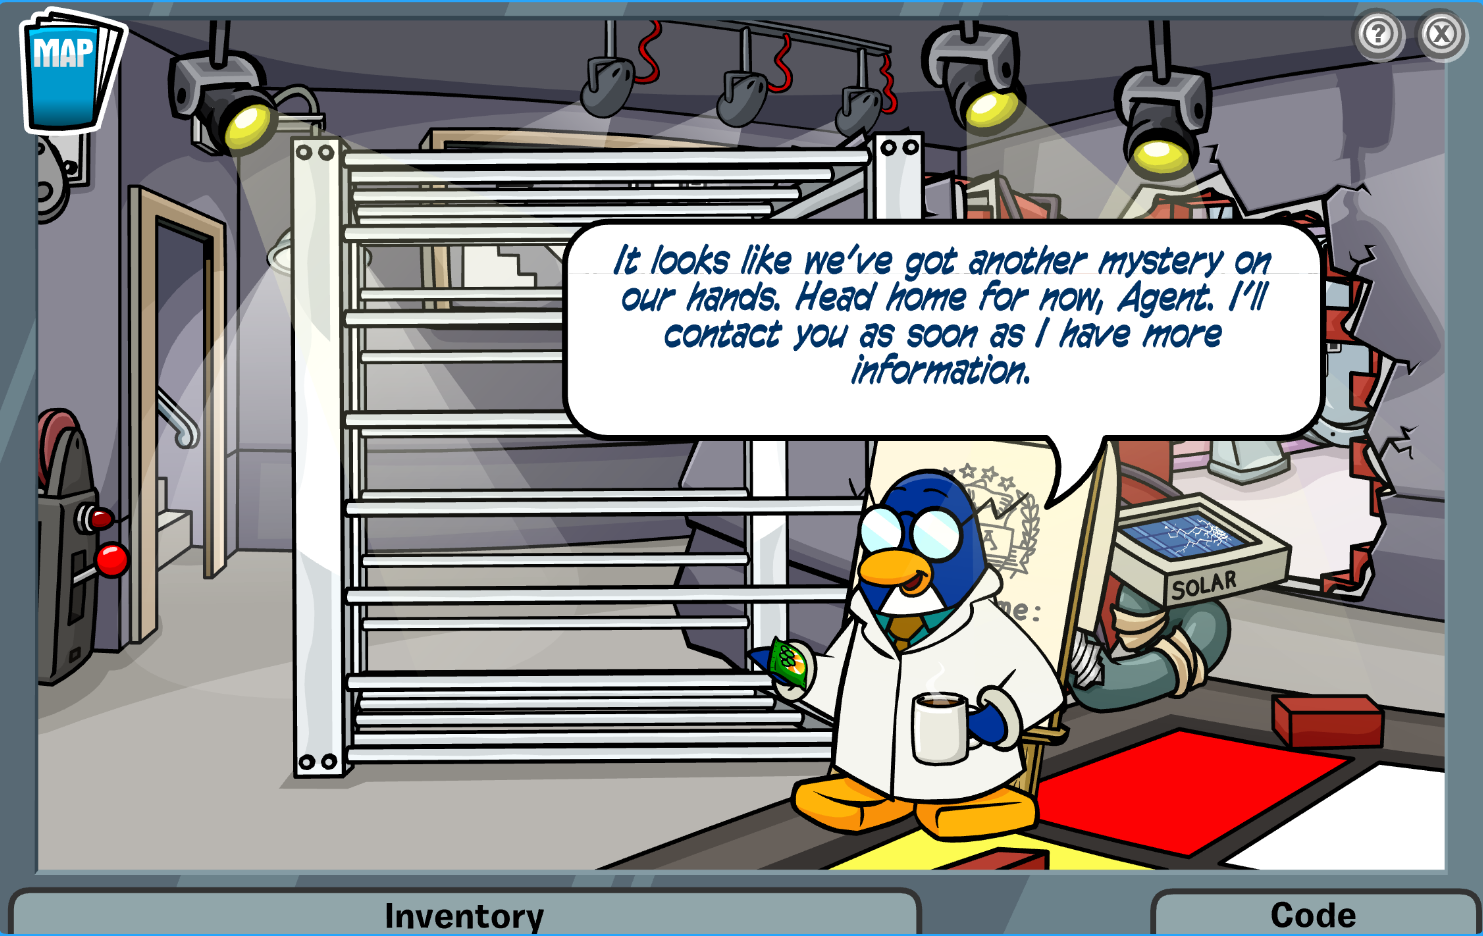
Rookie is told to go back to HQ. Gary spots a bag of seeds on the ground. Interesting. G says he will contact us when he gets more info on the seeds. The mission ends.
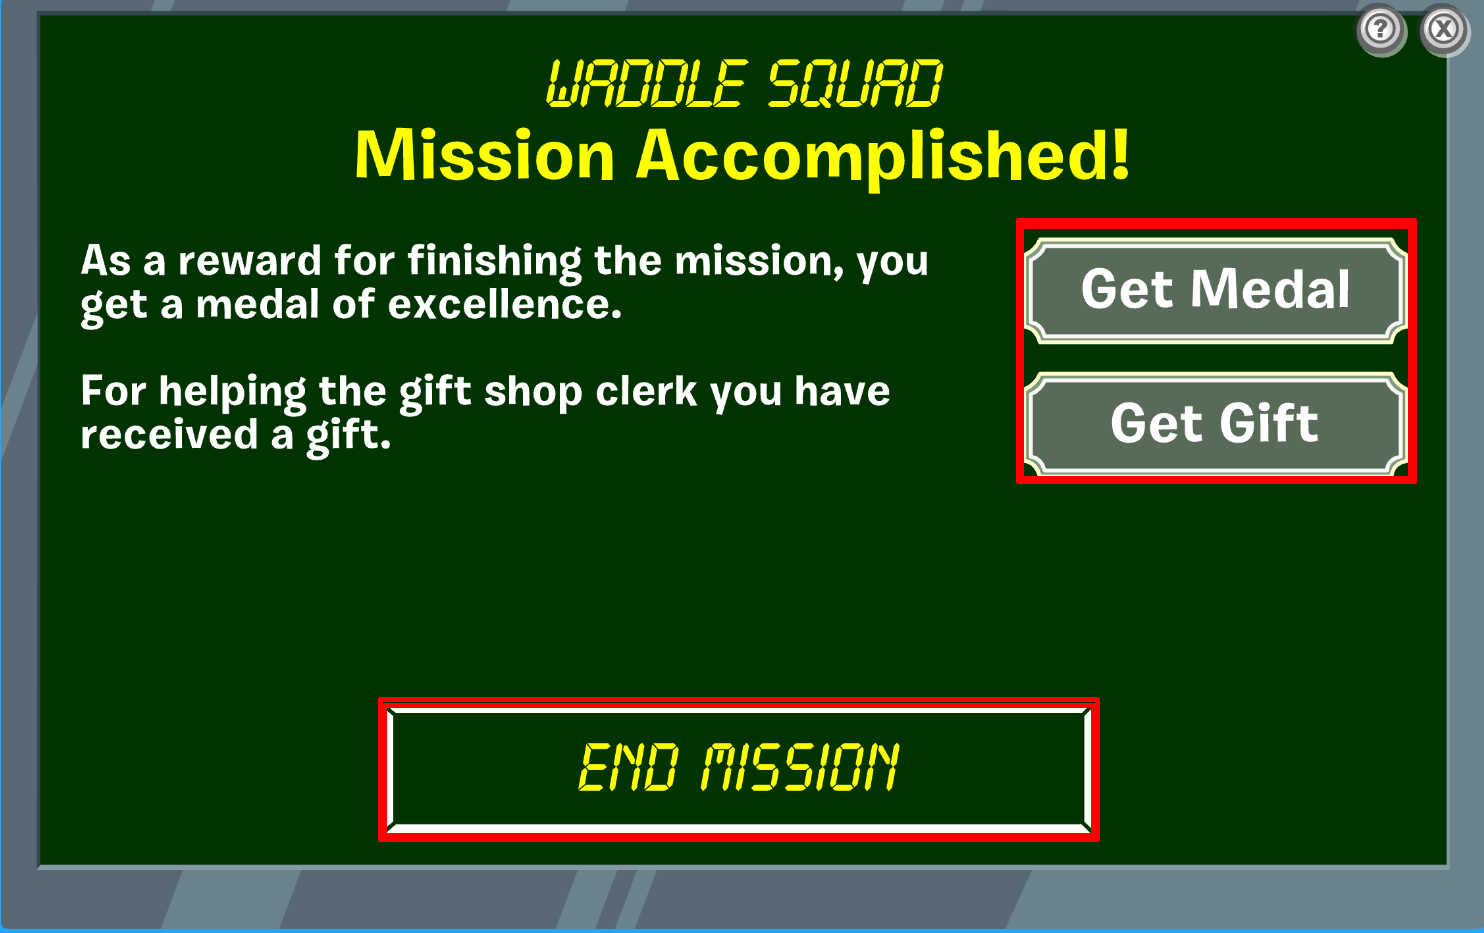
Congrats on completing the Waddle Squad Mission. Make sure to collect both the medal and prize at the end! Then click end mission to end.
If you would like a guide for Mission 8: Mysterious Tremors click here or a guide for Mission 9: Operation Spy and Seek click here!
To see a list of our other guides, press here!
And if you would like to see more Club Penguin Journey guides and news, make sure to join our discord server here!
Ellie | Lieutenant General