Calling all agents! Calling all agents! There’s trouble afoot on the island and it’s up to you to answer the call. From September 2nd to September 25th, Mission: Tremendous Tremors will be available to play on Club Penguin Legacy. The situation is getting hairy…but don’t you worry! The Club Penguin News Team is hot on the case and ready to help.
Please note that in order to do this mission, you must become a Secret Agent. Not sure how to do that? Click here to check a full guide on how to become a Secret Agent on Club Penguin Legacy!
Alright agents, let’s solve this case!
Psst! Wanna see more Club Penguin Legacy guides just like this? Click here to join our Discord server for tutorials, guides, and for a fun community!
Part 1:
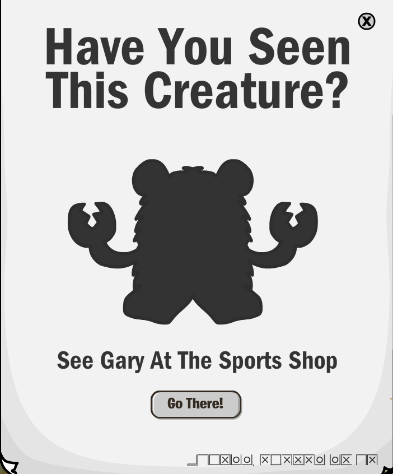
When you first log in, you’ll notice that there are a ton of posters scattered around the island. Click on any one of them you see in order to go to the Sports Shop and start the mission. You can also go to the Sports Shop manually or directly to HQ through your Spy Phone.
Once you’re in the HQ, you’ll meet with Gary the Gadget Guy to debrief on the mission.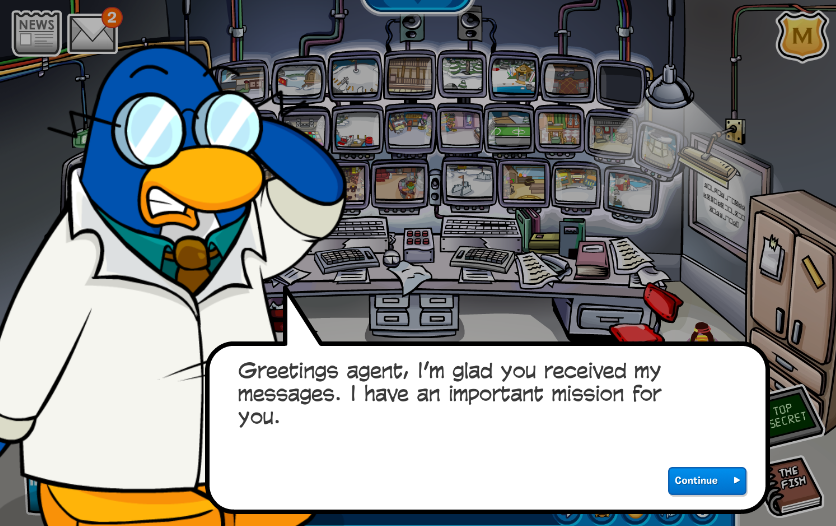
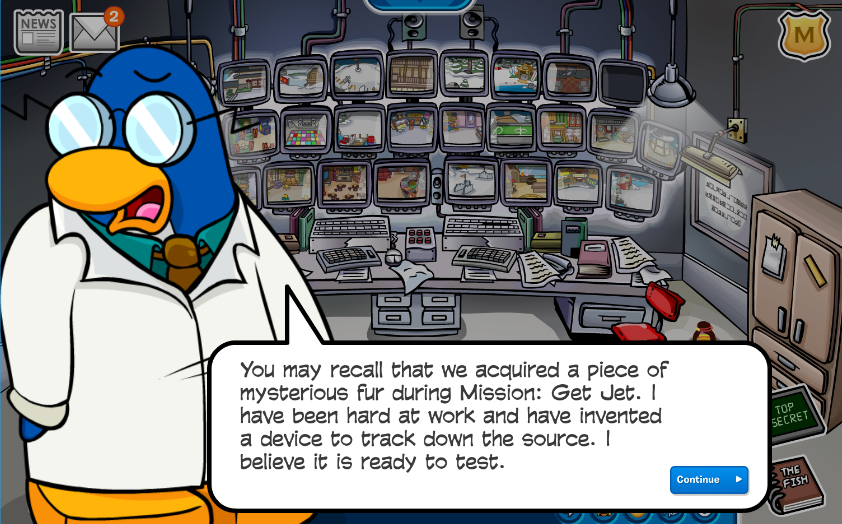
Gary will tell you that there have been a series of tremors around the island and there have been sightings of a fuzzy mutant crab. Luckily, there are pieces of fur around the island that his new device, the Tracking Goggles, can use to track it down. You can collect the goggles after the cutscene is over.
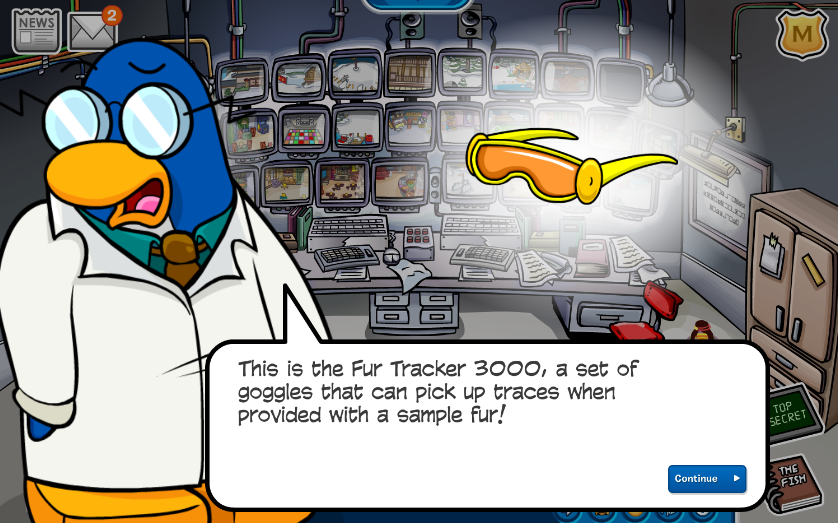
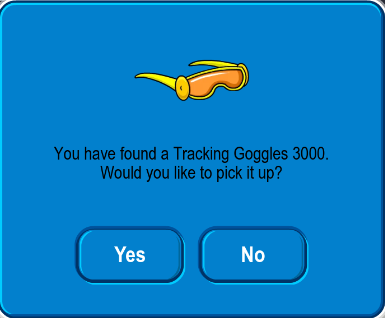
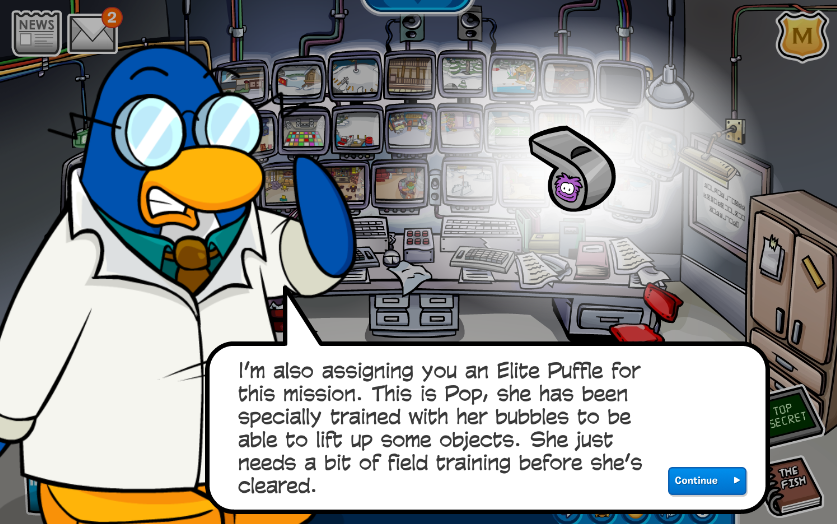
You will use these goggles to find enough fur samples so you can track down the culprit. You will also get a Puffle Whistle, giving you access to a brand new Elite Puffle named Pop. You will need her help later on in the mission.
Once you step outside of the Sports Shop, equip the Tracking Goggles. A path of footprints will appear for you to follow and lead you to fur samples. Each fur sample gets a bit trickier to find, so keep your goggles on and your eyes peeled!
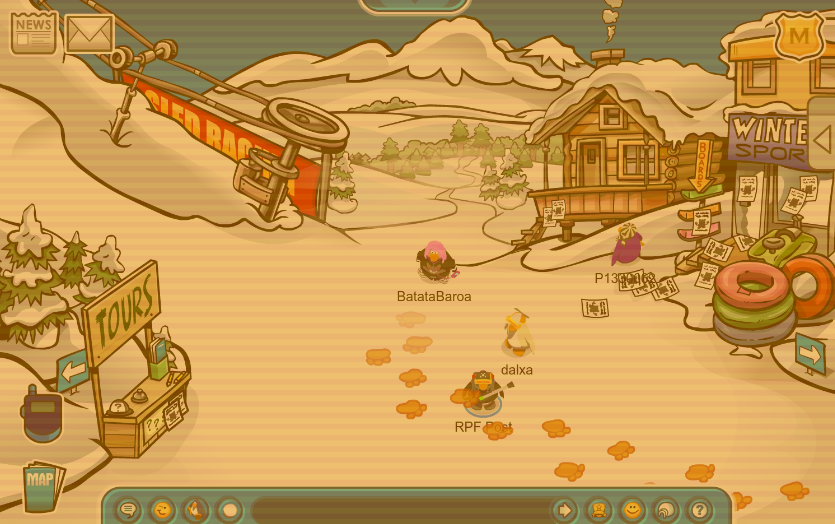
Fur Sample Locations
1.Docks
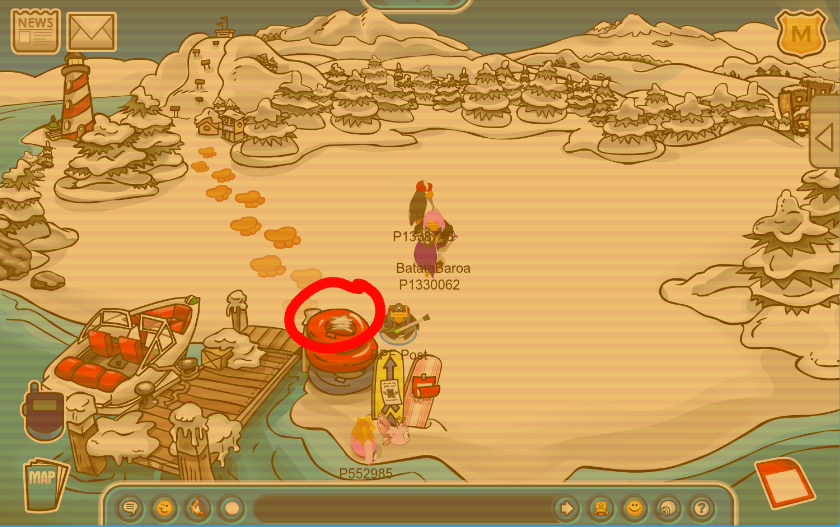
The first one is pretty easy to find. It’s located inside the tubes near the Hydro Hopper game. Click on it to get the fur to pop out and collect it.
2.Stadium
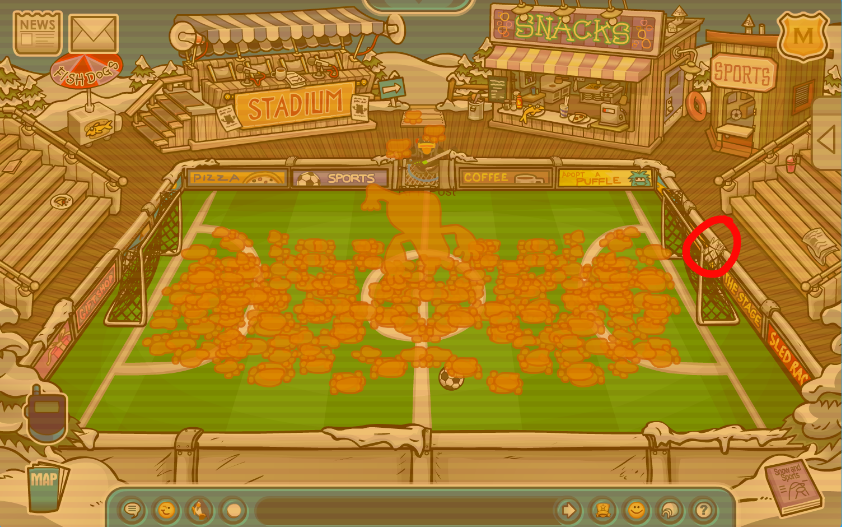
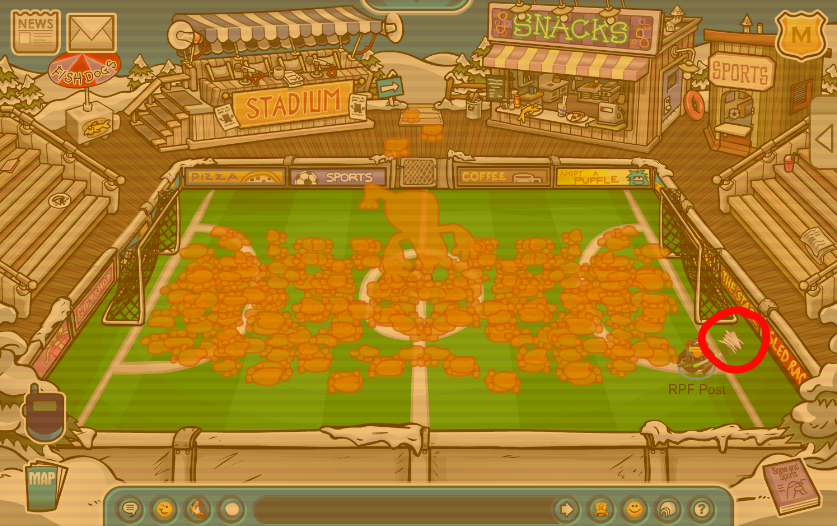
Woah hey who fell-anyways! The second fur sample can be found at the Stadium. Its tangled in the soccer net. To get it out, all you have to do is kick the soccer ball into the net. It should fall to the ground and you can collect it.
3.Snow Forts
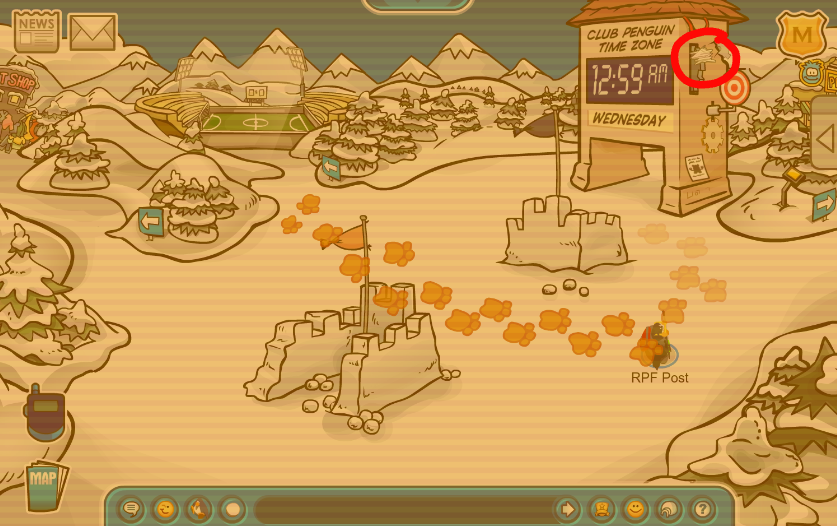
The third fur sample can be found on top of the clock tower in the Snow Forts. It’s stuck on the gear. To make it fall, hit the target with a snowball.
4.Plaza
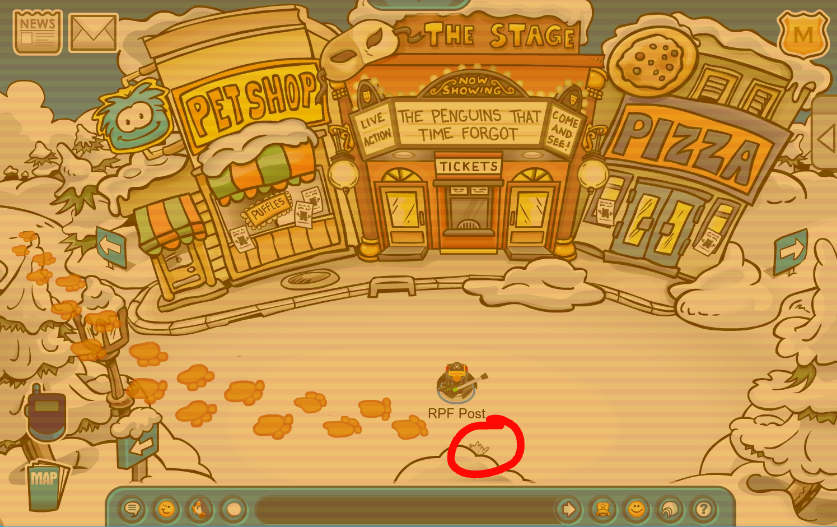
The fourth sample is very straightforward. Just pick it up from this pile of snow in the Plaza. Next, the footsteps will lead you into the Pizza Parlor.
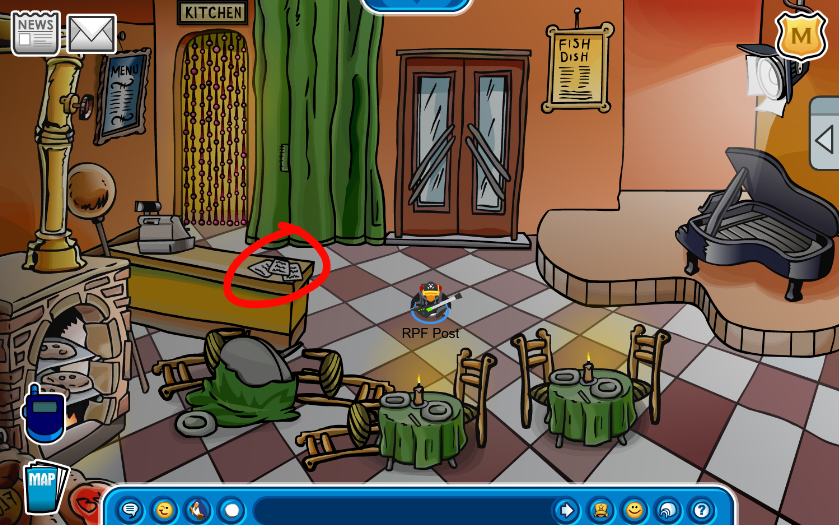
There isn’t a sample here, but there’s something equally as important. Turn off your goggles for a moment. You’ll find some papers on top of the counter. Pick them up and walk back outside to continue your search. These will come in handy later on in the mission.
5.Forest
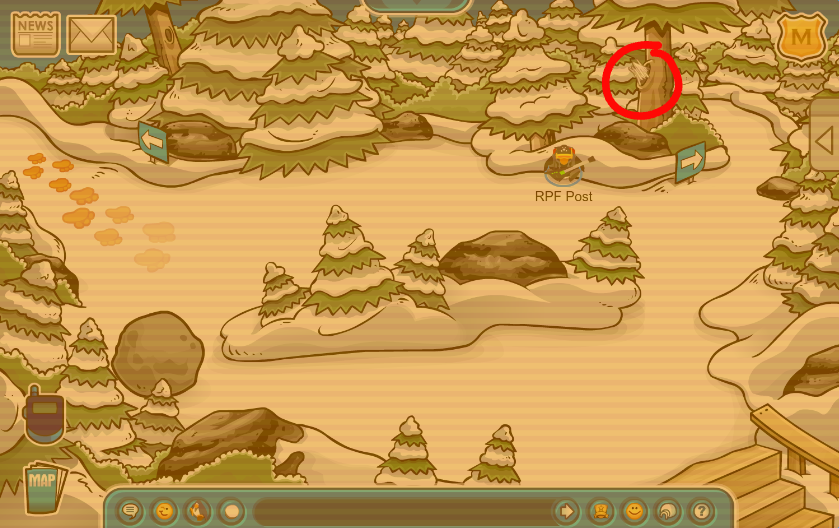
The fifth and final sample you need to get is located in the Forest. It’s inside of this tree trunk here! Click on it to make it fall to the ground and pick it up.
The Maze
Now that you’ve found all the samples, head back to the Ski Village. The footprints will lead you into a maze.
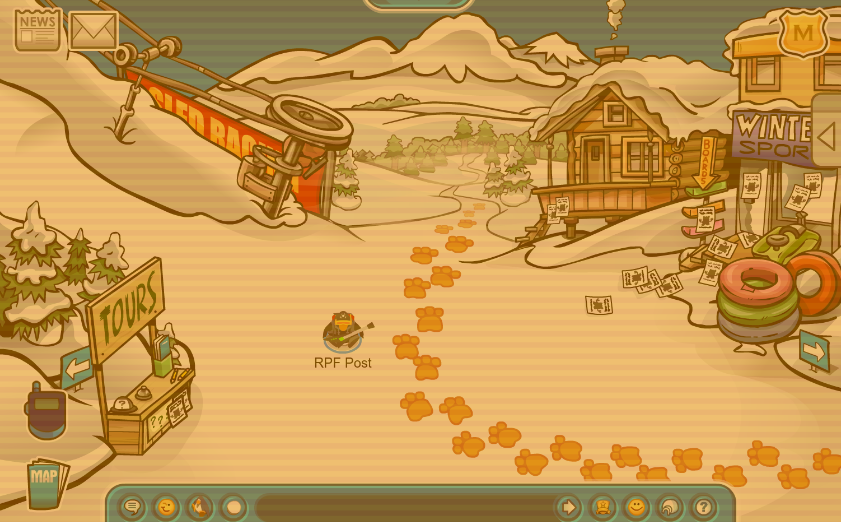
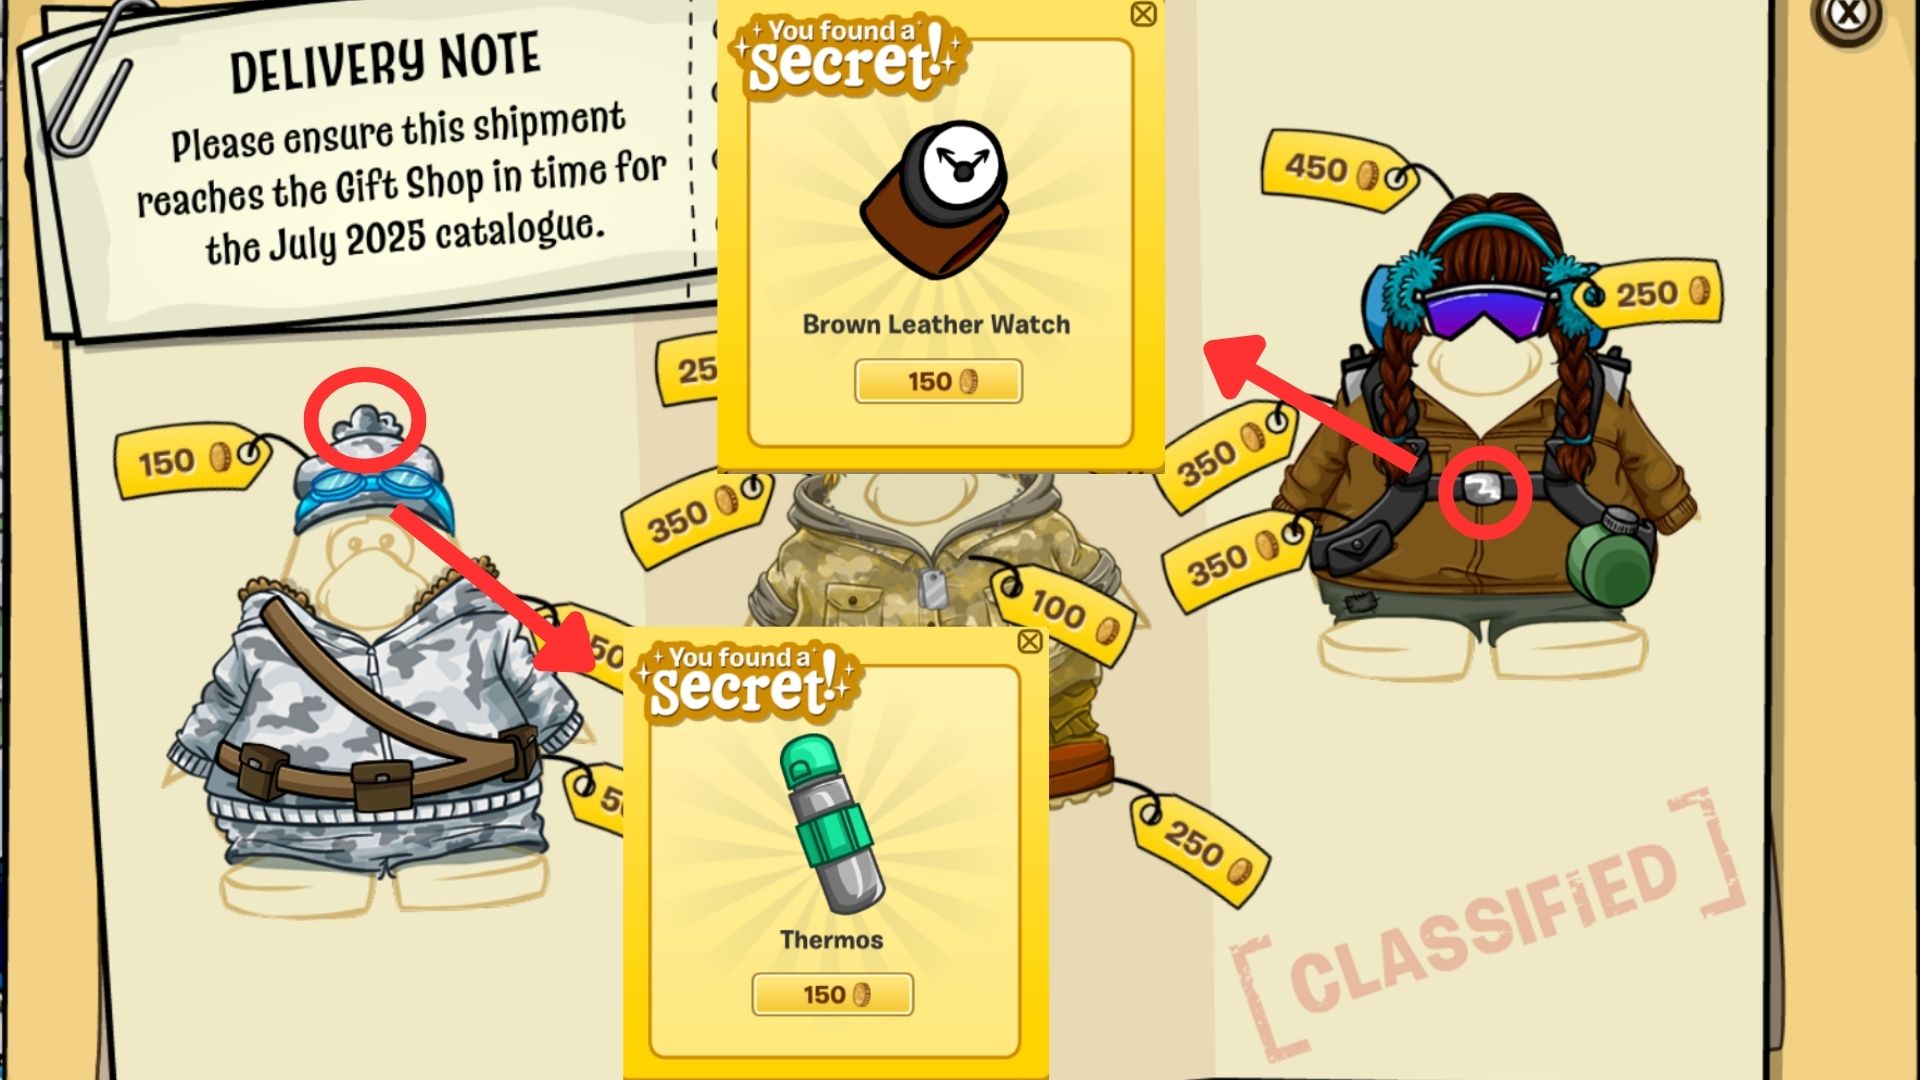
When you step in, there will be a crate of items you can buy. There are also two secret items you can find.
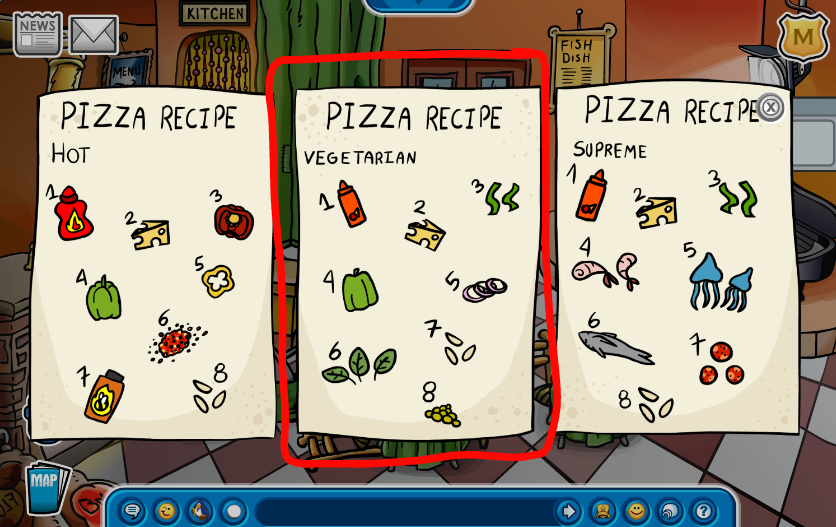
Enter the clearing to go to the maze. You’ll see that there are a bunch of ingredients lying around. To navigate through the maze, we’ll use the papers we picked up at the Pizza Parlor earlier. The papers show recipes for three types of pizza. Follow the path with ingredients for Vegetarian Pizza only.
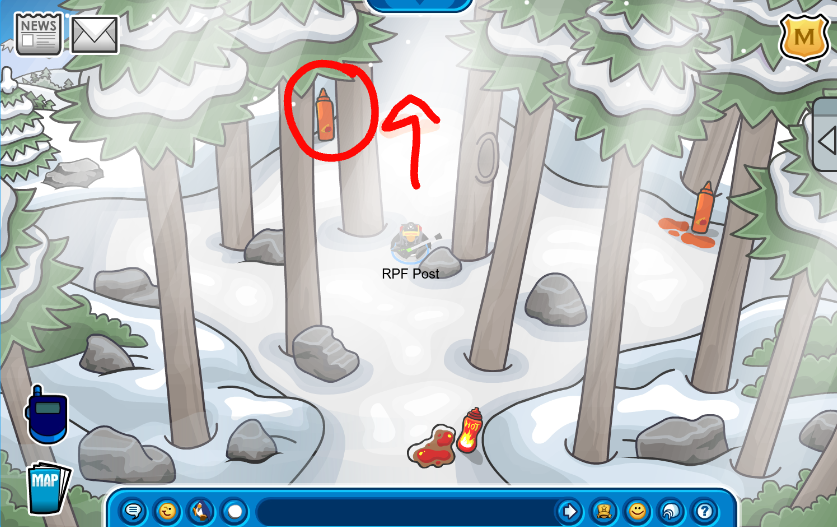
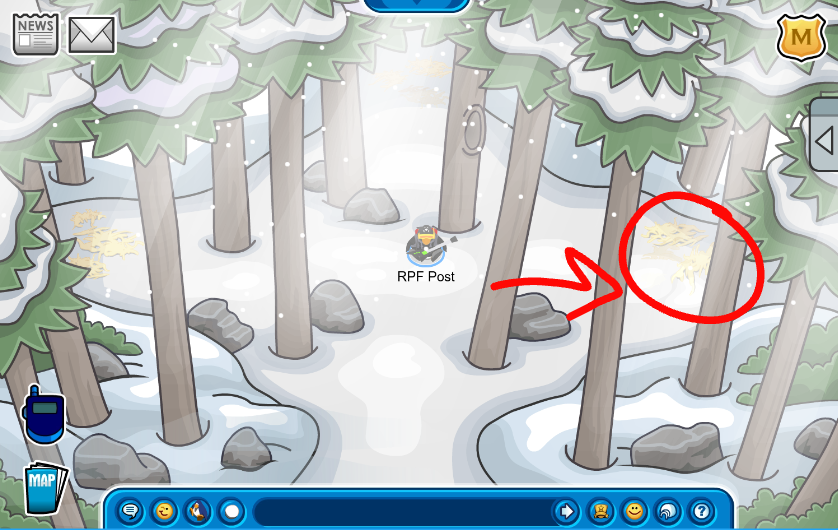
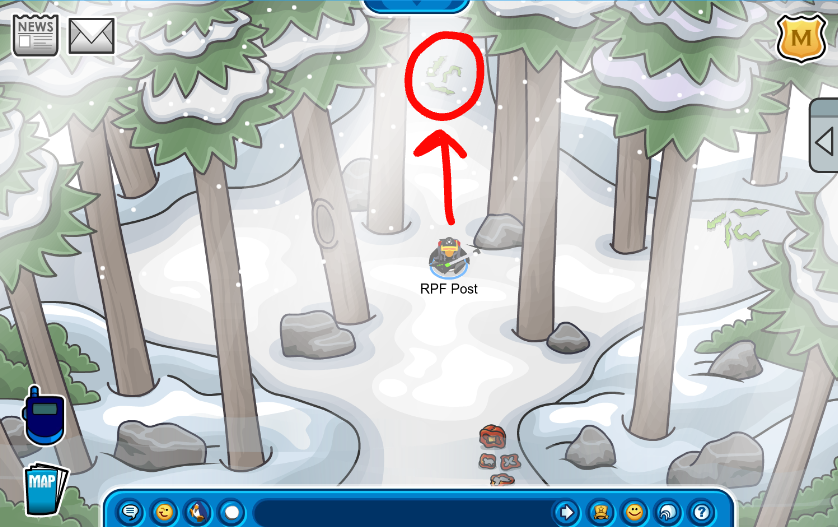
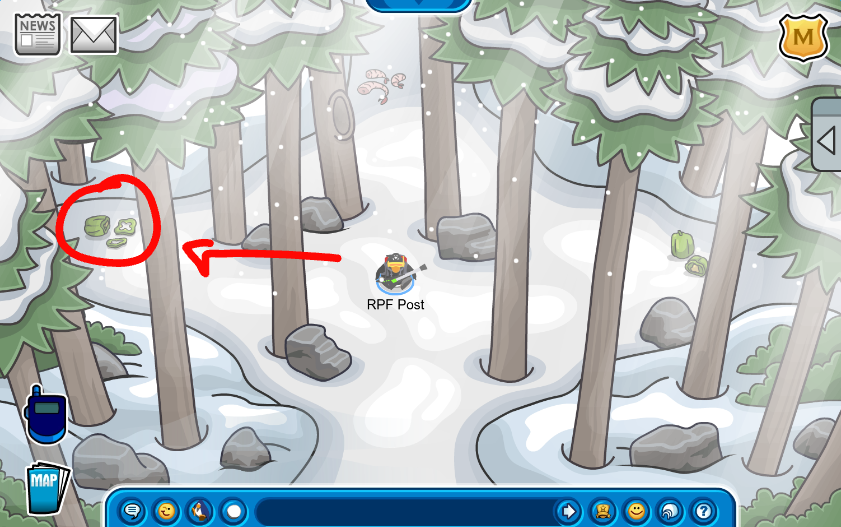
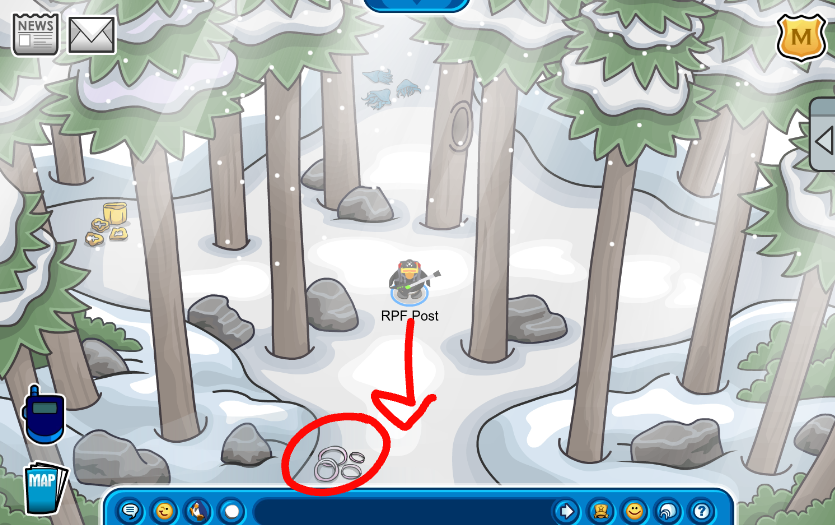
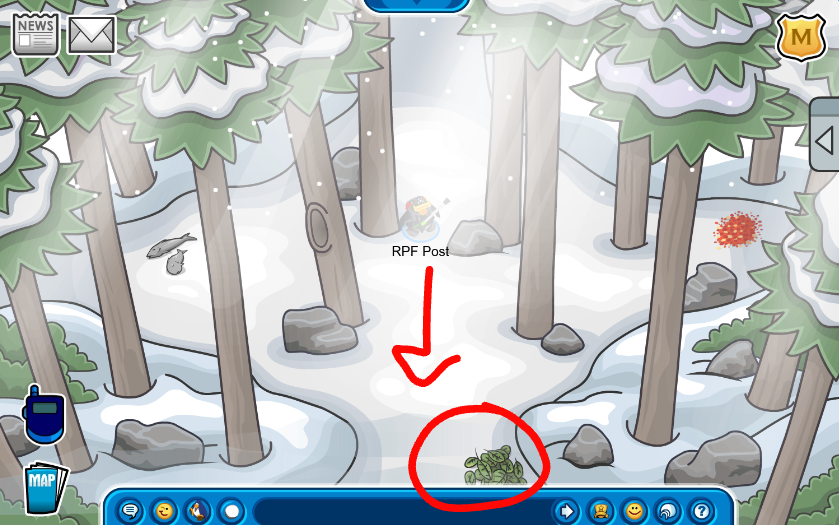
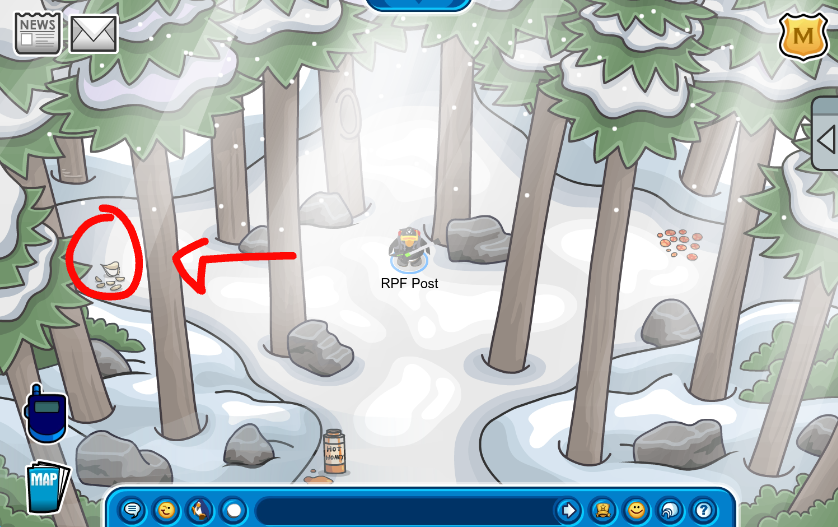
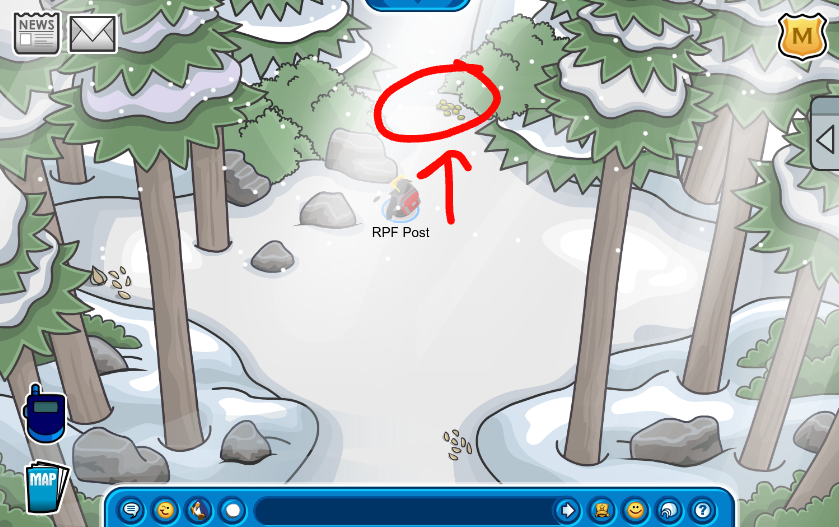
After a lot of twists and turns, you’ll finally reach the end of the maze and arrive at a Cave…or so you think.
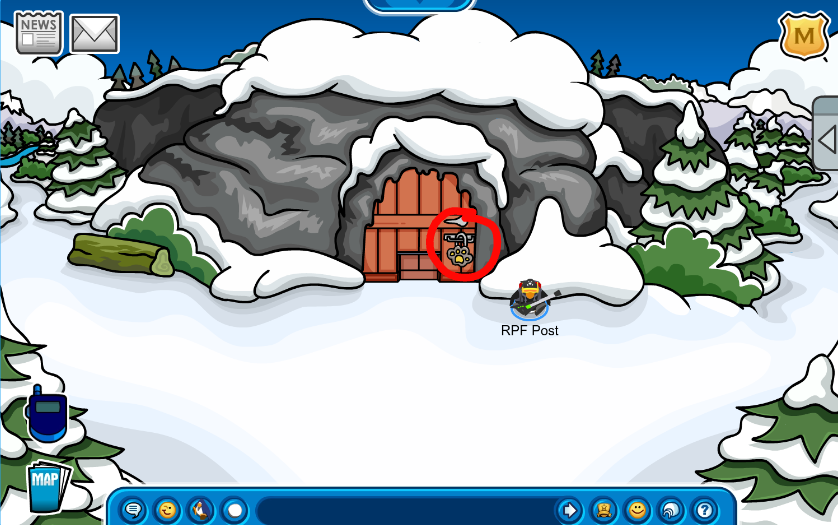
The cave seems to be locked. Click on the paw-shaped lock.
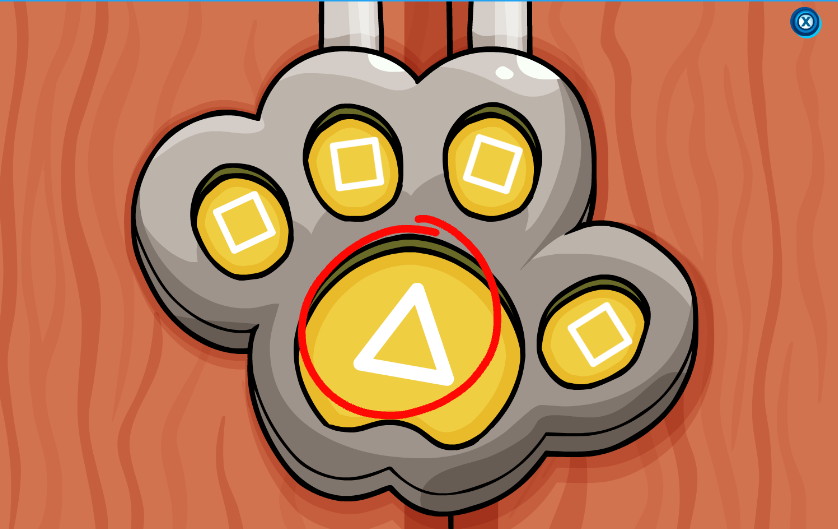
In order to crack the lock, you’ll have to make each of the fingers match the shape on the paw-pad. Wait for the right time to click the shapes into place and the door will unlock. This may seem tricky but don’t get frustrated!
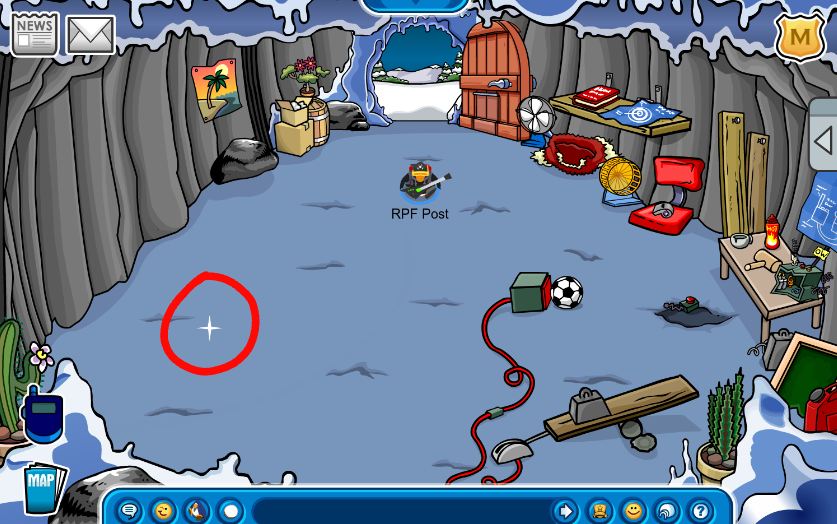
Go inside the cave. You’ll see the ground sparkle a bit. If you go investigate it…
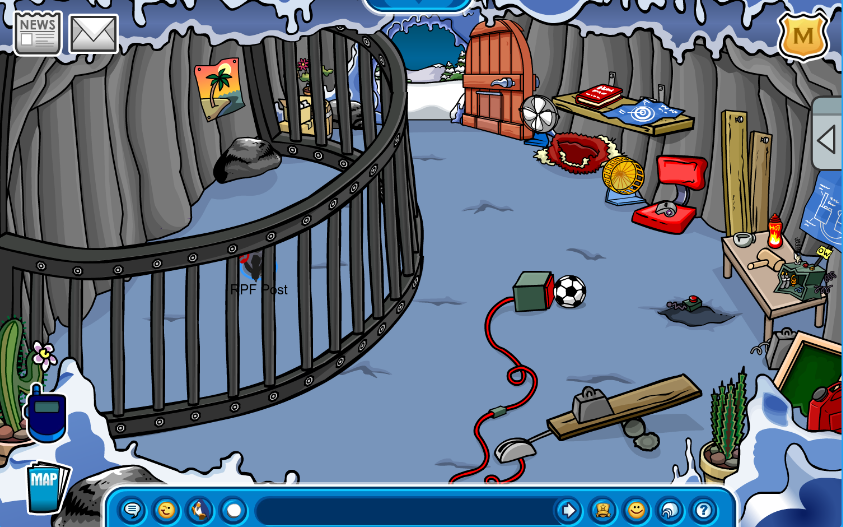
…you’ll be trapped!
The Escape
A cutscene will begin where we realize that there isn’t a fuzzy mutant crab on the loose – it’s a Polar Bear!
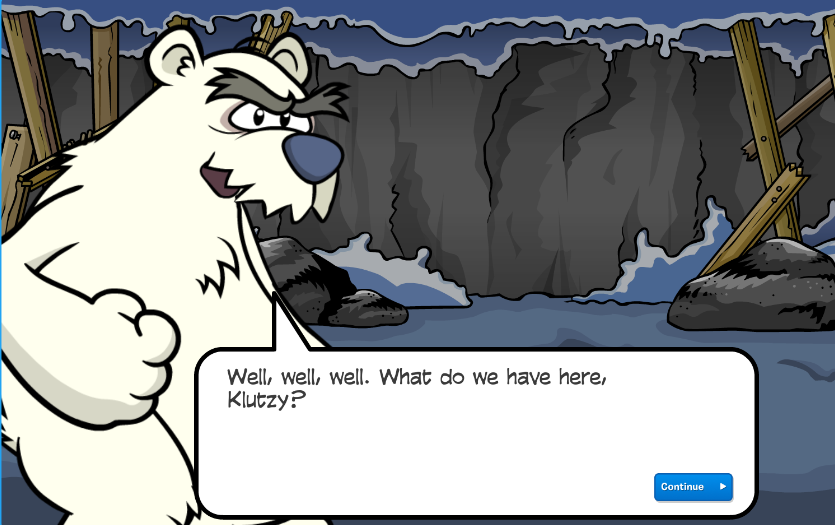
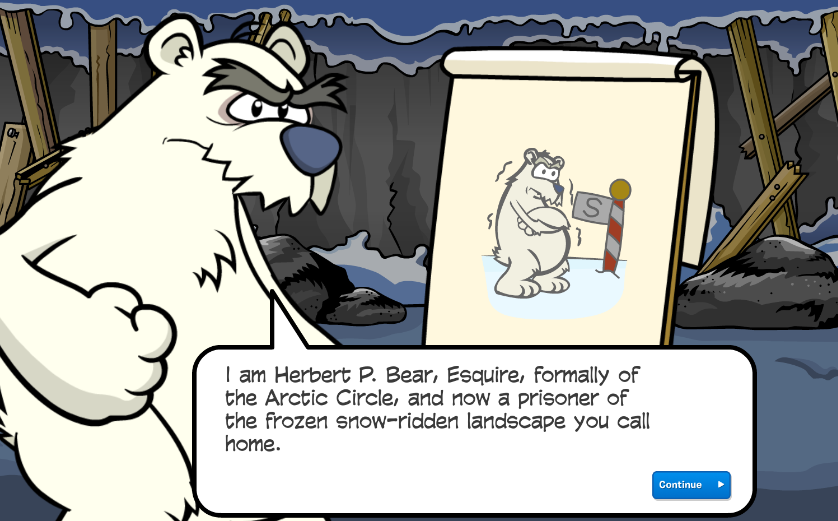
Herbert will monologue for a bit and hint at his future plans to destroy Club Penguin.
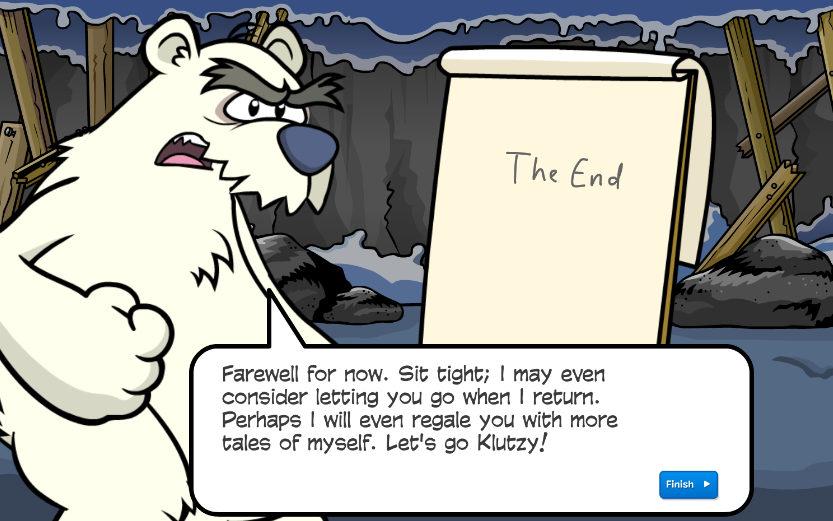
He will leave you trapped in the cave. Quick, let’s seize the chance and escape!
The shelf across the room looks a little weak. Throw a bunch of snowballs at it to make it fall and push the Puffle Whistle off the chair.
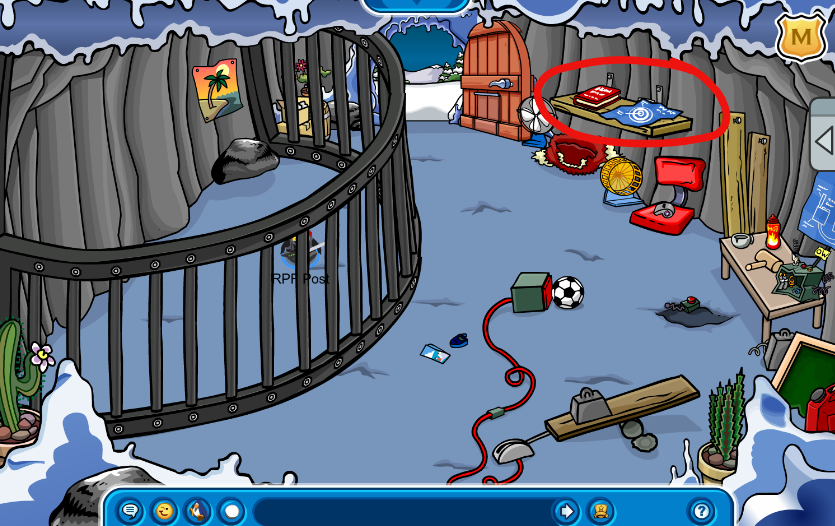
This will expose a switch. Click on it to power on the fan and then click on the fan to blow the whistle into the cage.
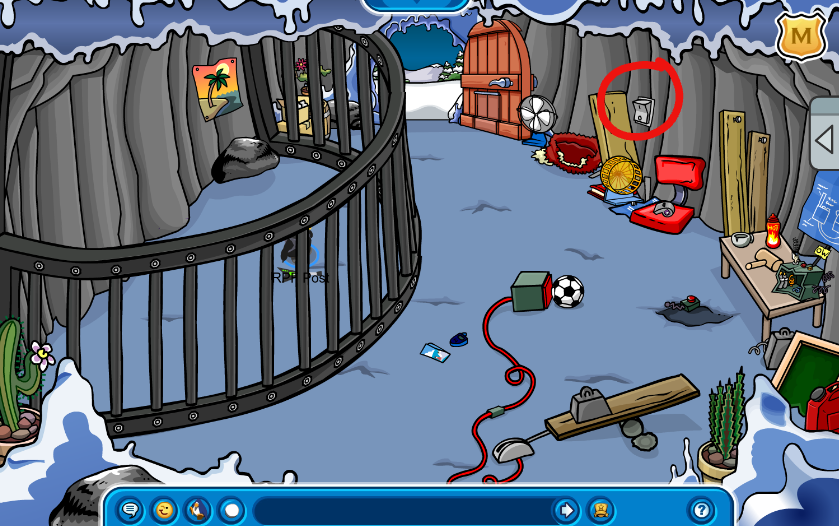
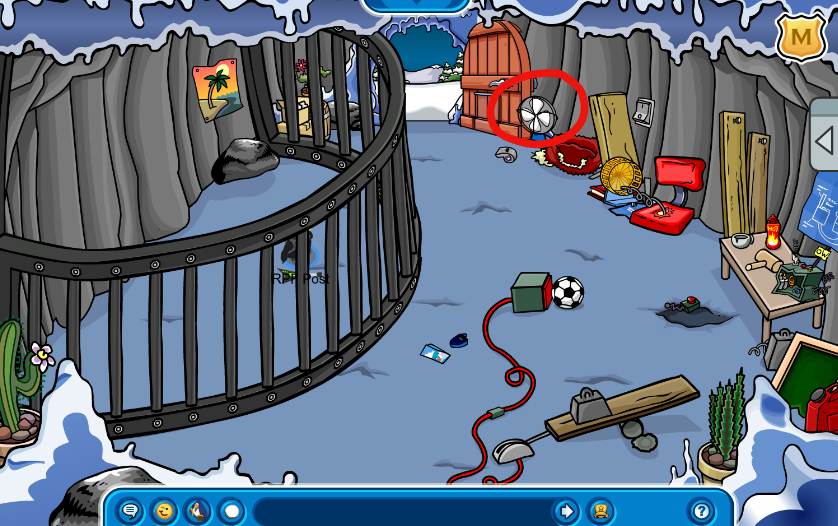
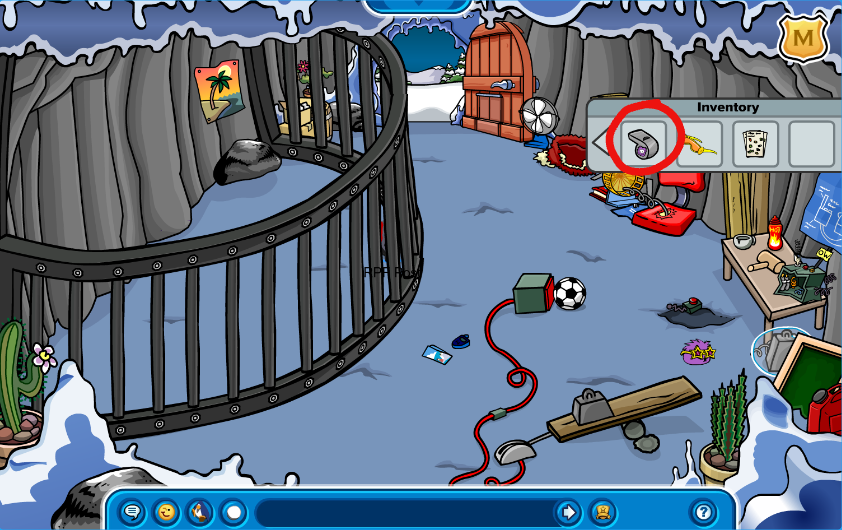
Hurray! Now open your inventory and click on the Puffle Whistle to call Pop out. Pop will blow a bubble to remove the weight off the lever. Click the lever twice to activate the button by the soccer ball.
Click on the red button next to the soccer ball to push it forward. The soccer ball will bounce over to the remote if you click on it.
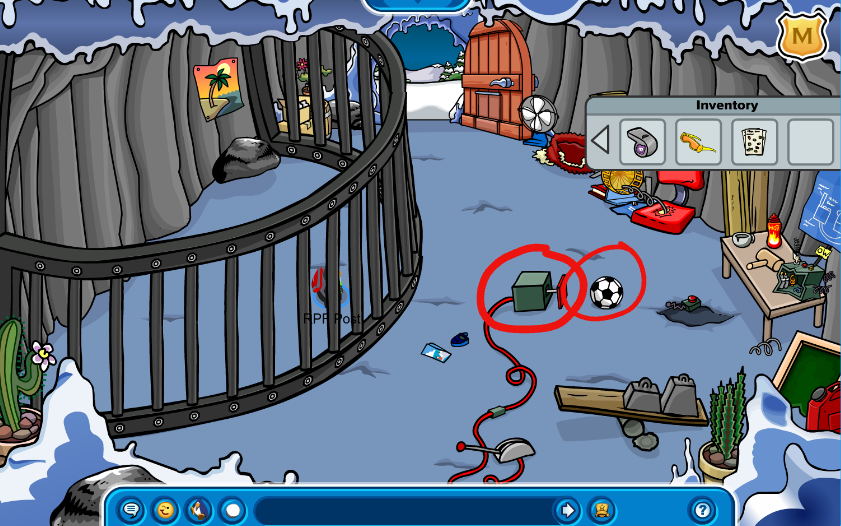
This will lift the cage and now you’re free again! Collect your Spy Phone and map off the ground and return to HQ to tell Gary what happened.
Returning to the HQ
Go back to the HQ and this will start another cutscene with Gary. You will tell him everything that happened and he will be a little worried for you but is glad you’re safe and sound.
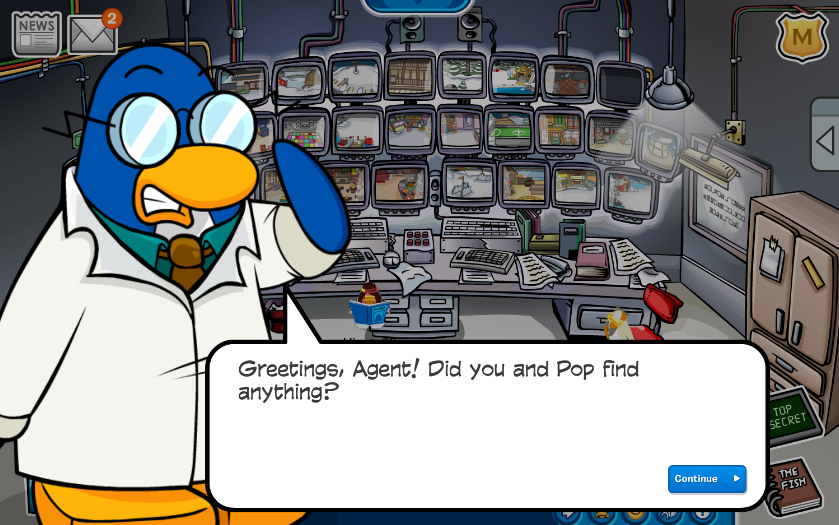
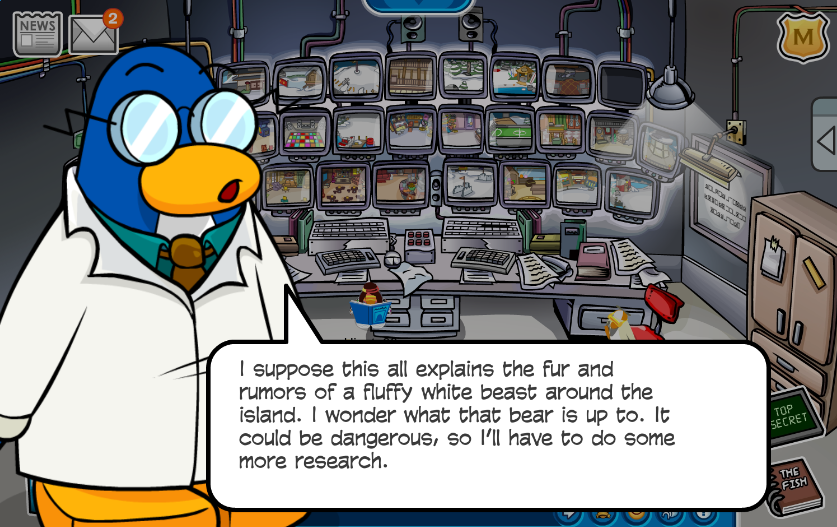
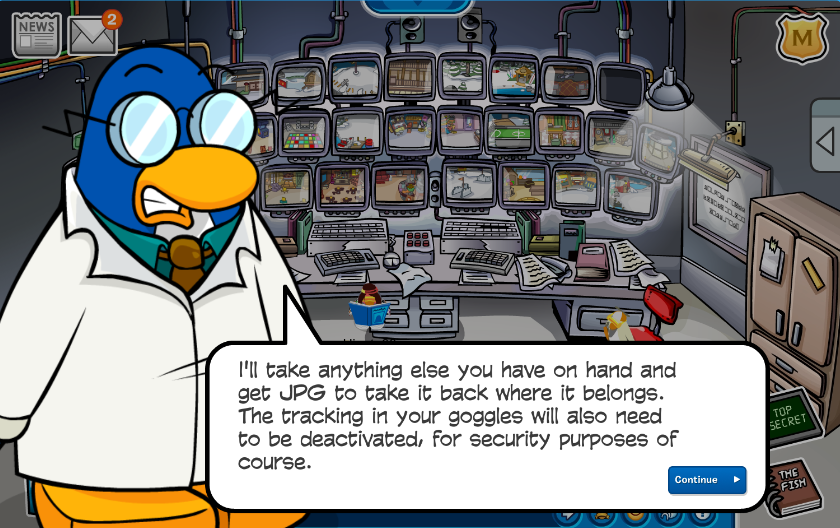
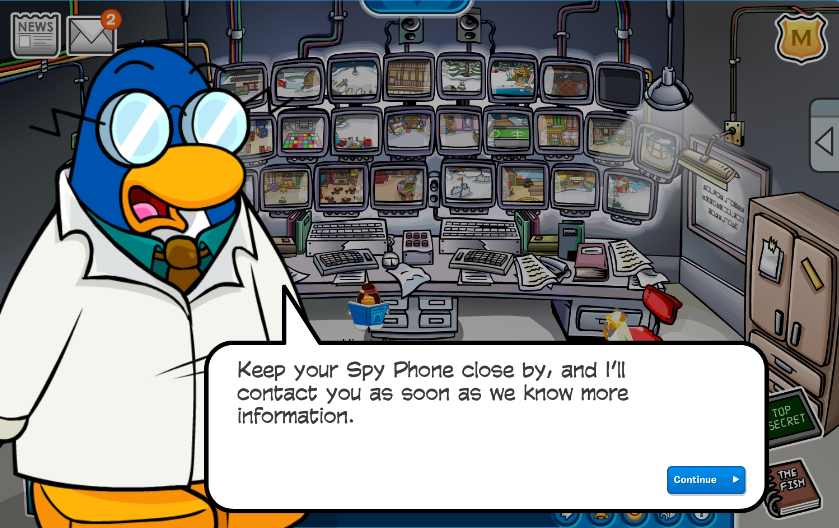
He will deactivate your Tracking Goggles, but you can still keep them on your player! He says he needs to study your findings and dismisses you. He says he will notify you as soon as he finishes his analysis.
Part 2:
Head to the HQ. JPG and Rookie will greet you there with some very important news.
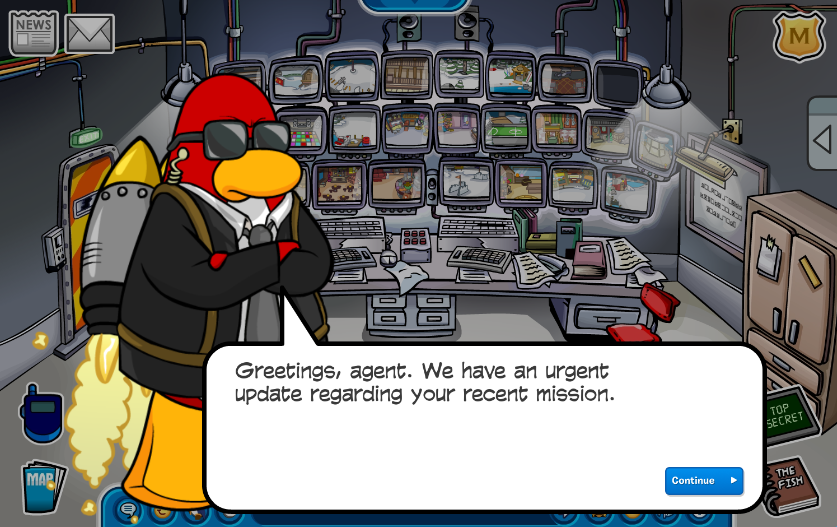
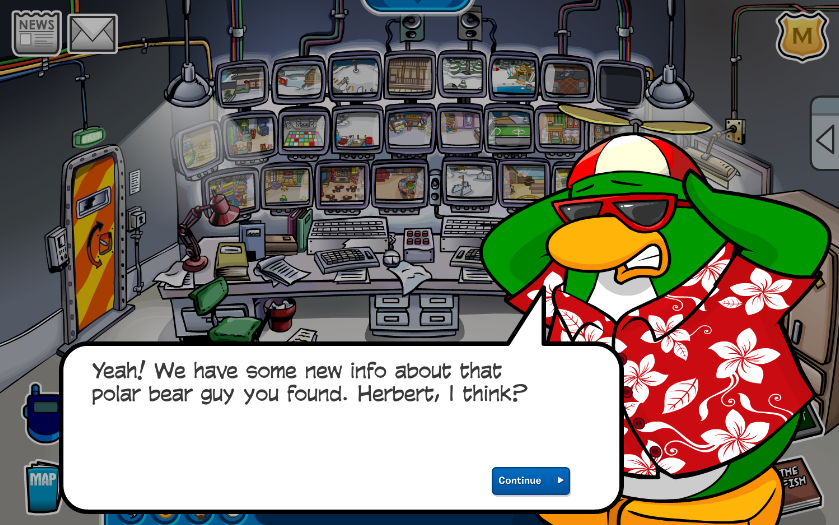
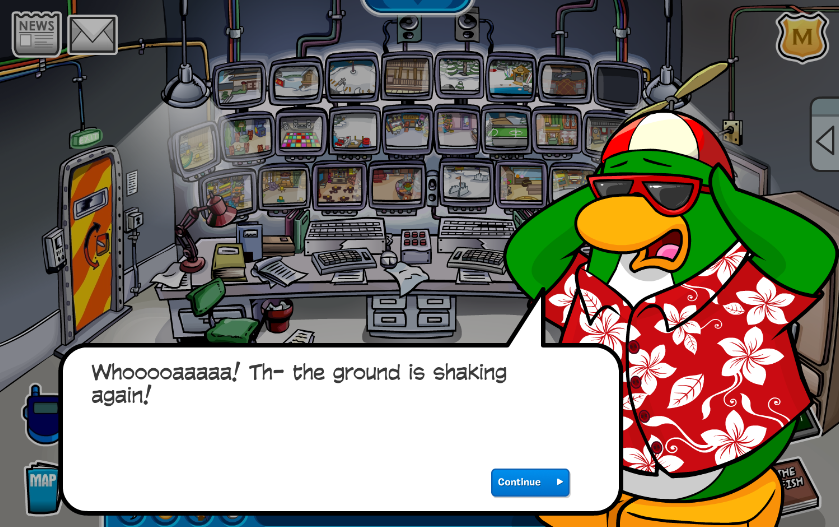
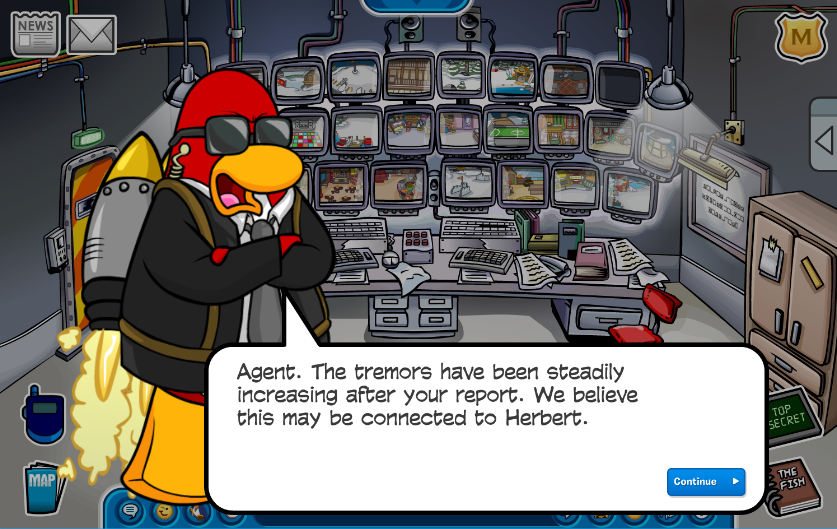
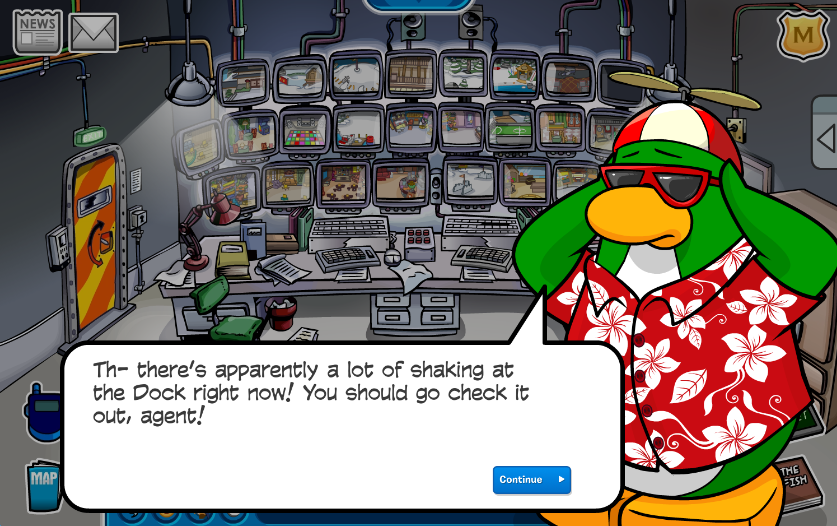
Go to the Docks and another cutscene will start. Another familiar face will make an appearance…
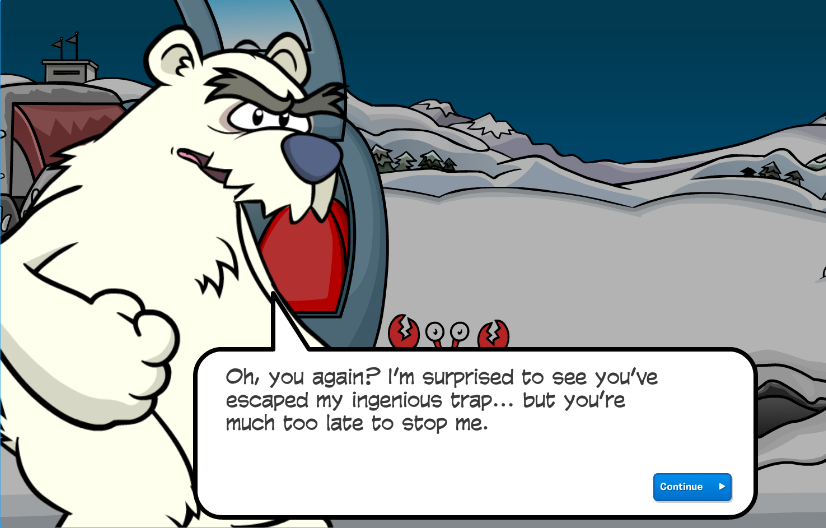
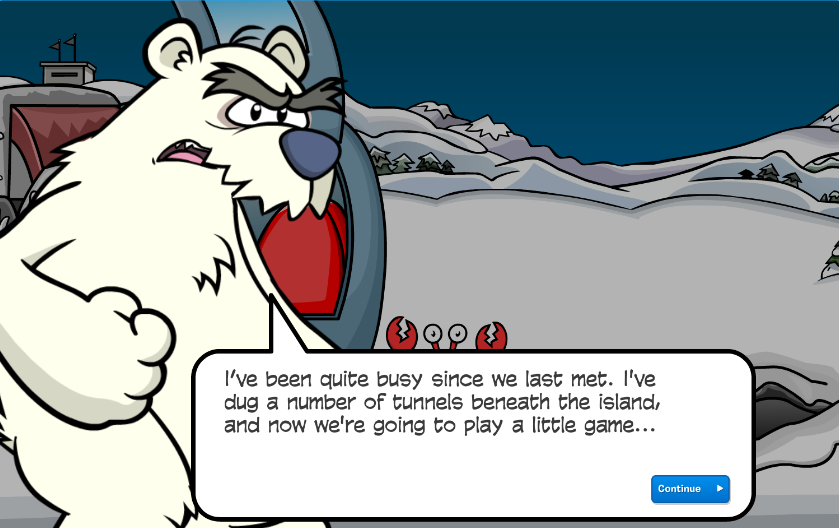
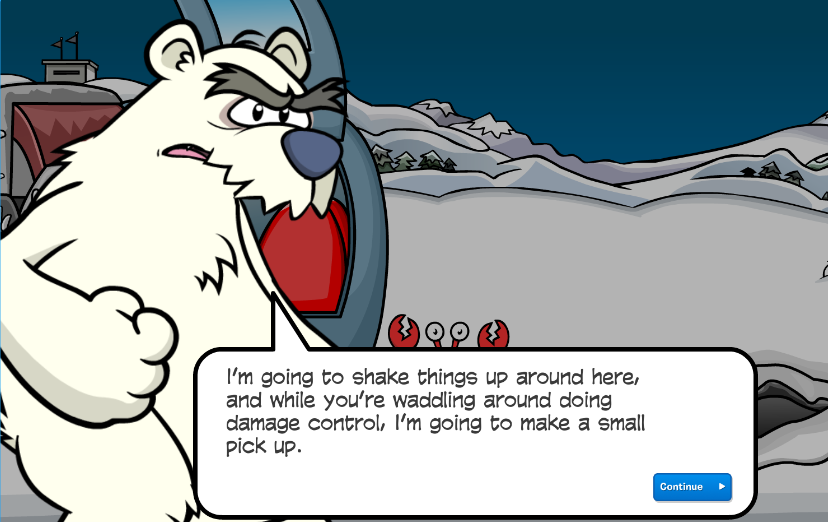
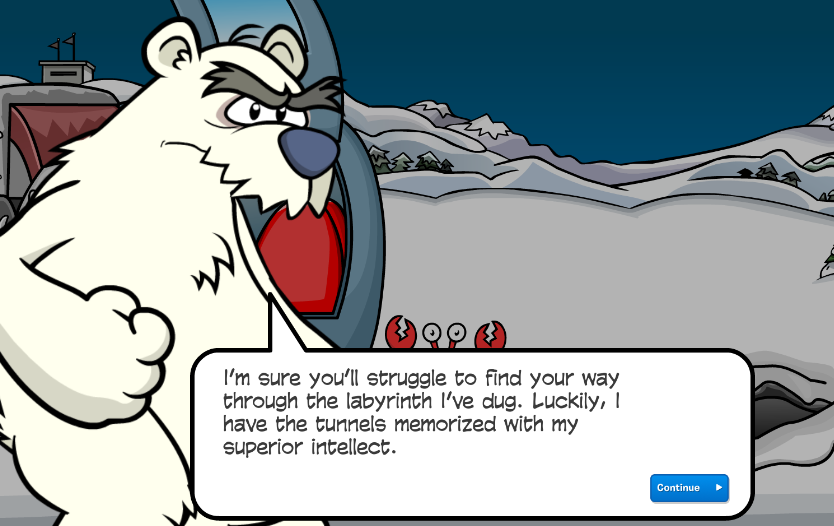
Herbert reveals that he’s the cause of the earthquakes on the island and challenges you to come find him. After Herbert escapes, your spy phone will start ringing. JPG and Rookie are calling you with more unfortunate news.
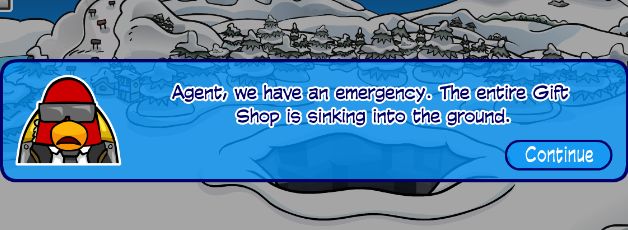
It seems like we have to deal with Herbert on our own. Let’s head down into the pit and see what’s going on.
Underground Maze
You cannot enter the pit to continue the mission without some kind of item that emits light. This can be the night vision goggles, a lantern, a flashlight, etc.
Once you can see, head to the bottom left of the maze. Then, head up to find an item.
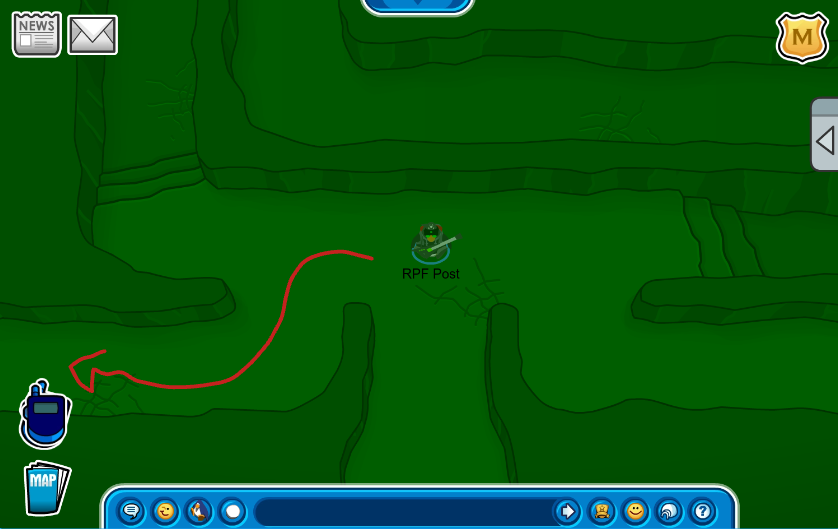
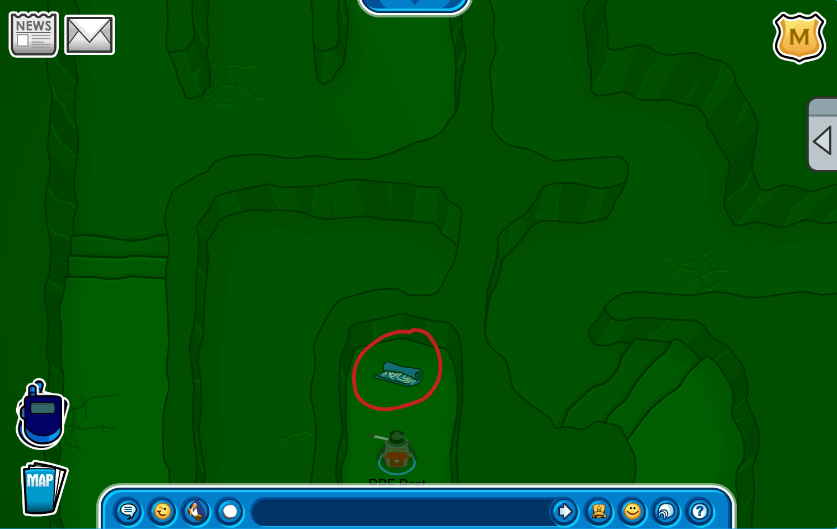
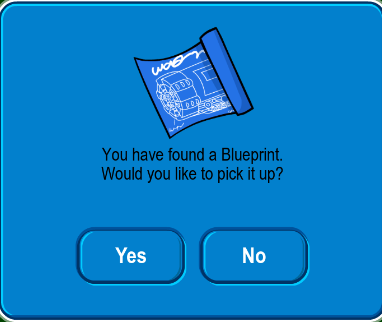
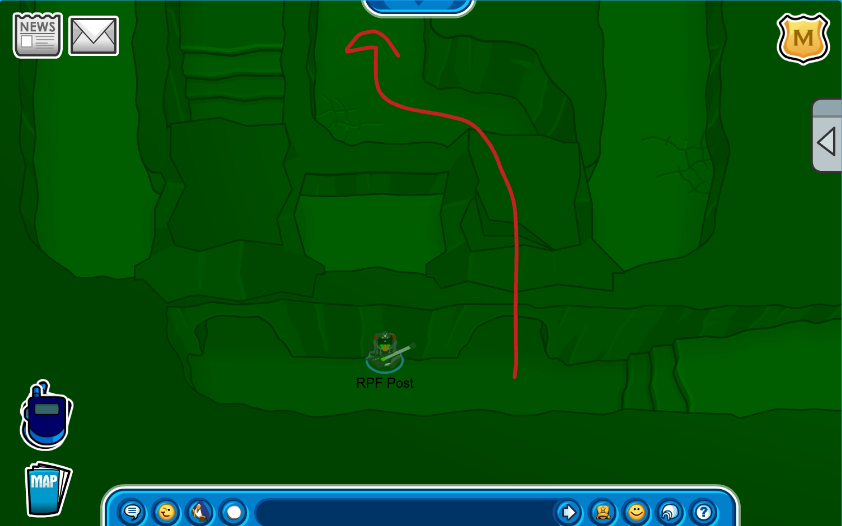 You’ll reach a clearing where you’ll find a set of Blueprints. There are many more items like this around the maze so keep an eye out!
Now its time to solve this maze for real. Head back the way you came to the first room. This time, head to the top right.
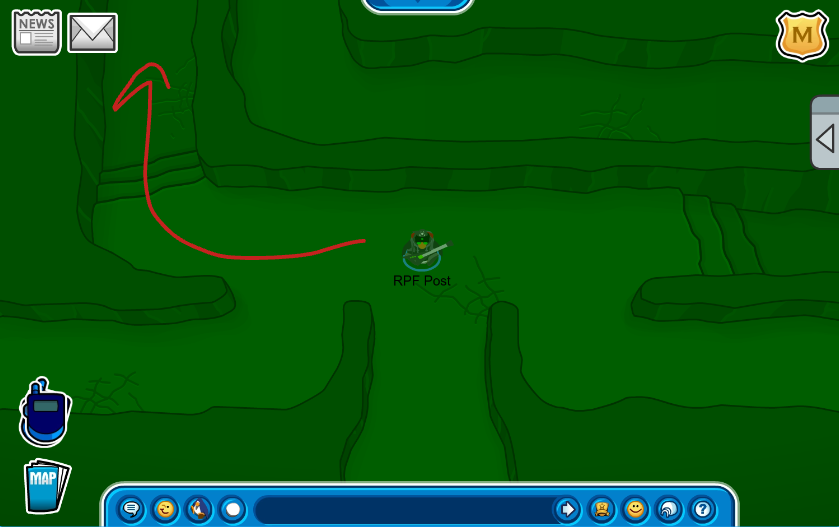
Follow the path upward.
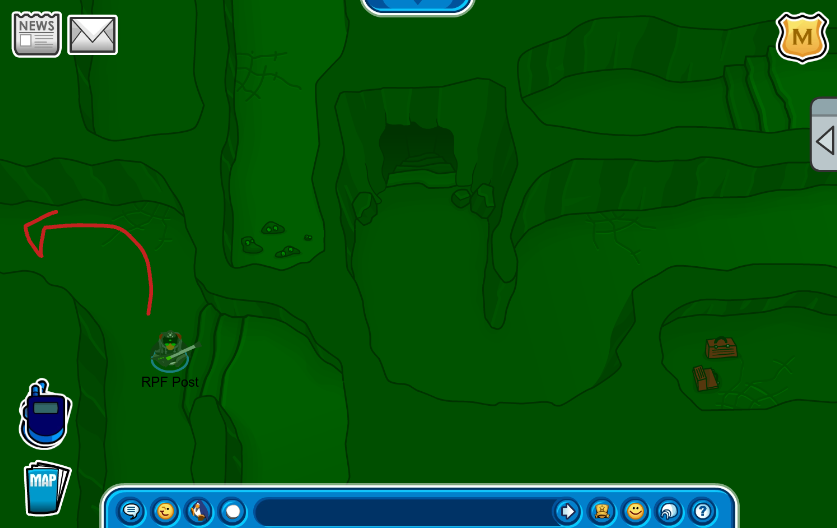
Follow the path up to find another dead end with an item.
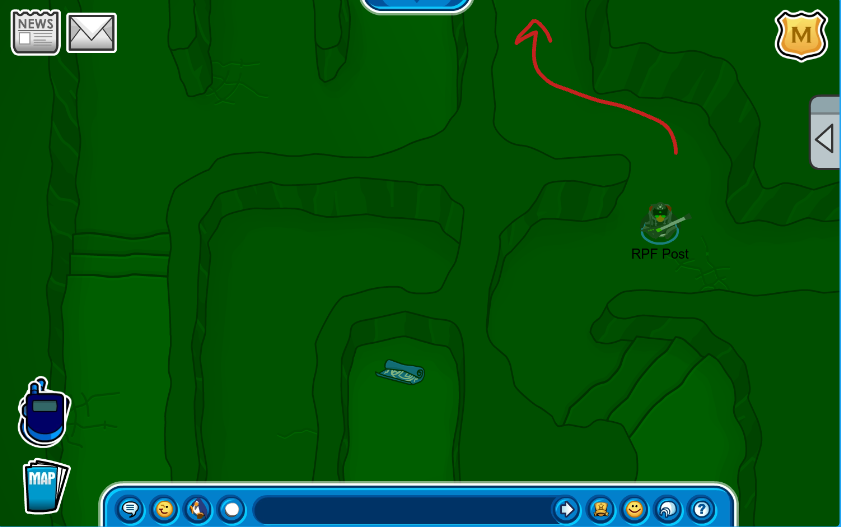
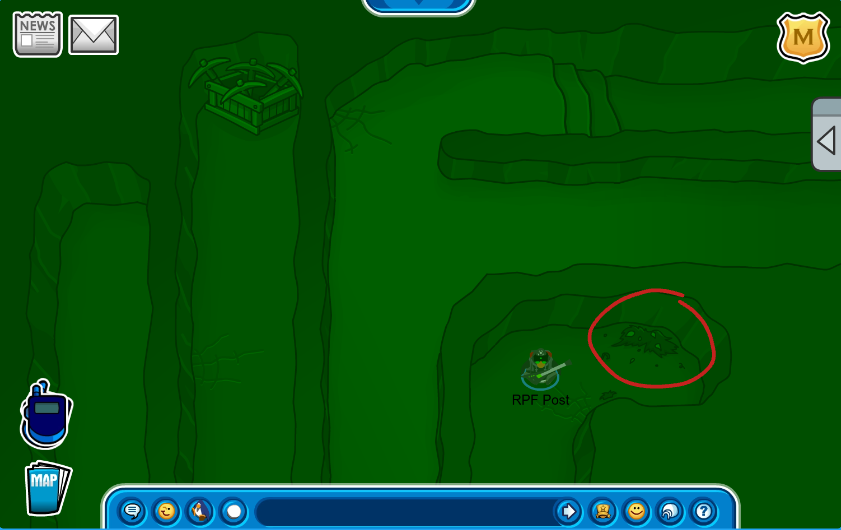
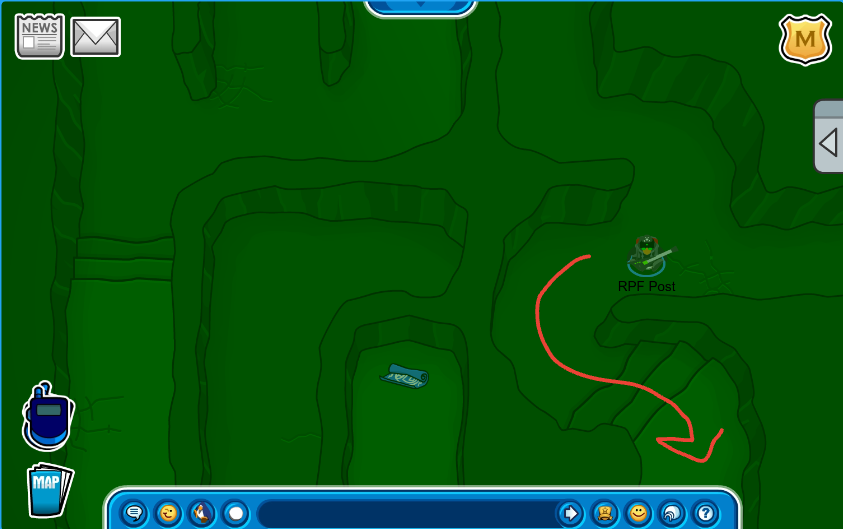
Go back down and go down the path towards the steps.
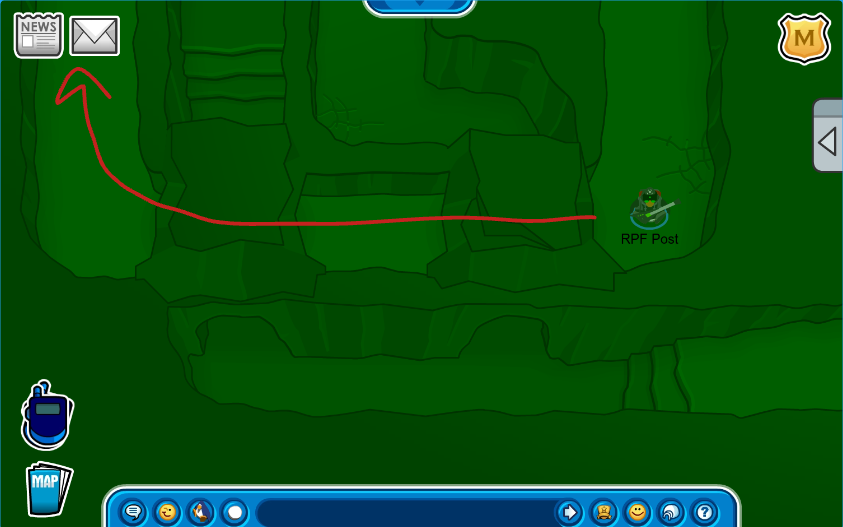
You’ll find yourself back in the second room from earlier on a completely new path. Follow it up to proceed to the next area.
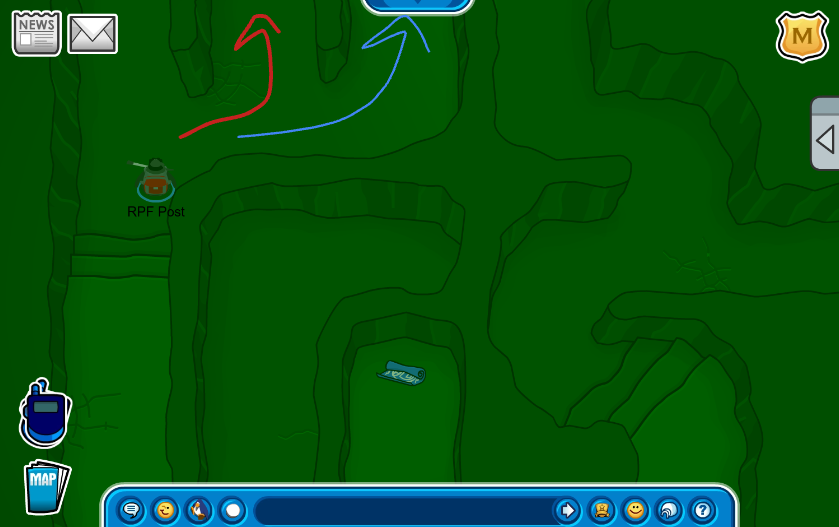
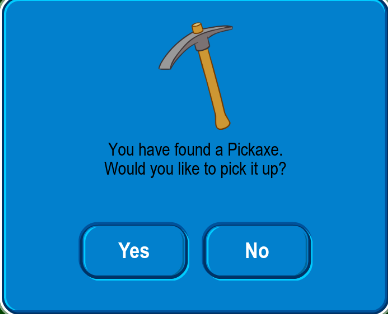
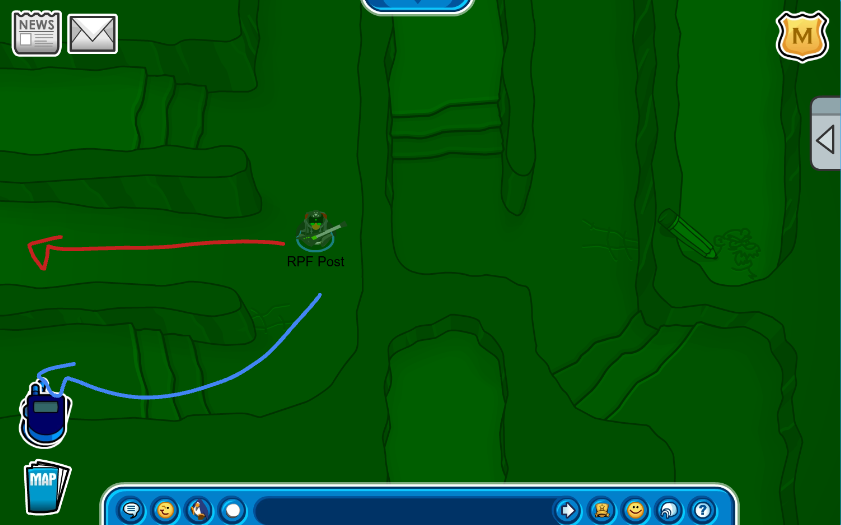
You’ll find three branching pathways here. Follow the red arrow to find another item: the Pickaxe. Follow the blue arrow to go on to the next area.
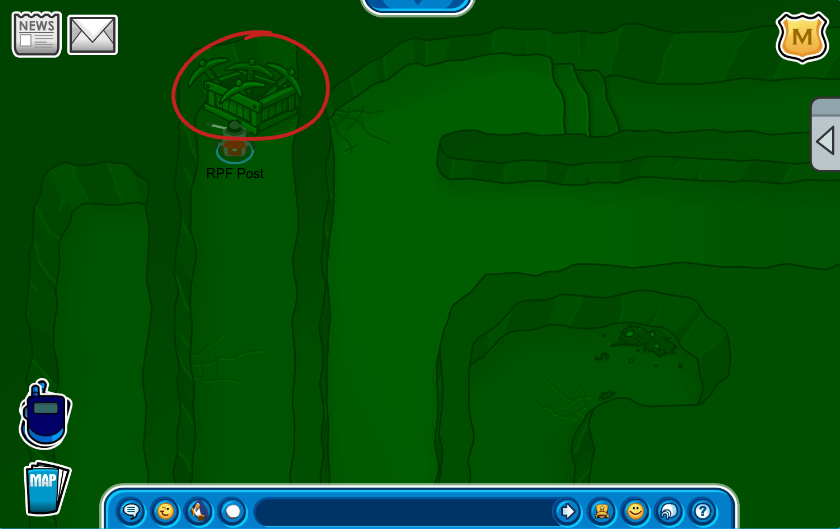
Following the blue arrow, we’ll find ourselves at another crossroads. Head down to collect the Pet Rock.
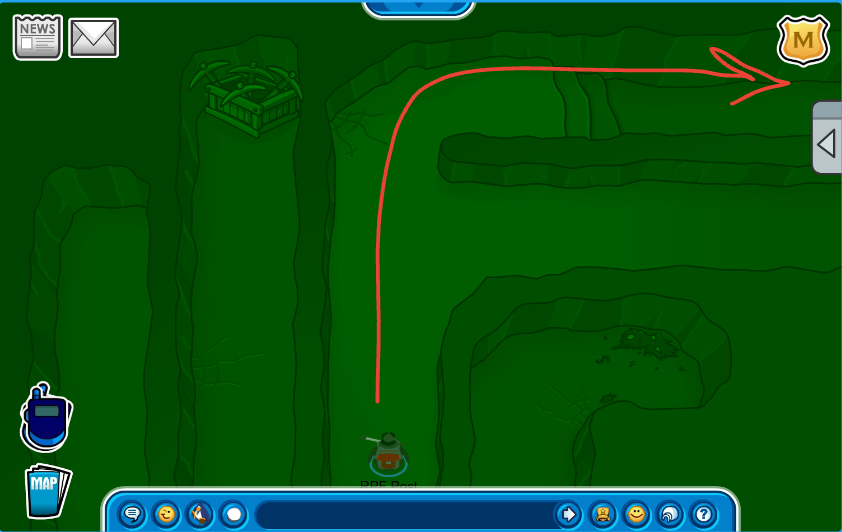
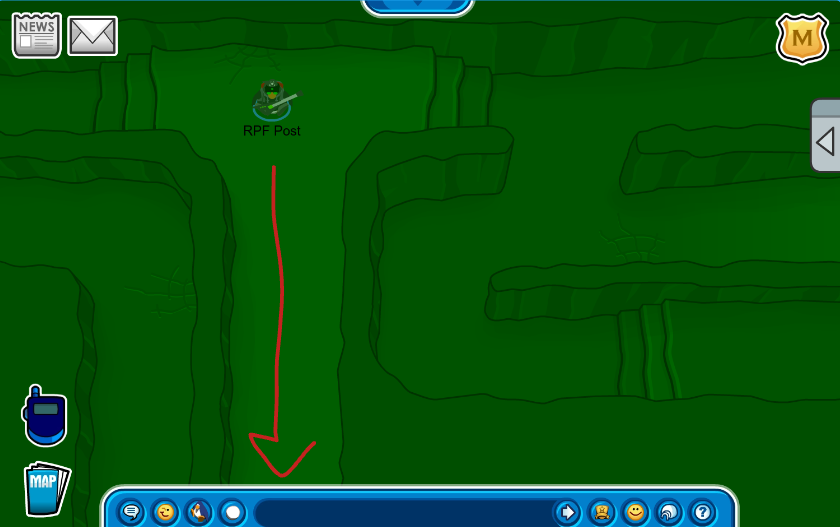
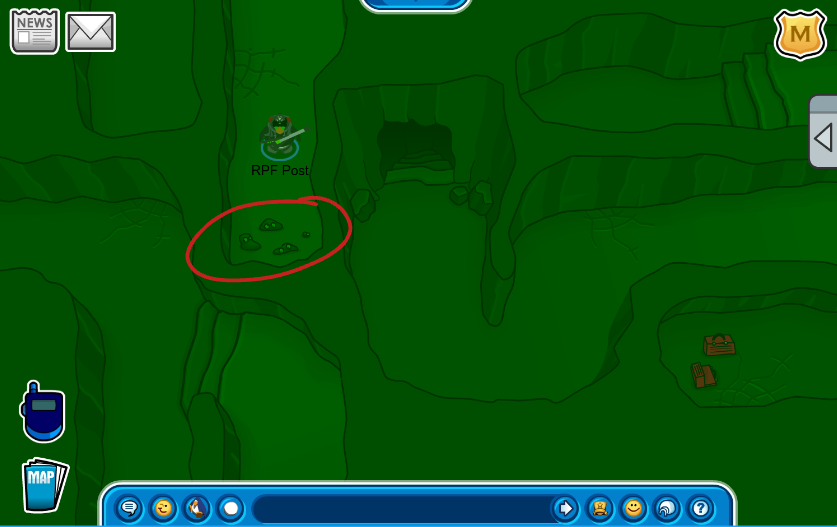
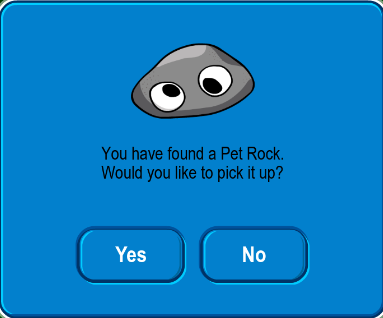
Go back up the path to the same area. Follow the red arrow for another item and follow the blue arrow to proceed to the next area.
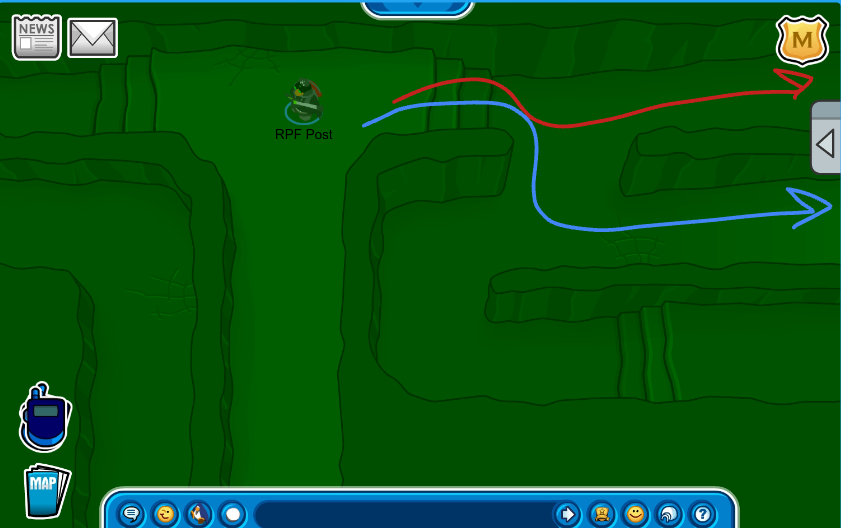
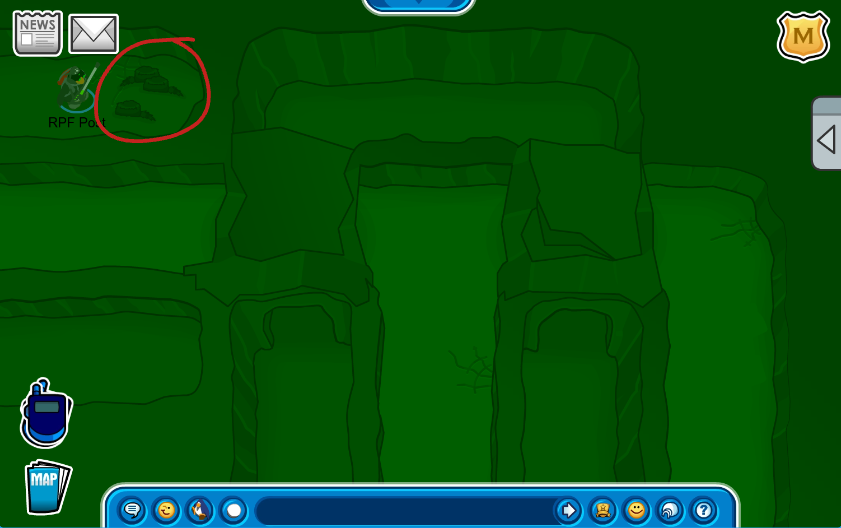
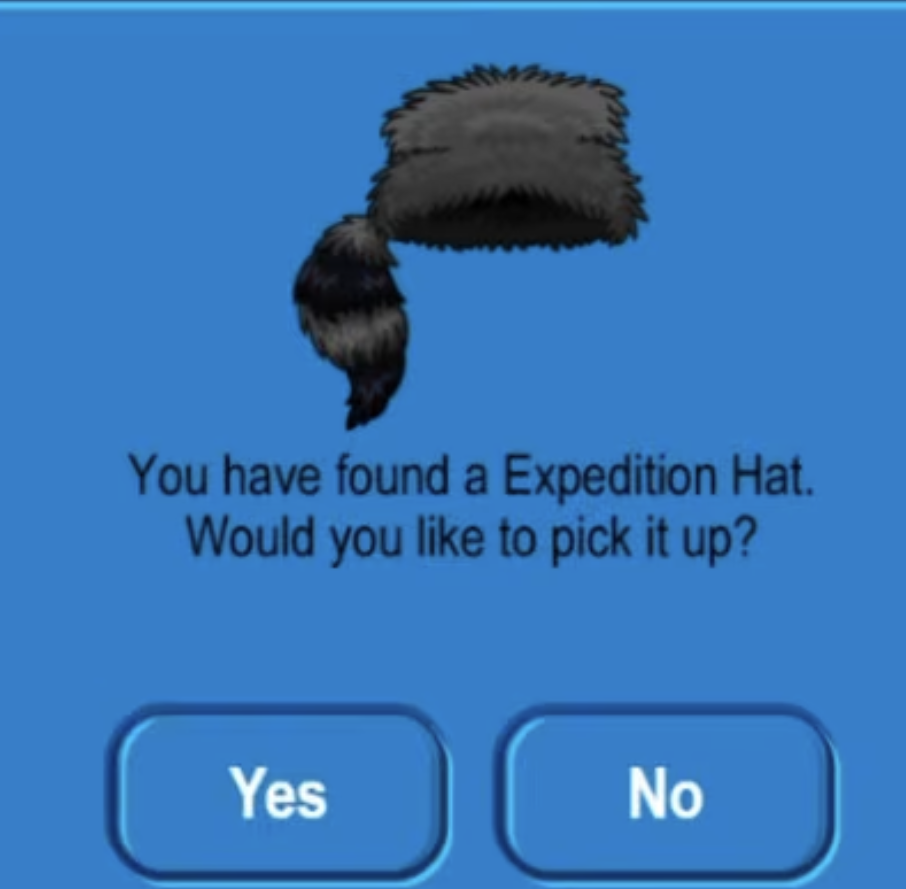
Following the blue arrow will take you to another area. Follow the blue arrow again to get another item and follow the red to proceed.
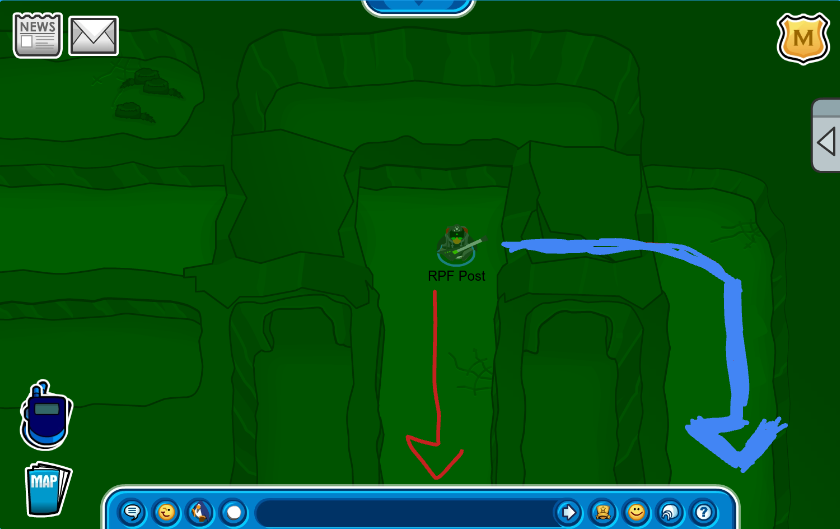
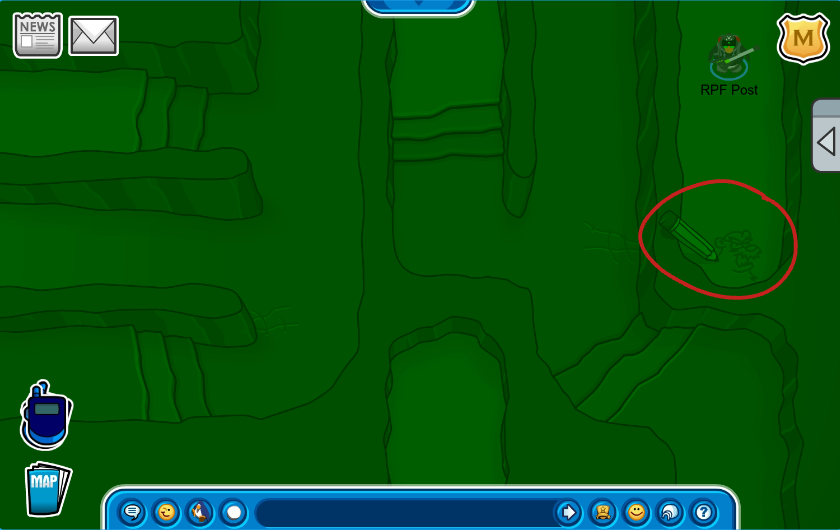
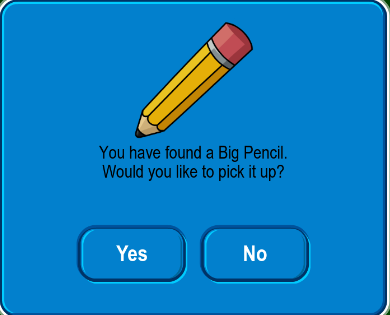
Following the red arrow, you’ll find another crossroads. Follow the blue arrow to get another item and follow the red arrow to proceed to the next area.
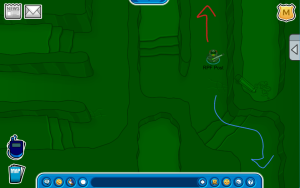
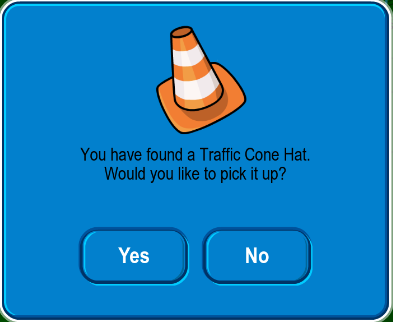
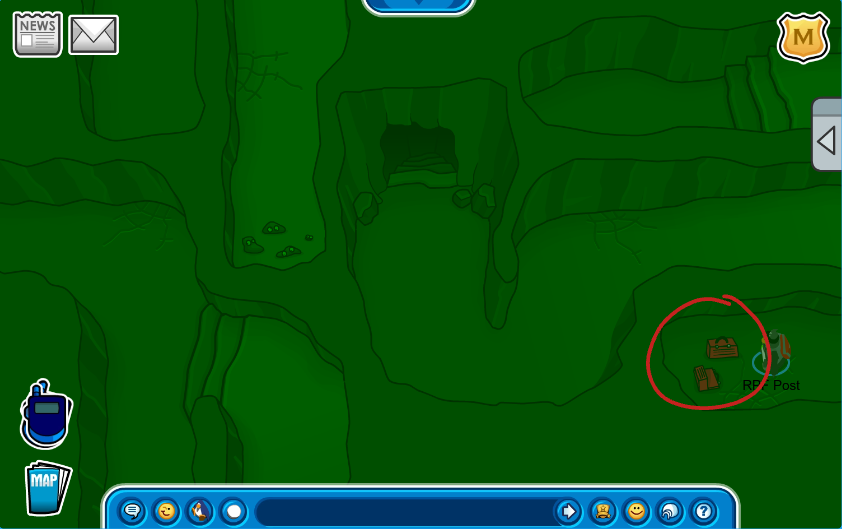
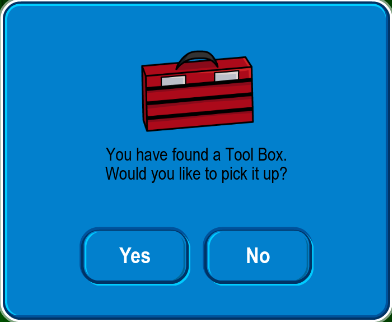
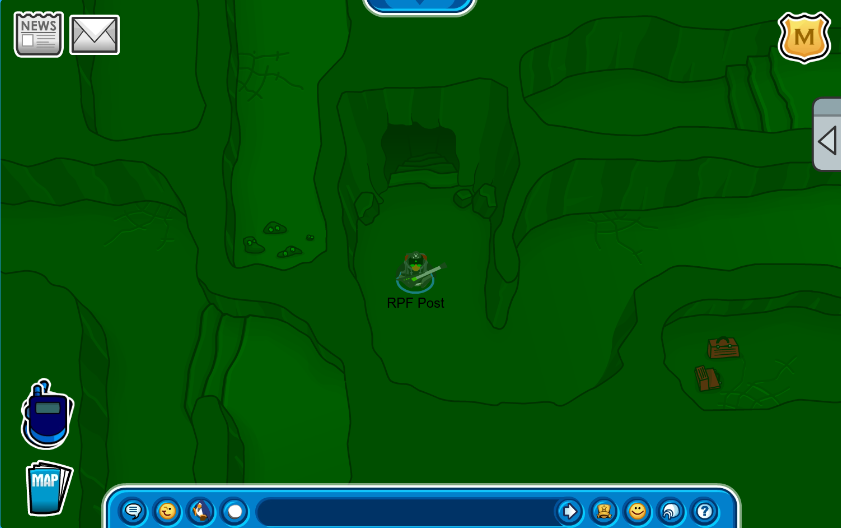
Pick up the Traffic Cone and backtrack to the previous room, then follow the red arrow to go up. 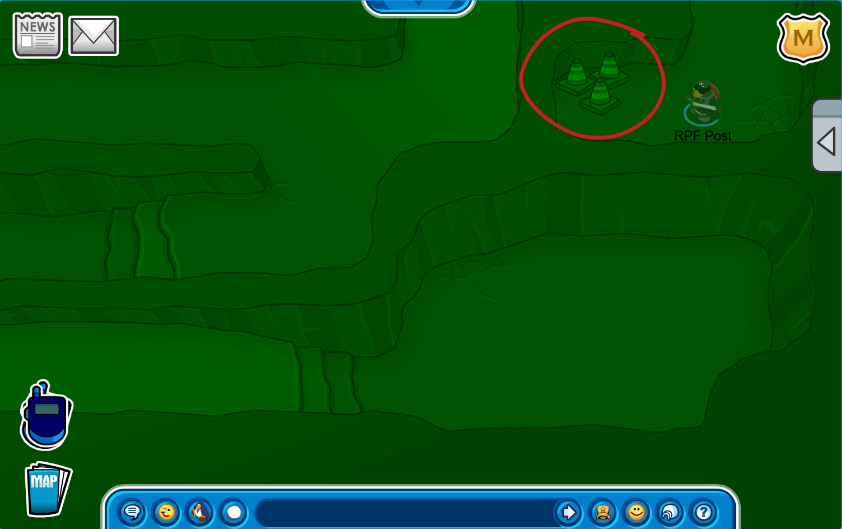
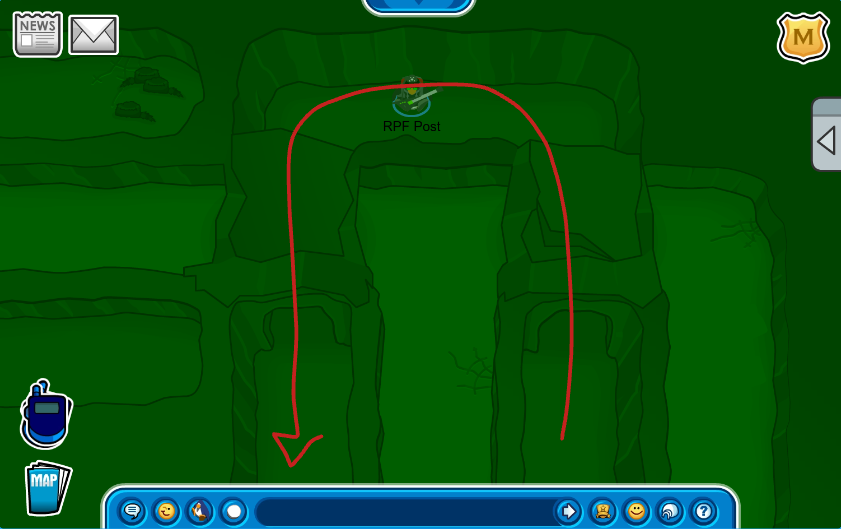
You’ll find another crossroads in the next room. Follow the blue arrow to collect the last item in the maze and follow the red arrow to finish the maze.
Yay! We’ve reached the end. Now we can-
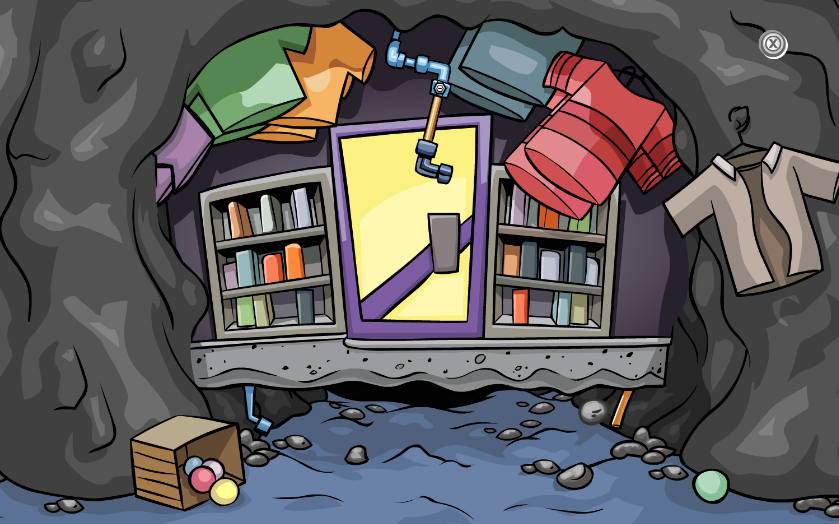
…nevermind. Since we can’t get through now, let’s head back to the surface and see if we can find something to continue our search.
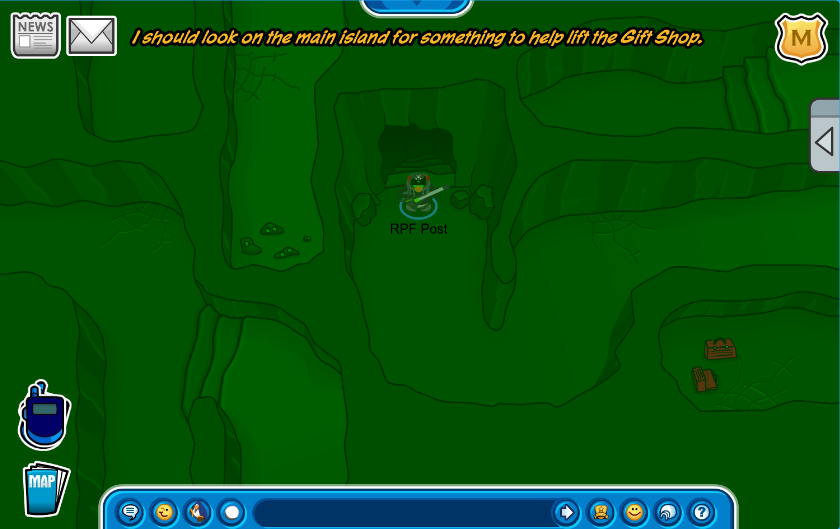
Back on the Surface
Once you leave the maze, JPG and Rookie will call you again.
Both JPG and Rookie will ask you to help them. You can choose to either head back to HQ and see what JPG needs or help Rookie at the Cove. There isn’t any set order to help them in so feel free to start wherever!
JPG Side Mission
Go to the HQ. JPG will call you again.
He will explain that there are four penguins missing on the island and he can’t get a read on them. He instructs you to search the island for any clues about their whereabouts.
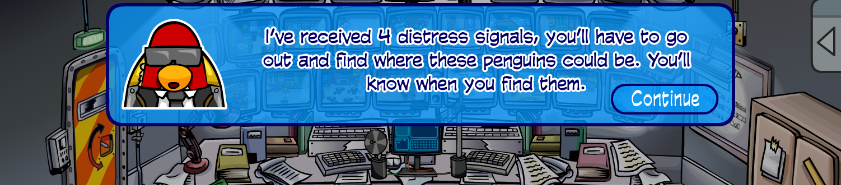
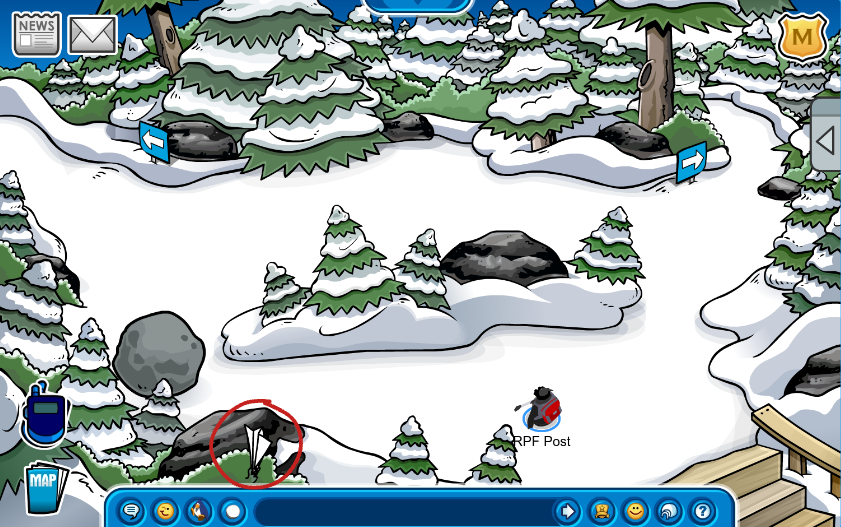
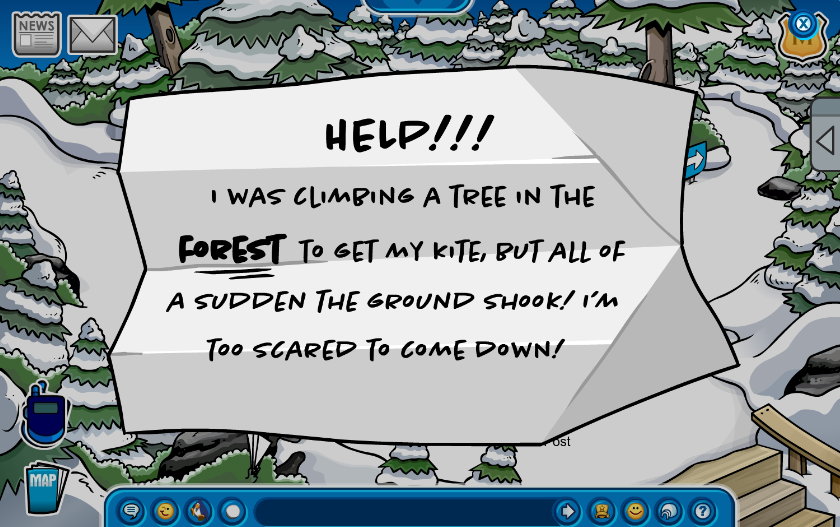
Head to the Forest. You’ll find a letter stuck in one of the trees from one of the missing penguins asking for help.
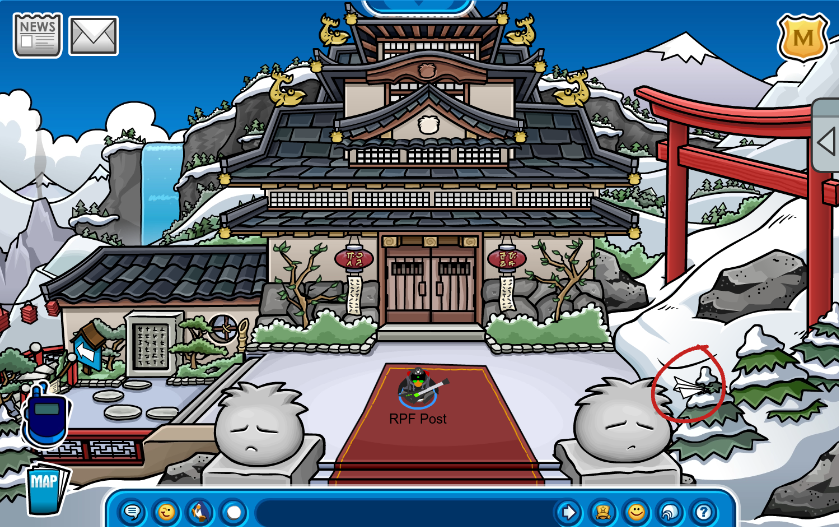
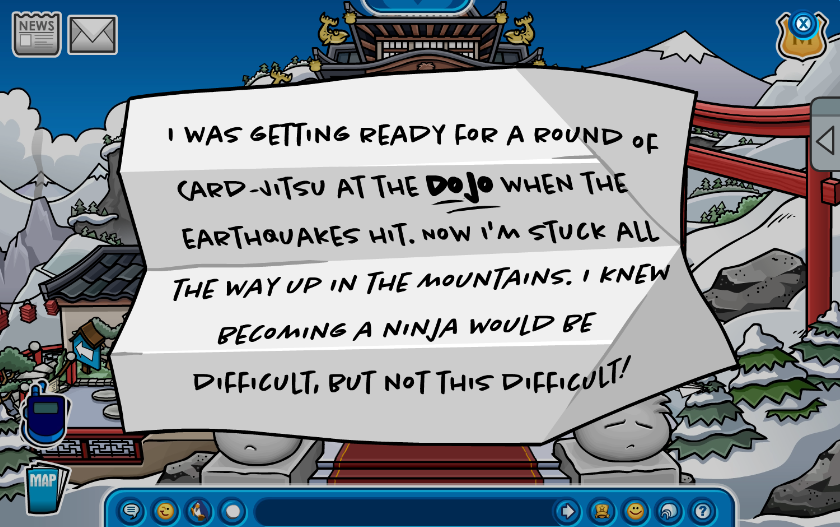
Next, head to the Dojo to find another letter in a tree by the Puffle statue.
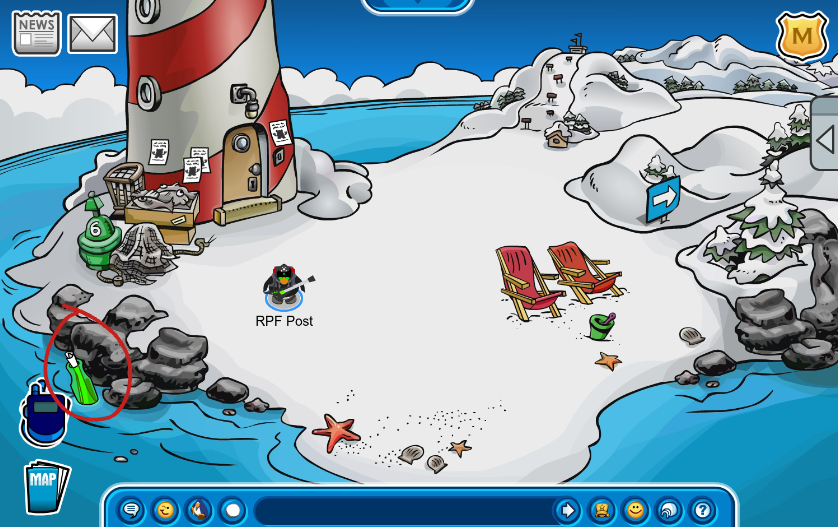
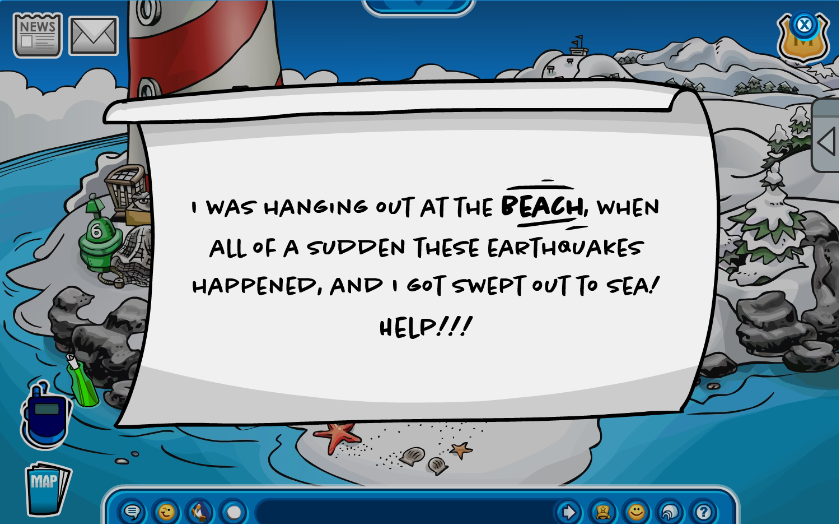
The third letter can be found on the Beach. Once you spawn in, a letter in a bottle will float over to you in the water.
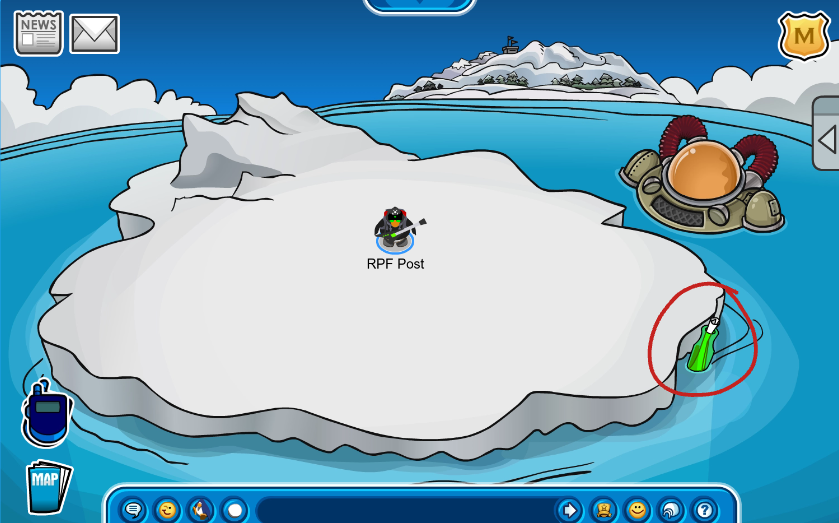
The final letter can be found on the Iceberg. Just like at the Beach, the letter in a glass bottle will float over once you spawn into the room.
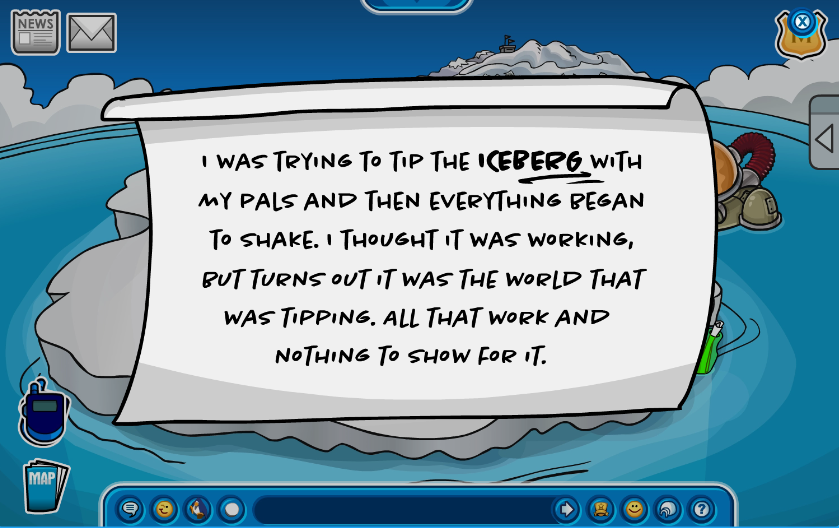
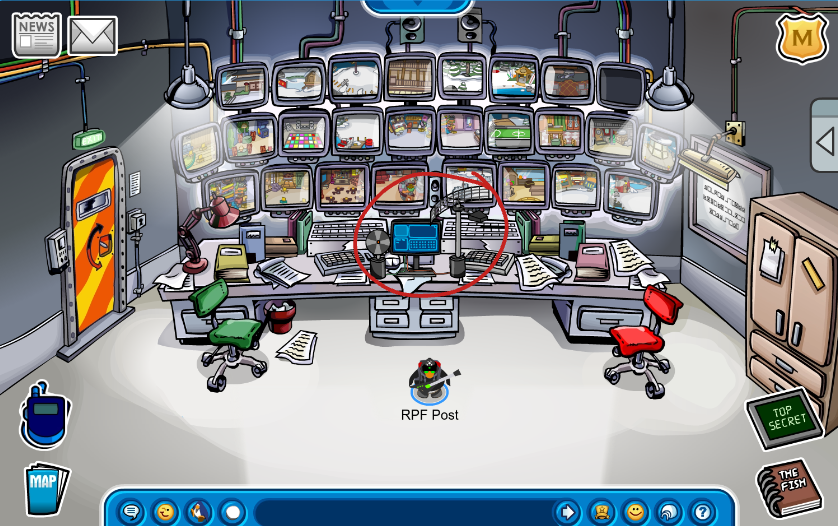
Now that we know where the missing penguins are, we can return to HQ. You’ll notice that there’s a computer in the center of the room. We’ll be using this to relay the locations of the penguins to JPG while he’s in the sky.
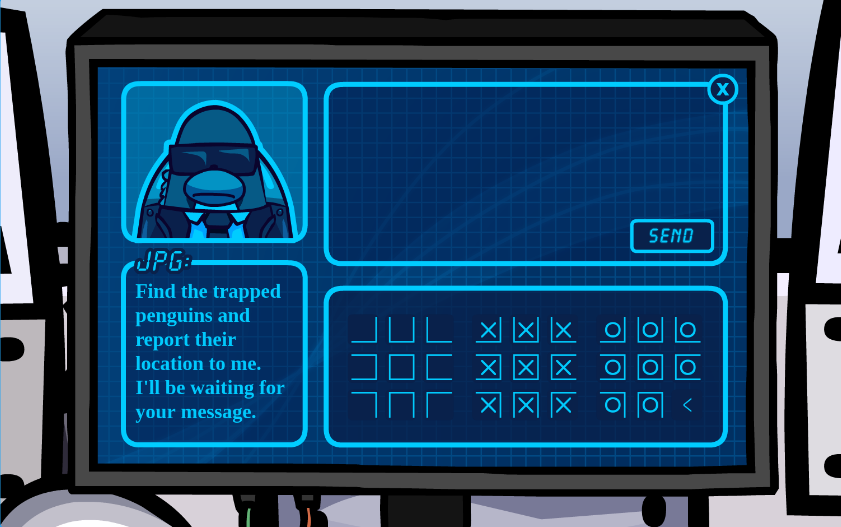
As you can see, we’ll have to type out the names of four rooms in the Tic Tac Toe code. Use this reference sheet to help you put the letters together!
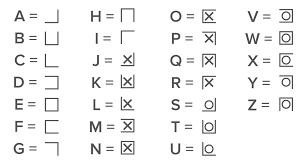
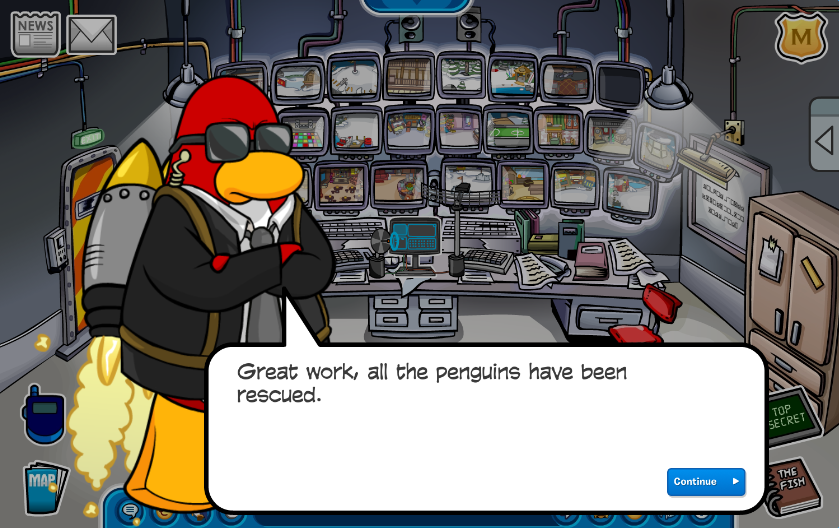
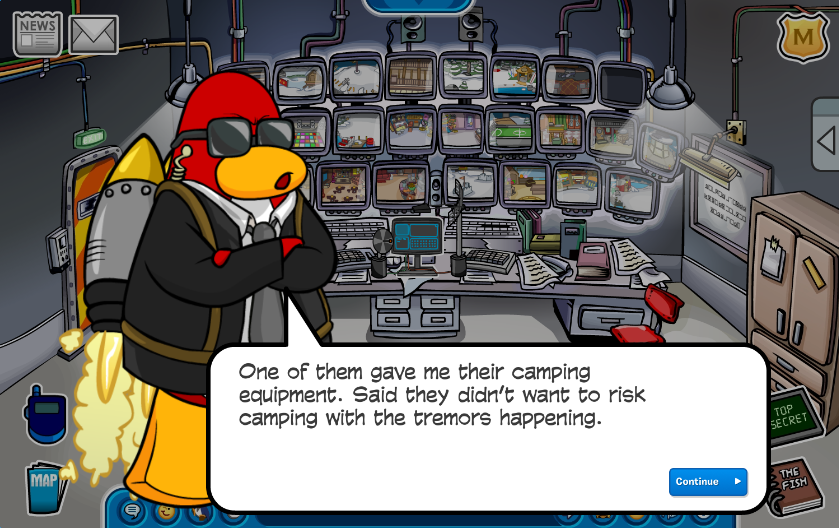
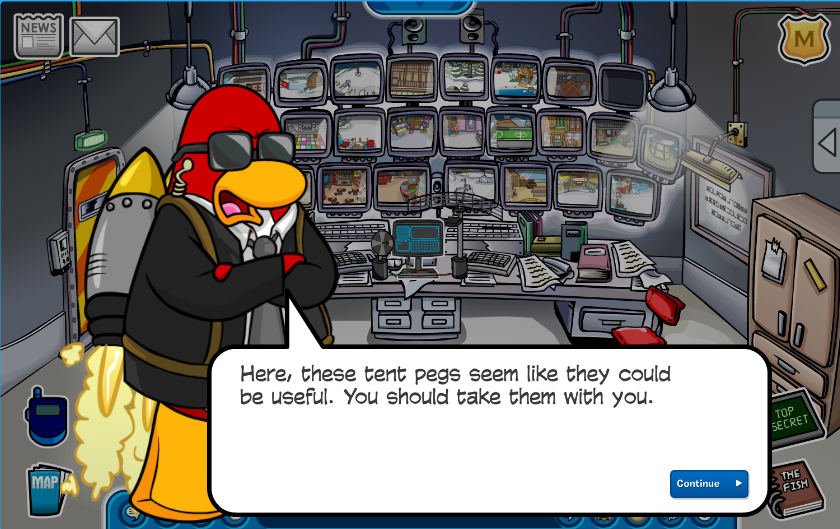
Once you’re done with that, another cutscene will start. JPG will thank you for helping him and then give you some tent pegs. You will need these later.
Let’s go see what Rookie’s up to!
Rookie Side Mission
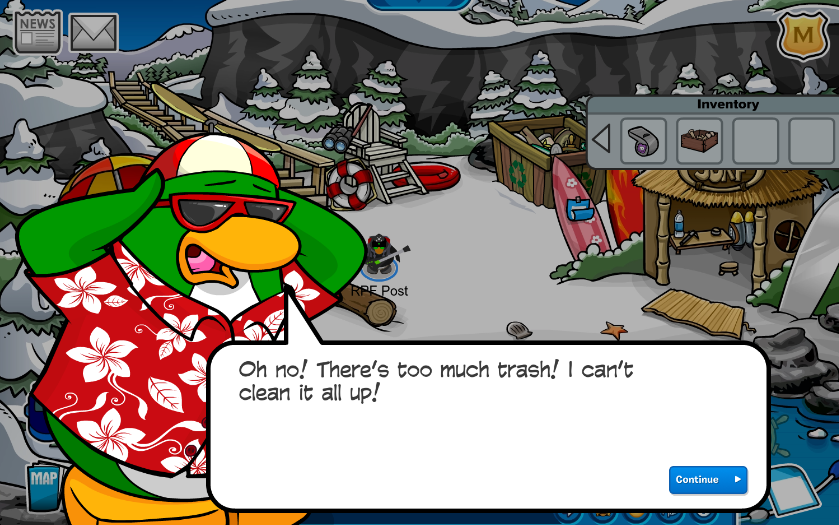
Rookie seems to be struggling with litter at the Cove. Let’s give him a hand.
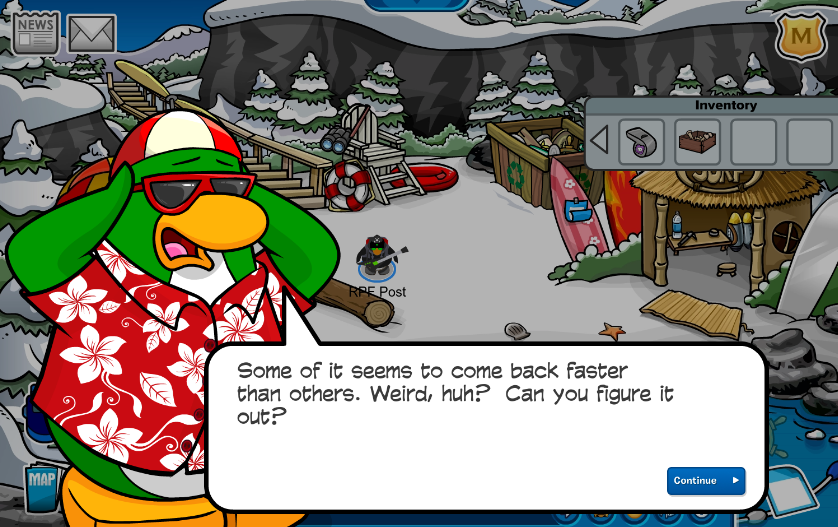
According to him, the trash seems to just keep coming back. To complete this portion, click on the trash in the following order. Try to do this quickly because if you take too long, even if you do this right, the trash will resurface.
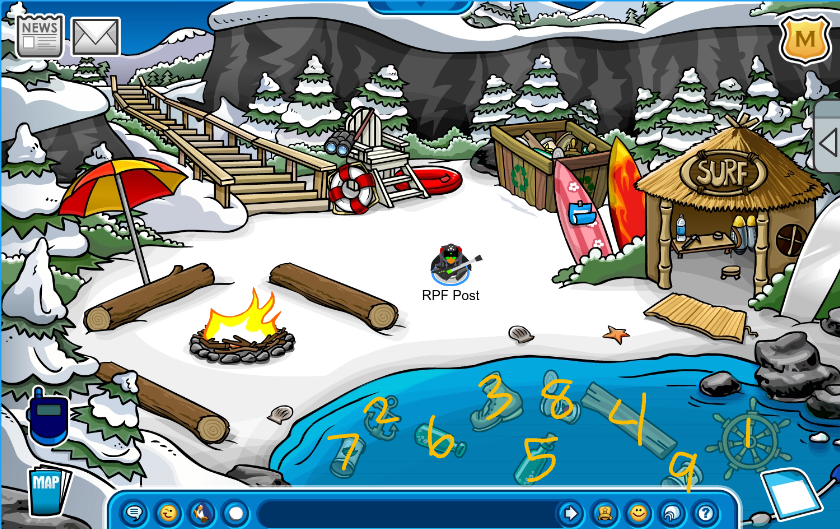
TRASH ORDER:
1)Boat Wheel
2)Anchor
3)Boot
4)Wooden Plank
5)Closed Green Bottle with Letter Inside
6)Open Green Bottle
7) Spinach can
8) Open Tomato can
9)Other Vegetable can
Once you’re done, Rookie will thank you and give you a net.
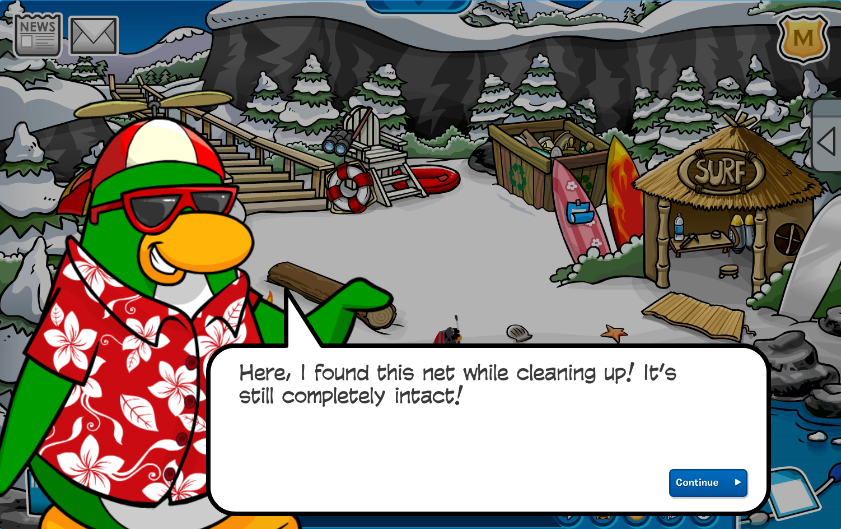
We now have what we need to lift up the Gift Shop. Head to the Town to continue the main portion of the mission.
Saving the Gift Shop
Go to the Town. Open your inventory and call Pop out. She will make a huge bubble around the Gift Shop.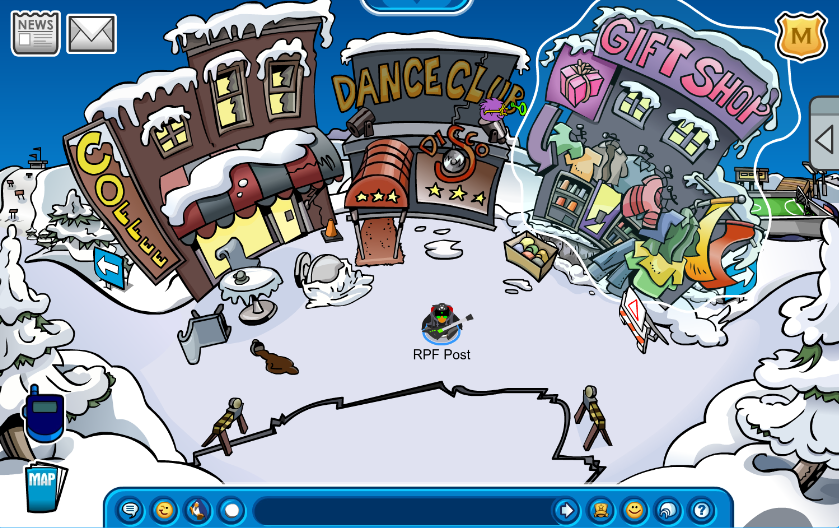 Quick! That won’t hold forever. Open your inventory again and slip the net under the building. Then click on the tent pegs to secure the net.
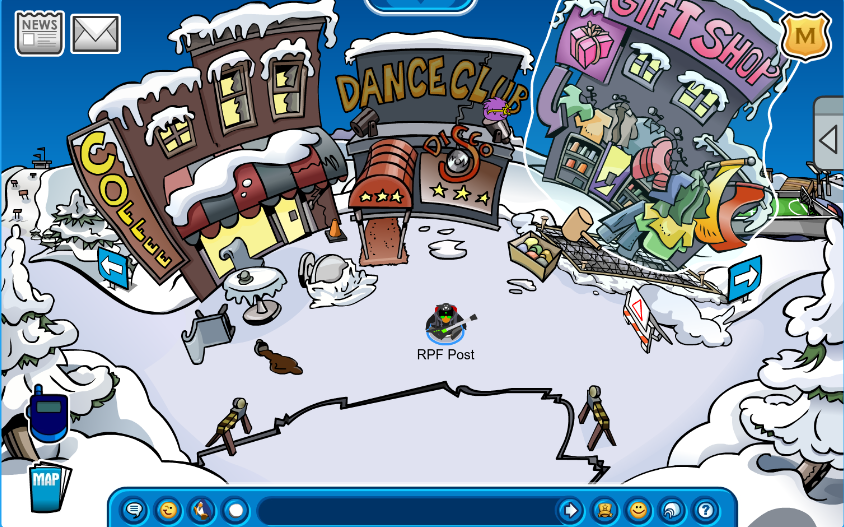
Success! Now that the Gift Shop’s been lifted, the underground path should be clear. Head back down there using the same directions as before.
Agent vs Herbert
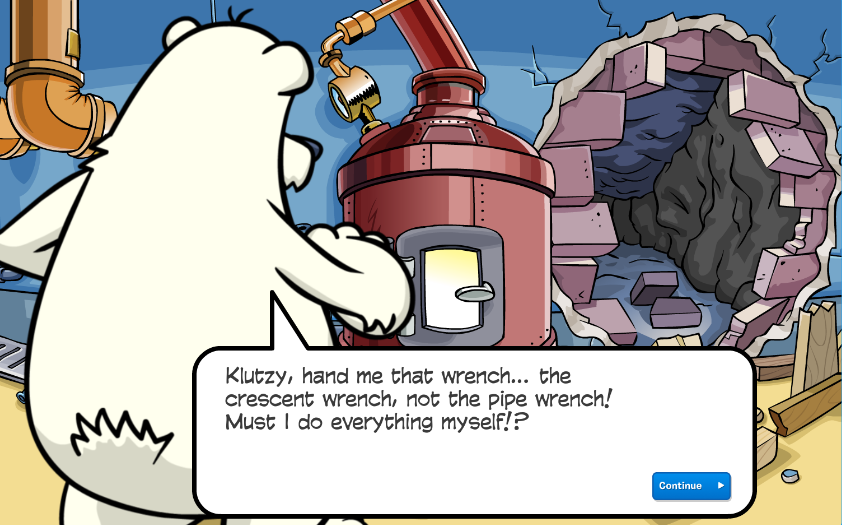
Make your way back through the maze. This time, you’ll be able to go right into the Boiler Room. Herbert will be there messing with the boiler.
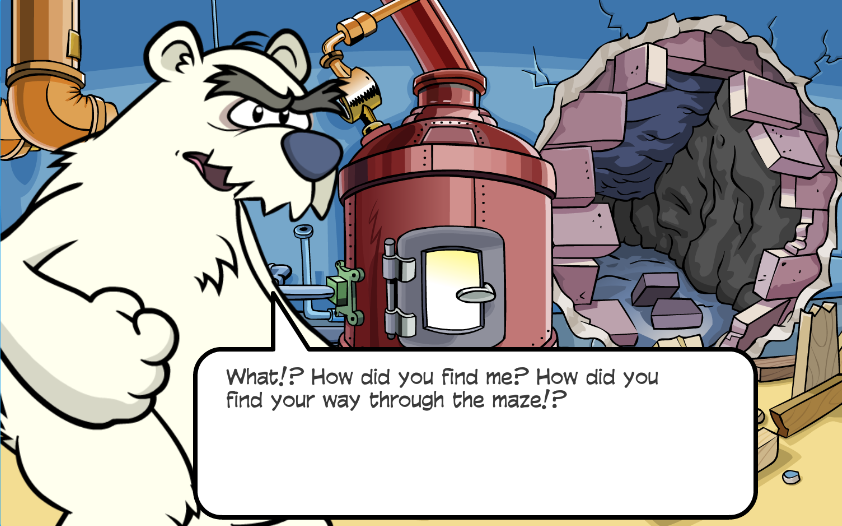
Herbert will get angry that you’ve foiled his plans yet again and hit the boiler. Uh oh…
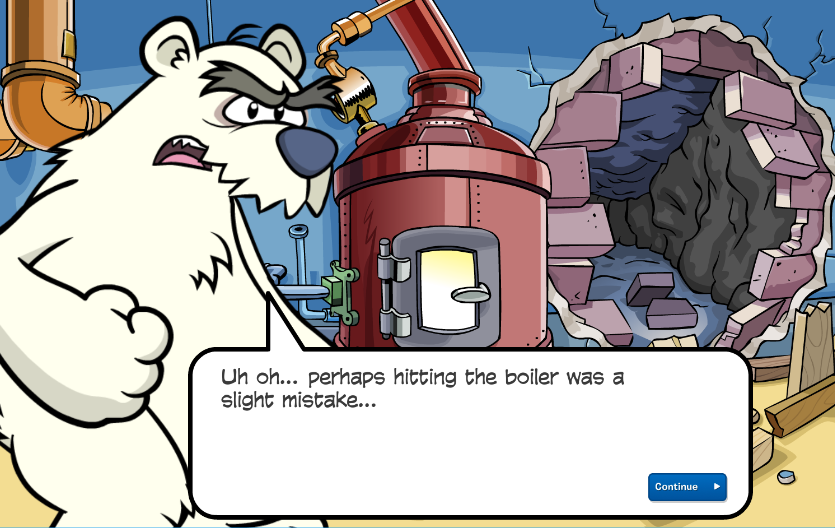
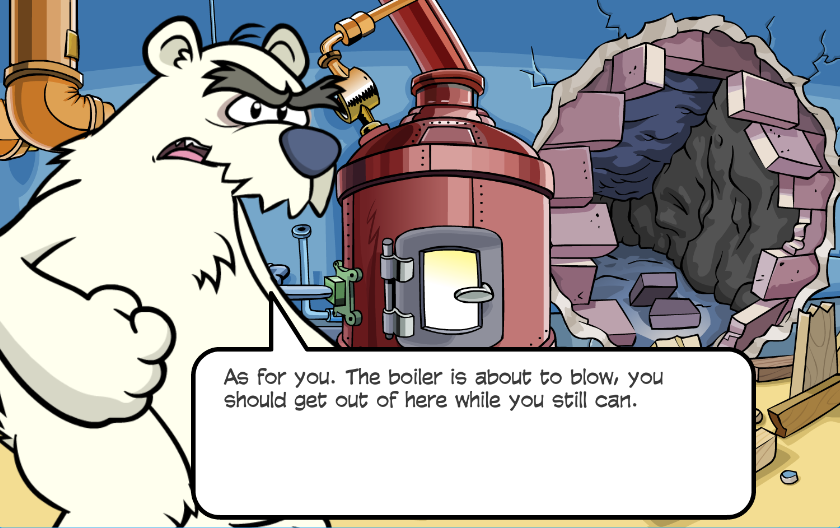
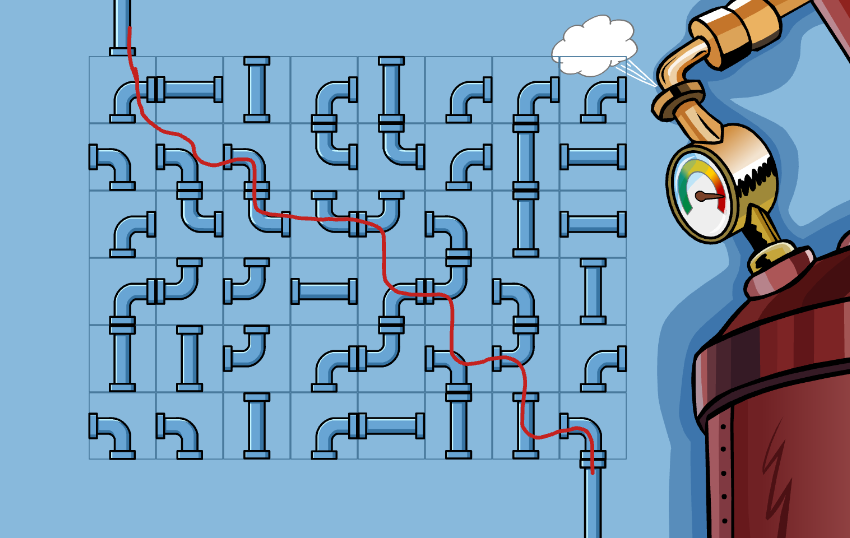
Herbert will escape, leaving you to deal with the aftermath. Click on the boiler to start a puzzle matching game. The goal is to align the parts from the top to the bottom to fix the boiler. There’s no definite strategy to this, but here is a guideline to give you an idea on what to do.
After you’ve fixed the boiler, JPG will call you again and ask that you return to HQ.
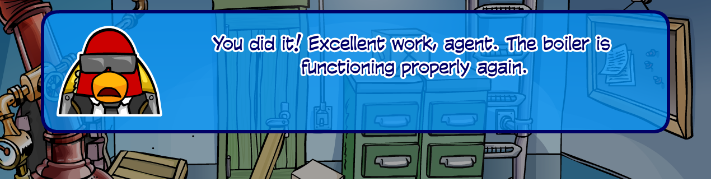
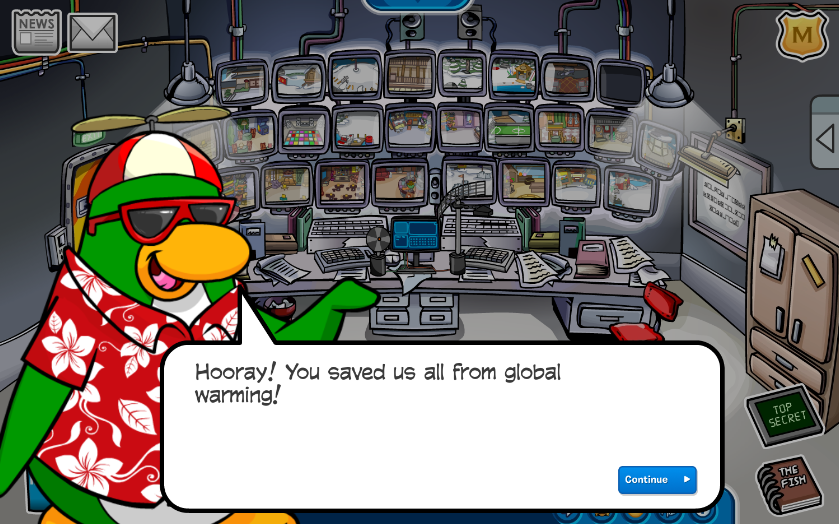
Both JPG and Rookie will be waiting at the HQ to congratulate you on saving the island.
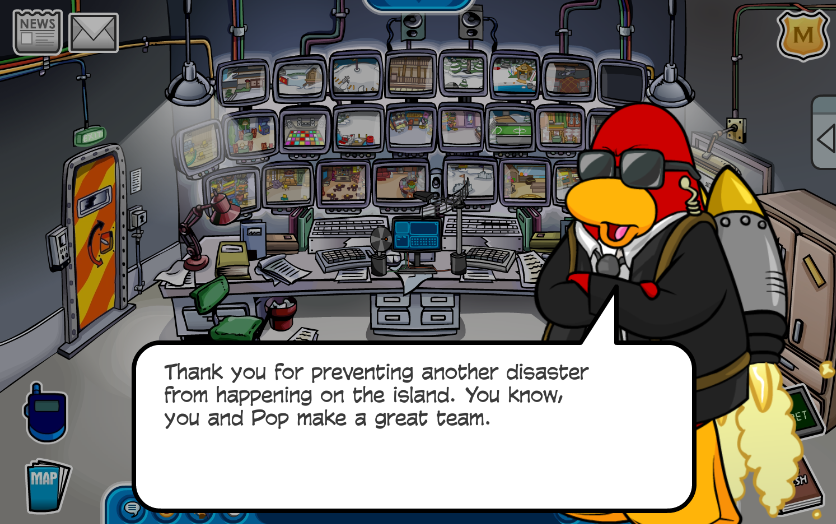
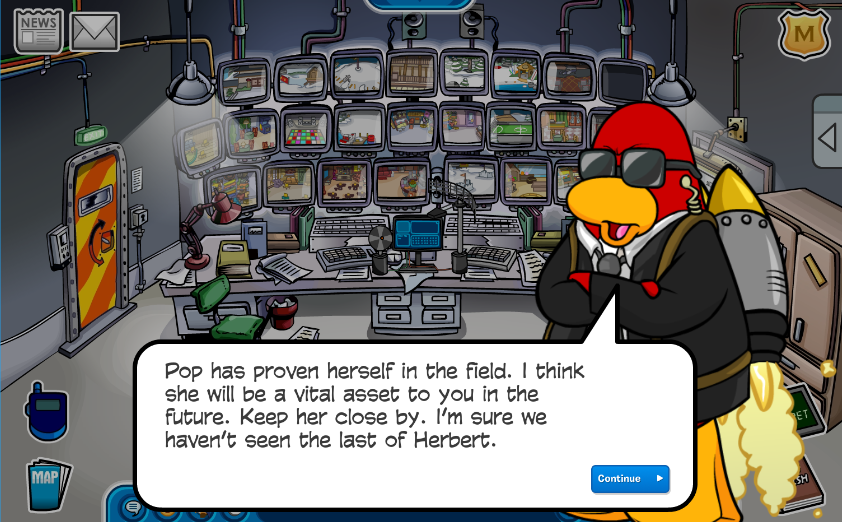
Congratulations are in order for both you and your new furry friend! Pop has proved herself to the PSA and is now officially on the team. JPG suggests that you two should stick together for the time being.
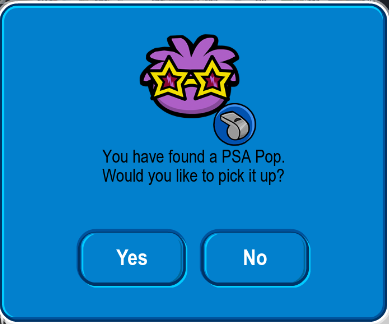
Not only that, but Rookie has a little present for you to commemorate your hard work today…
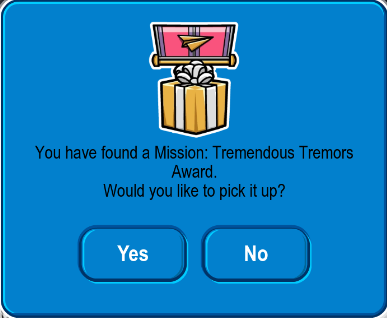
This concludes the end of Club Penguin Legacy Tremendous Tremors Mission. We hope that this guide helped you! If you feel like we missed something or if you still need help, don’t hesitate to let the Club Penguin News Team know. Keep up the good work agents and we’ll see you again for the next mission!
Click here to join our Discord server and join the conversation on this event and future ones to come!